
'%20x='0'%20y='0'%20height='100%25'%20width='100%25'%20%0A%20%20%20%20%20%20%20%20%20%20xlink%3Ahref='data:image/jpg;base64,/9j/2wBDAAYEBQYFBAYGBQYHBwYIChAKCgkJChQODwwQFxQYGBcUFhYaHSUfGhsjHBYWICwgIyYnKSopGR8tMC0oMCUoKSj/2wBDAQcHBwoIChMKChMoGhYaKCgoKCgoKCgoKCgoKCgoKCgoKCgoKCgoKCgoKCgoKCgoKCgoKCgoKCgoKCgoKCgoKCj/wgARCAAGAAoDASIAAhEBAxEB/8QAFgABAQEAAAAAAAAAAAAAAAAAAAYH/8QAFQEBAQAAAAAAAAAAAAAAAAAAAgP/2gAMAwEAAhADEAAAAMXhAV//xAAdEAADAAICAwAAAAAAAAAAAAABAgMABQQGEiJS/9oACAEBAAE/AB3jYcDrDaqUYNKwA8yvsFyl2ejv9EnP/8QAFhEBAQEAAAAAAAAAAAAAAAAAAQIA/9oACAECAQE/AJkN/8QAGBEAAgMAAAAAAAAAAAAAAAAAAAECAzH/2gAIAQMBAT8Asm3p/9k='%3E%3C/image%3E%3C/svg%3E)
The new Warlord's Ruin Dungeon in Destiny 2 seems to have pleased the community with its balance between mechanics and visuals. Players should face three bosses with long jumping puzzles and mazes to traverse through. Within these sections, there are hidden collectibles required for the Dungeon seal.
This article will list all the locations and guide you through each section. The seal in question here is called Wrathbearer. There are 10 Bones of Hefnd that you can collect, all present within the Dungeon's tileset. Note that each door requires a certain level for dispelling Taken Corruption on hidden doors.
Completing each step of the "In the Shadow of the Mountain" quest will further increase this level. Hence, you will need multiple runs to complete each quest step and dispel the corrupted Taken doors. It is also recommended to use multiple characters to progress the quest quickly, as it is bound to your account and not to your characters.
Bones of Hefnd locations in Destiny 2 Warlord's Ruin for the Wishbearer seal
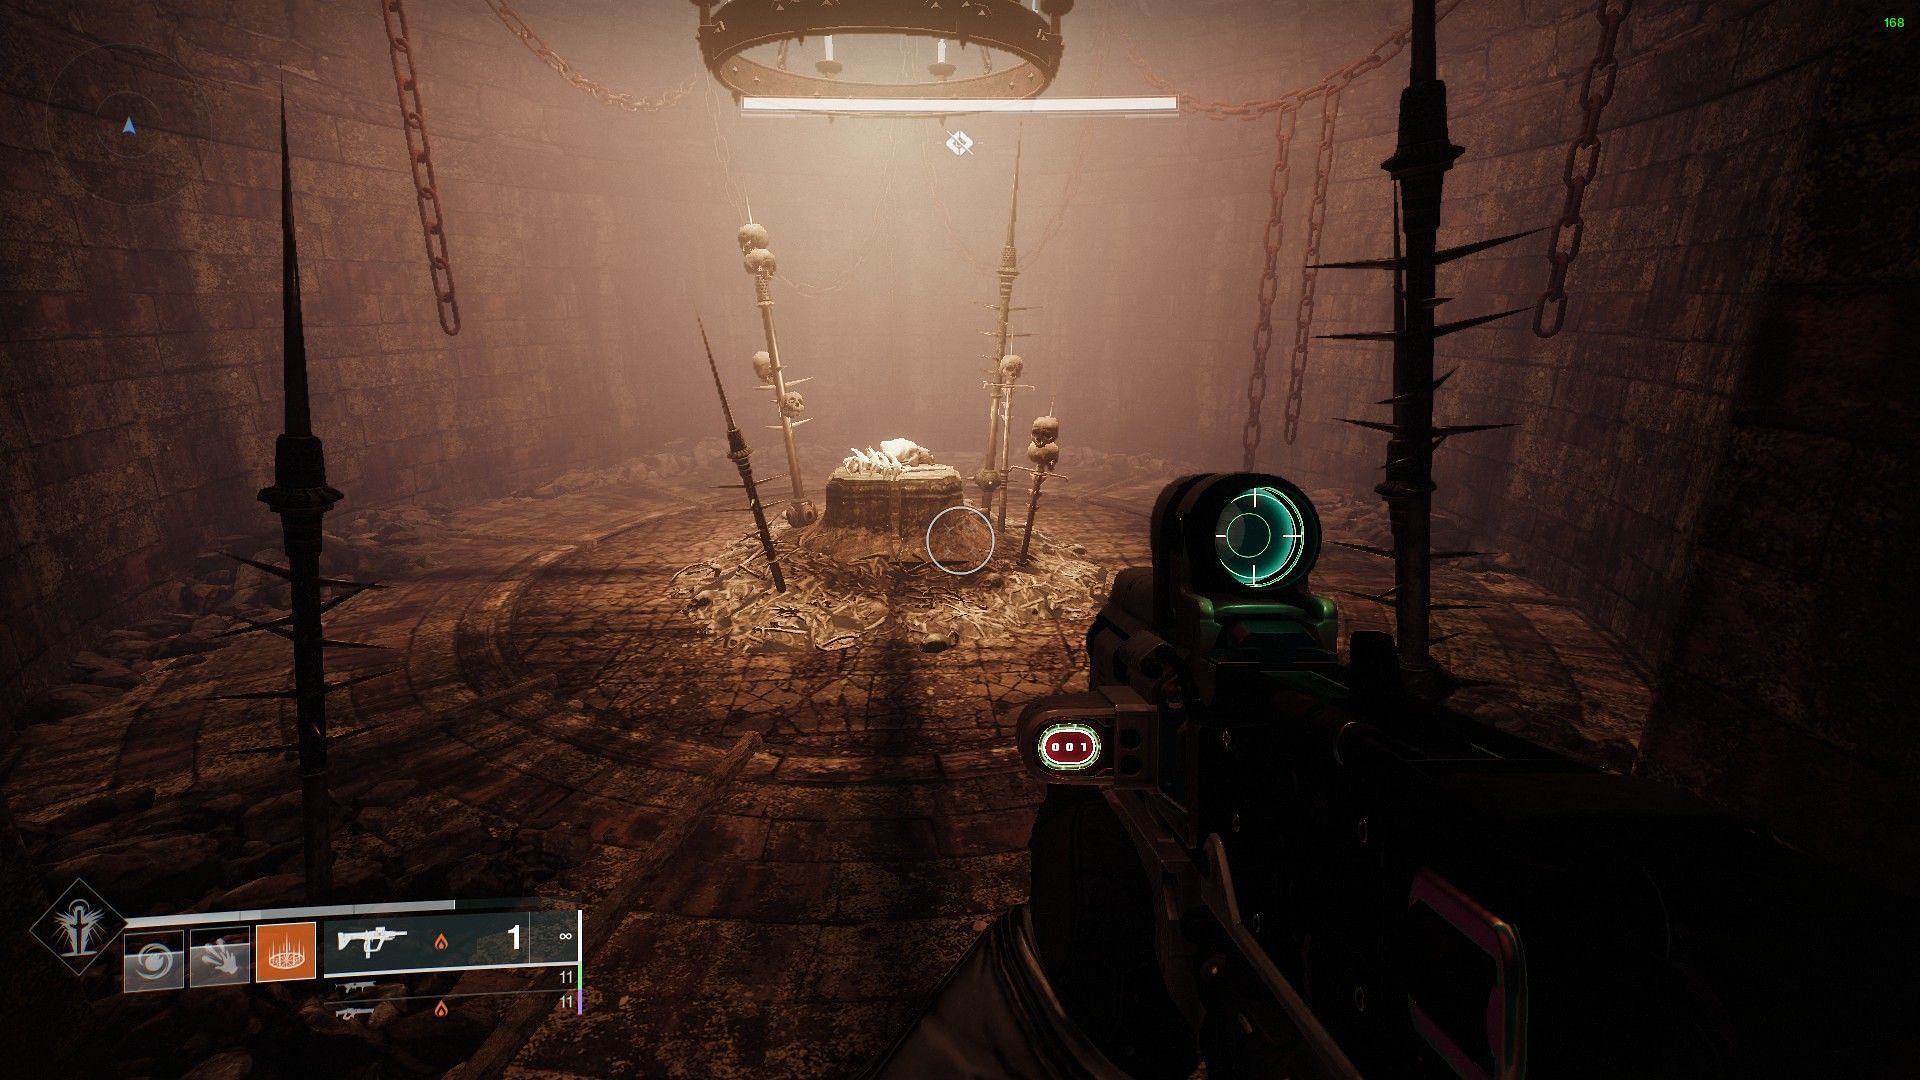
1) Final boss chest
The first step of the "In the Shadow of the Mountain" quest requires you to collect one bone piece to progress. Collect it from the final boss chest after completing your first run.
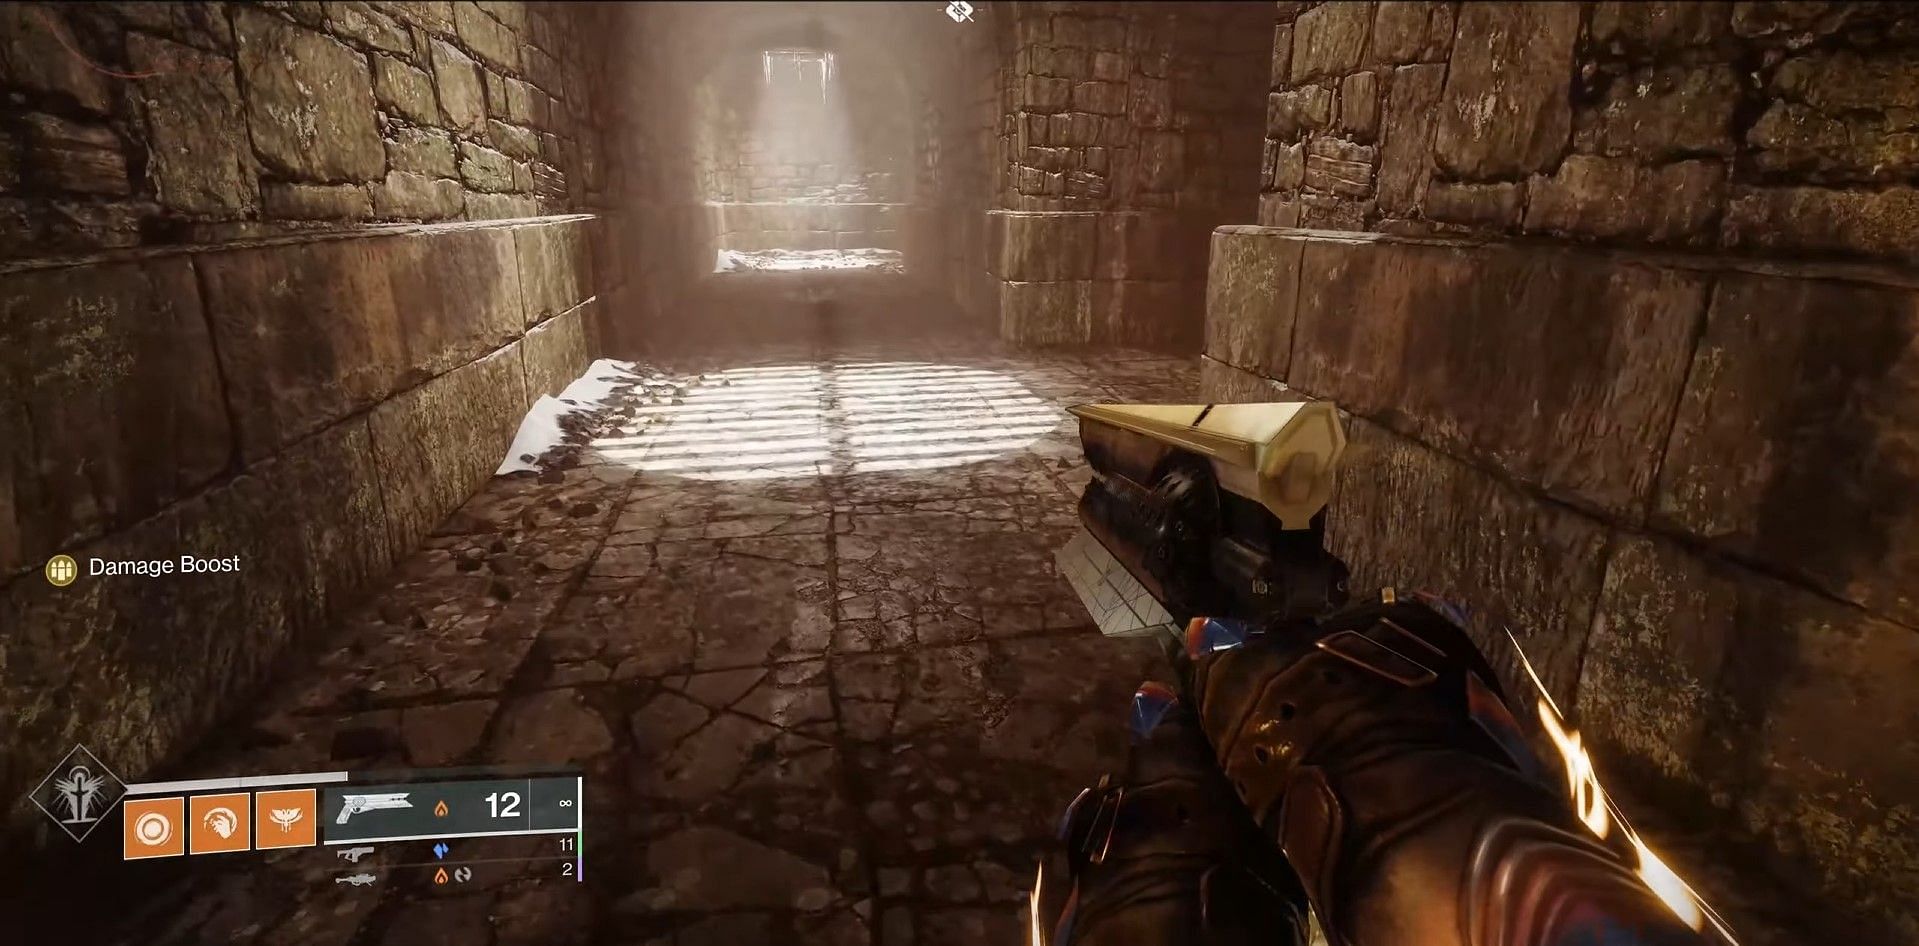
2) Level 1: Across the first bridge
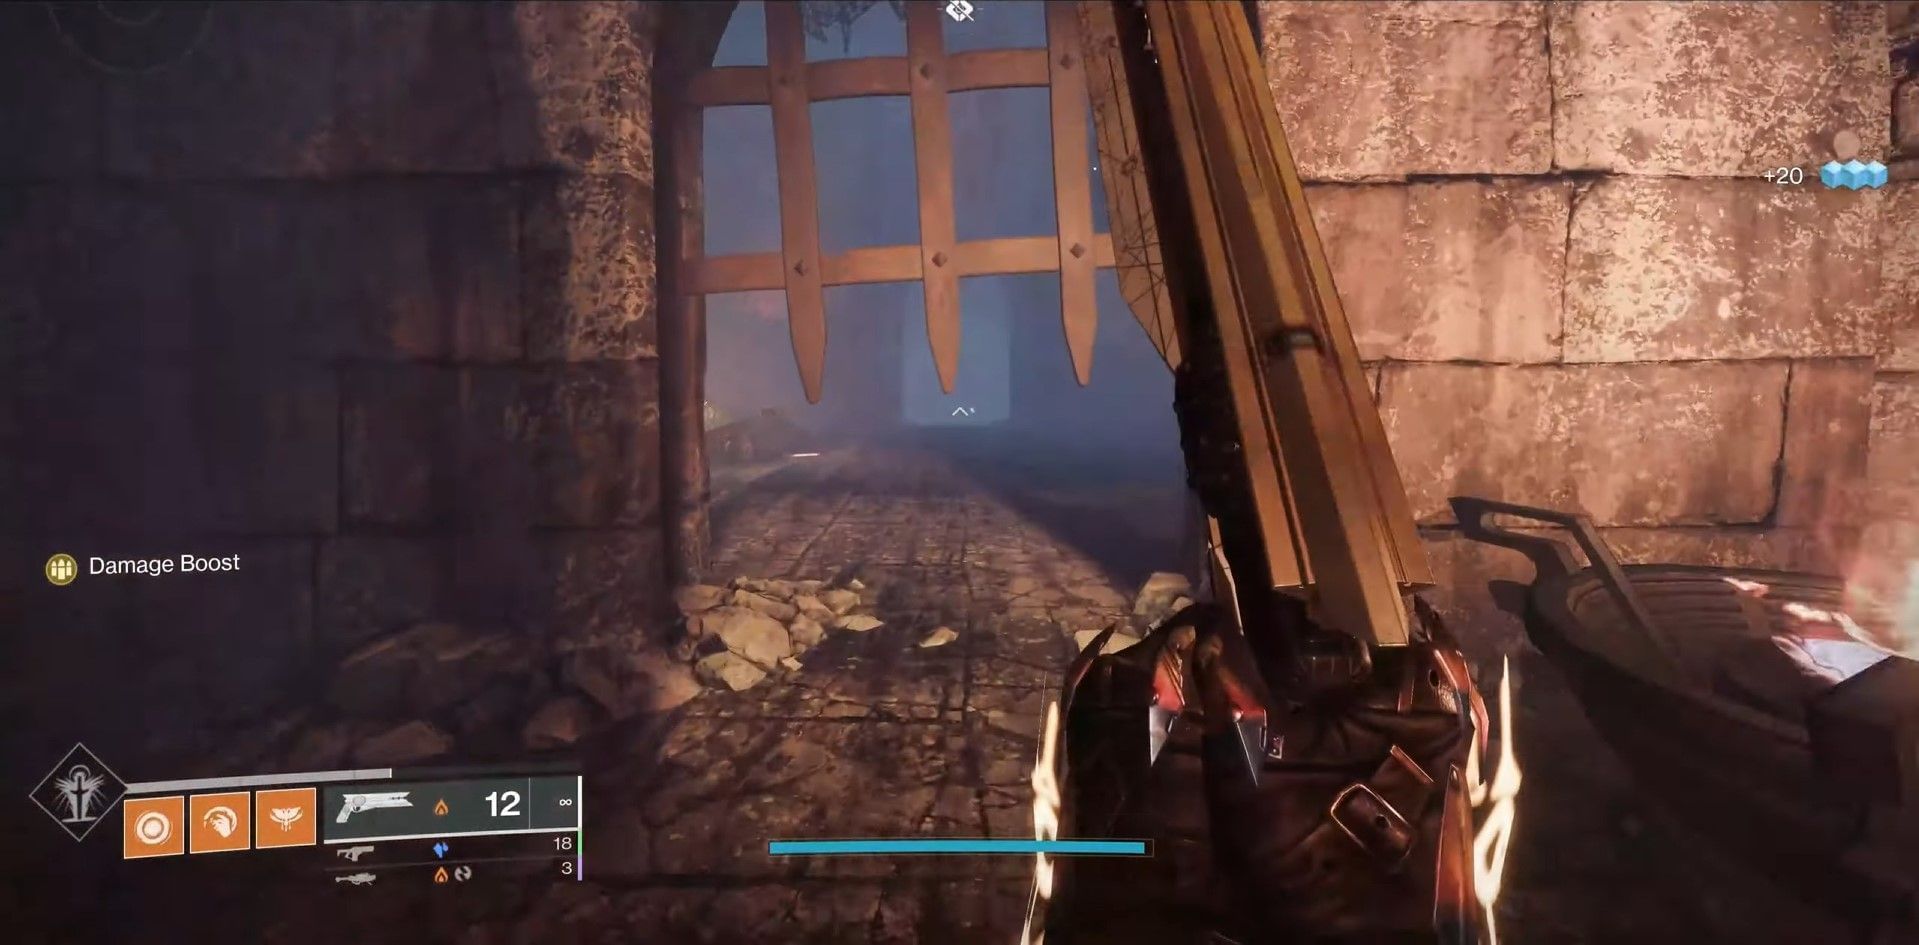
Go across the first bridge and walk through the door. Duck under the half-opened gate and head straight to find the Taken Corrupted door.
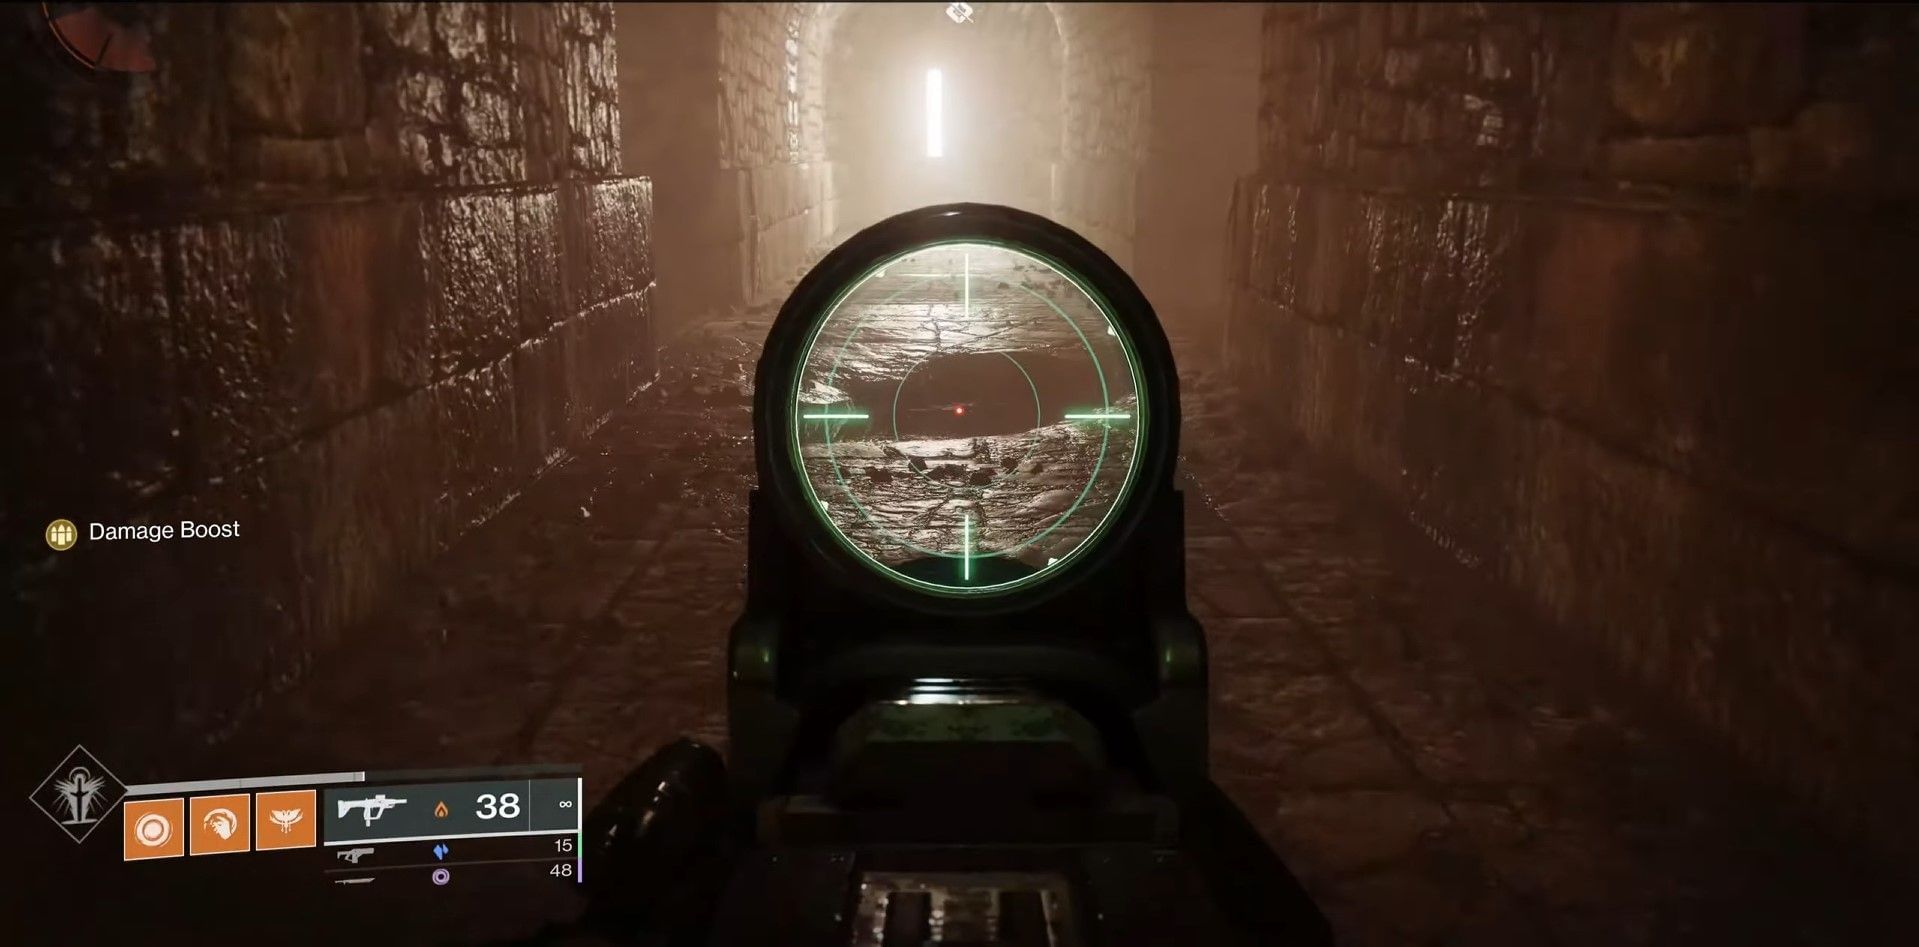
3) Level 1: After the prison escape encounter
After escaping the prison, drop down to the maze and immediately look for another crack on the floor. Drop down, turn behind, and follow the path until you see a crack in the ceiling.
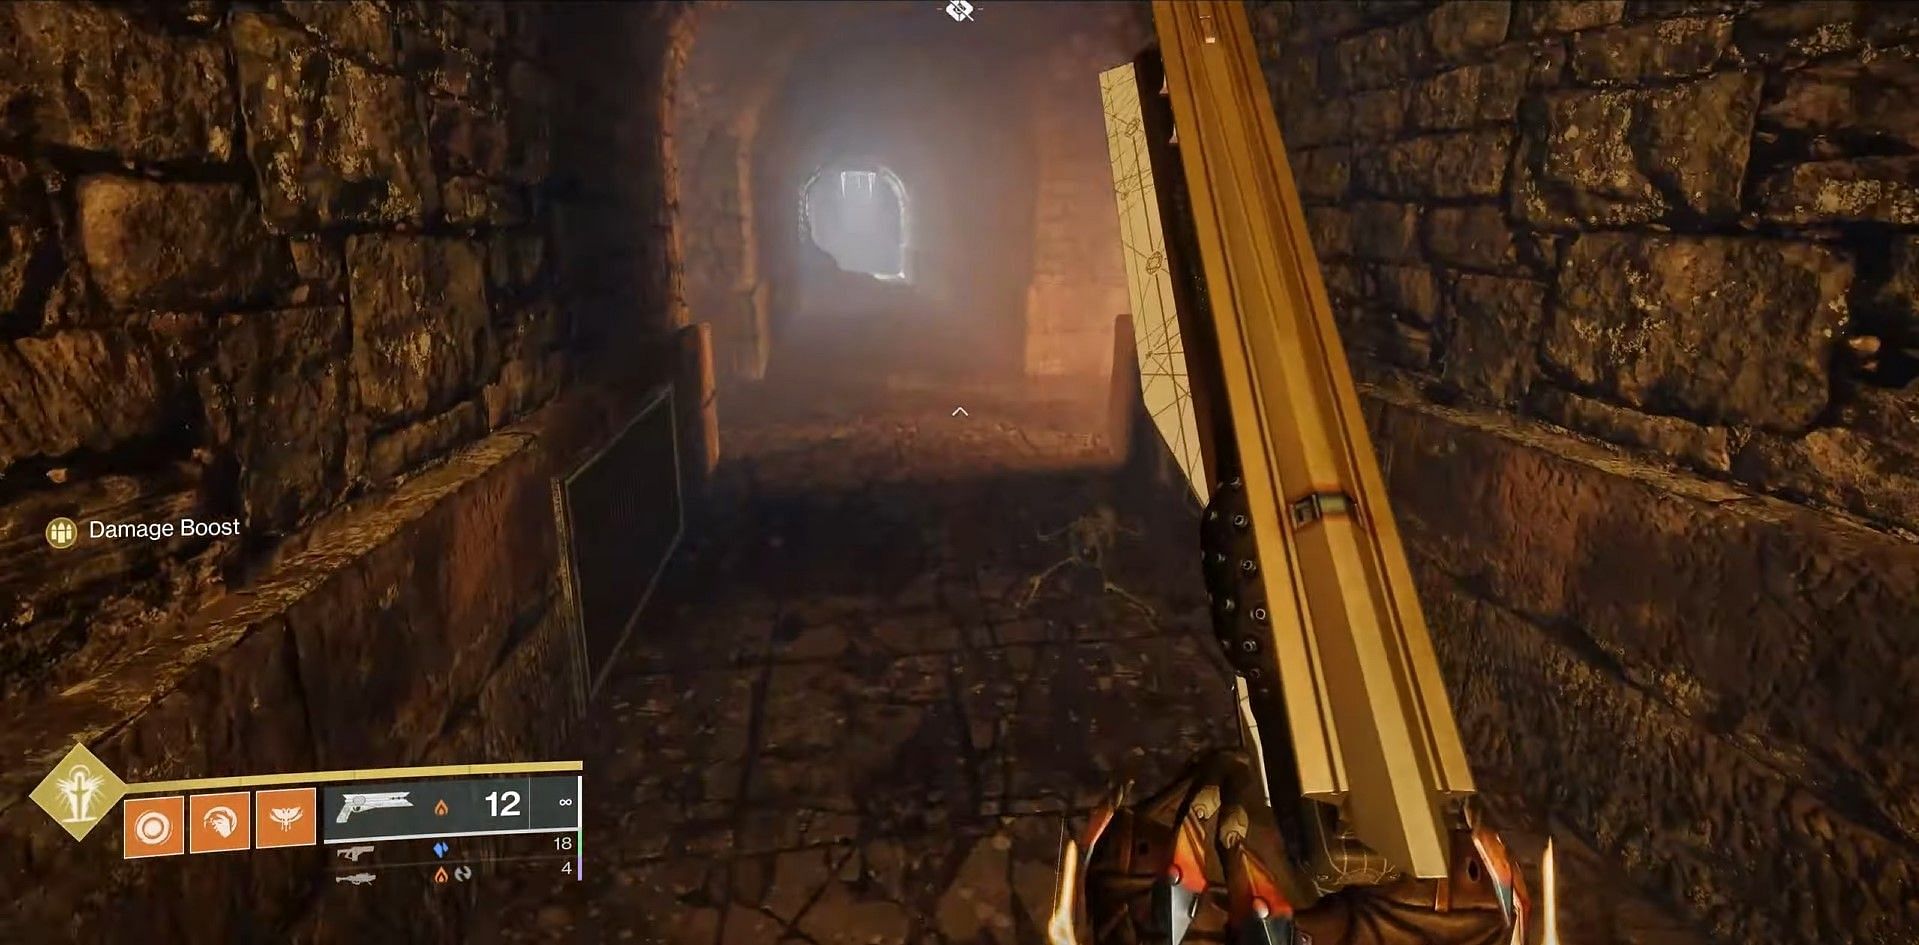
Jump up, turn around, and be careful of a spiked trap on both sides of the wall. The door will be located to your right.
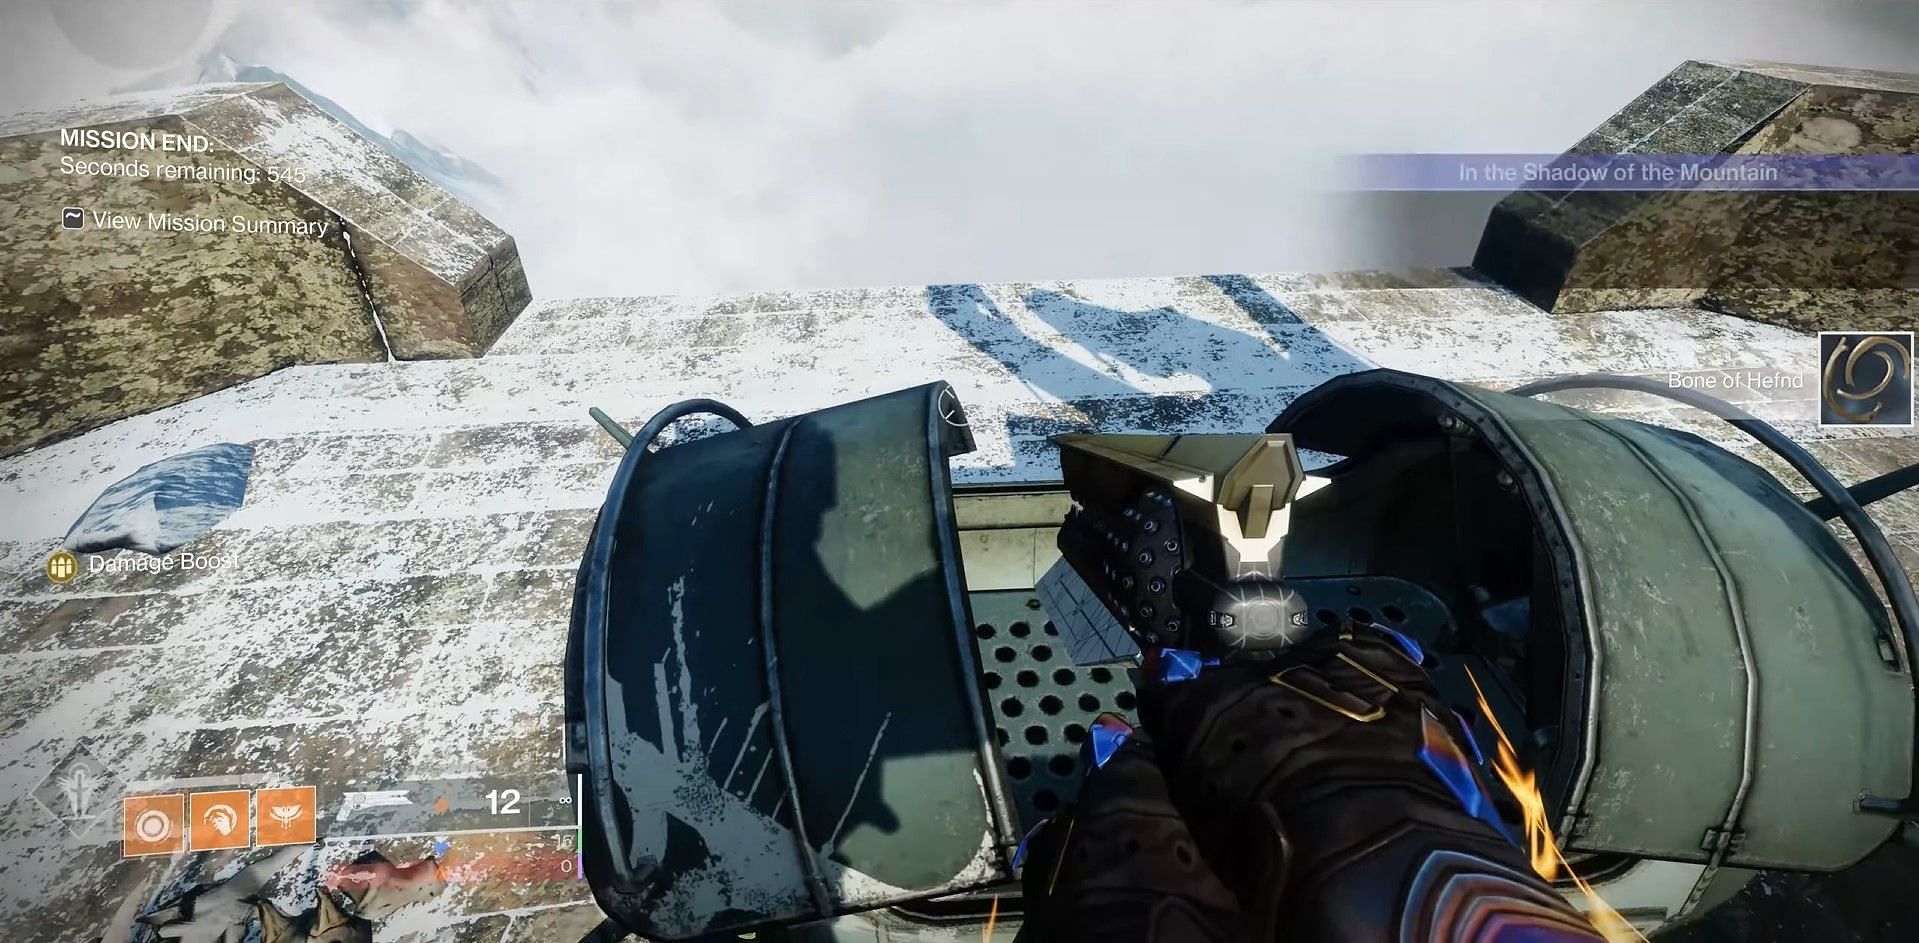
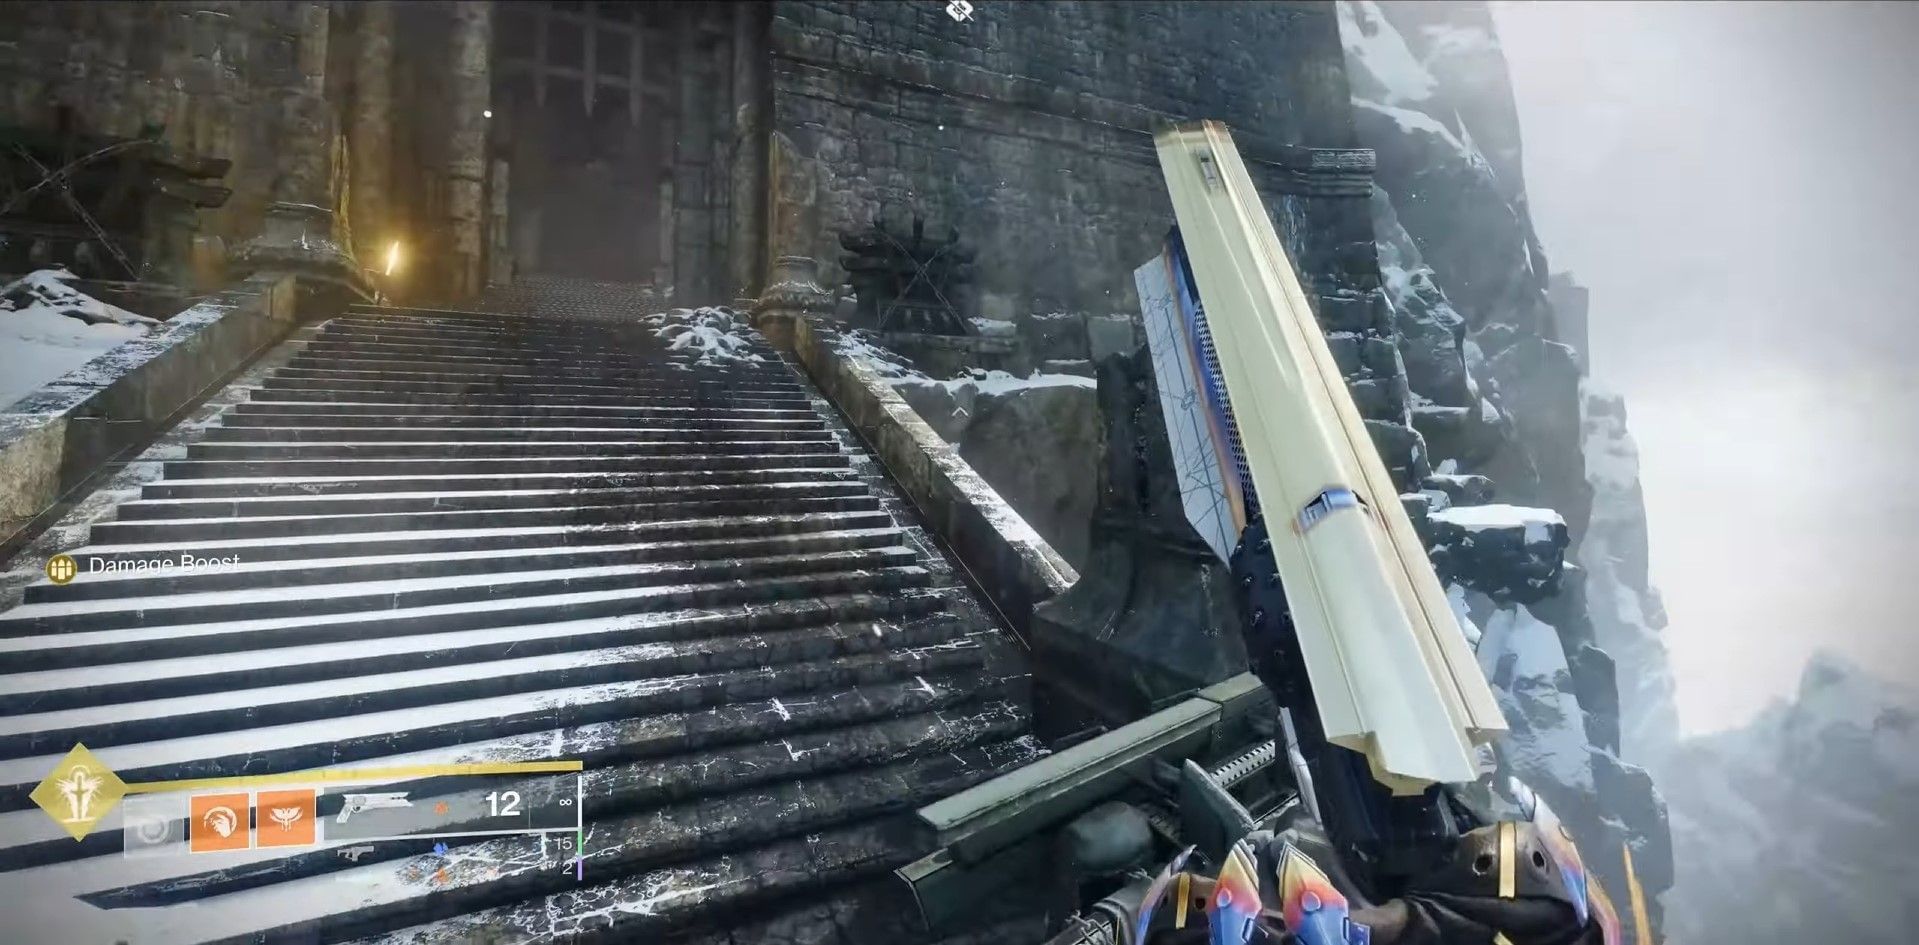
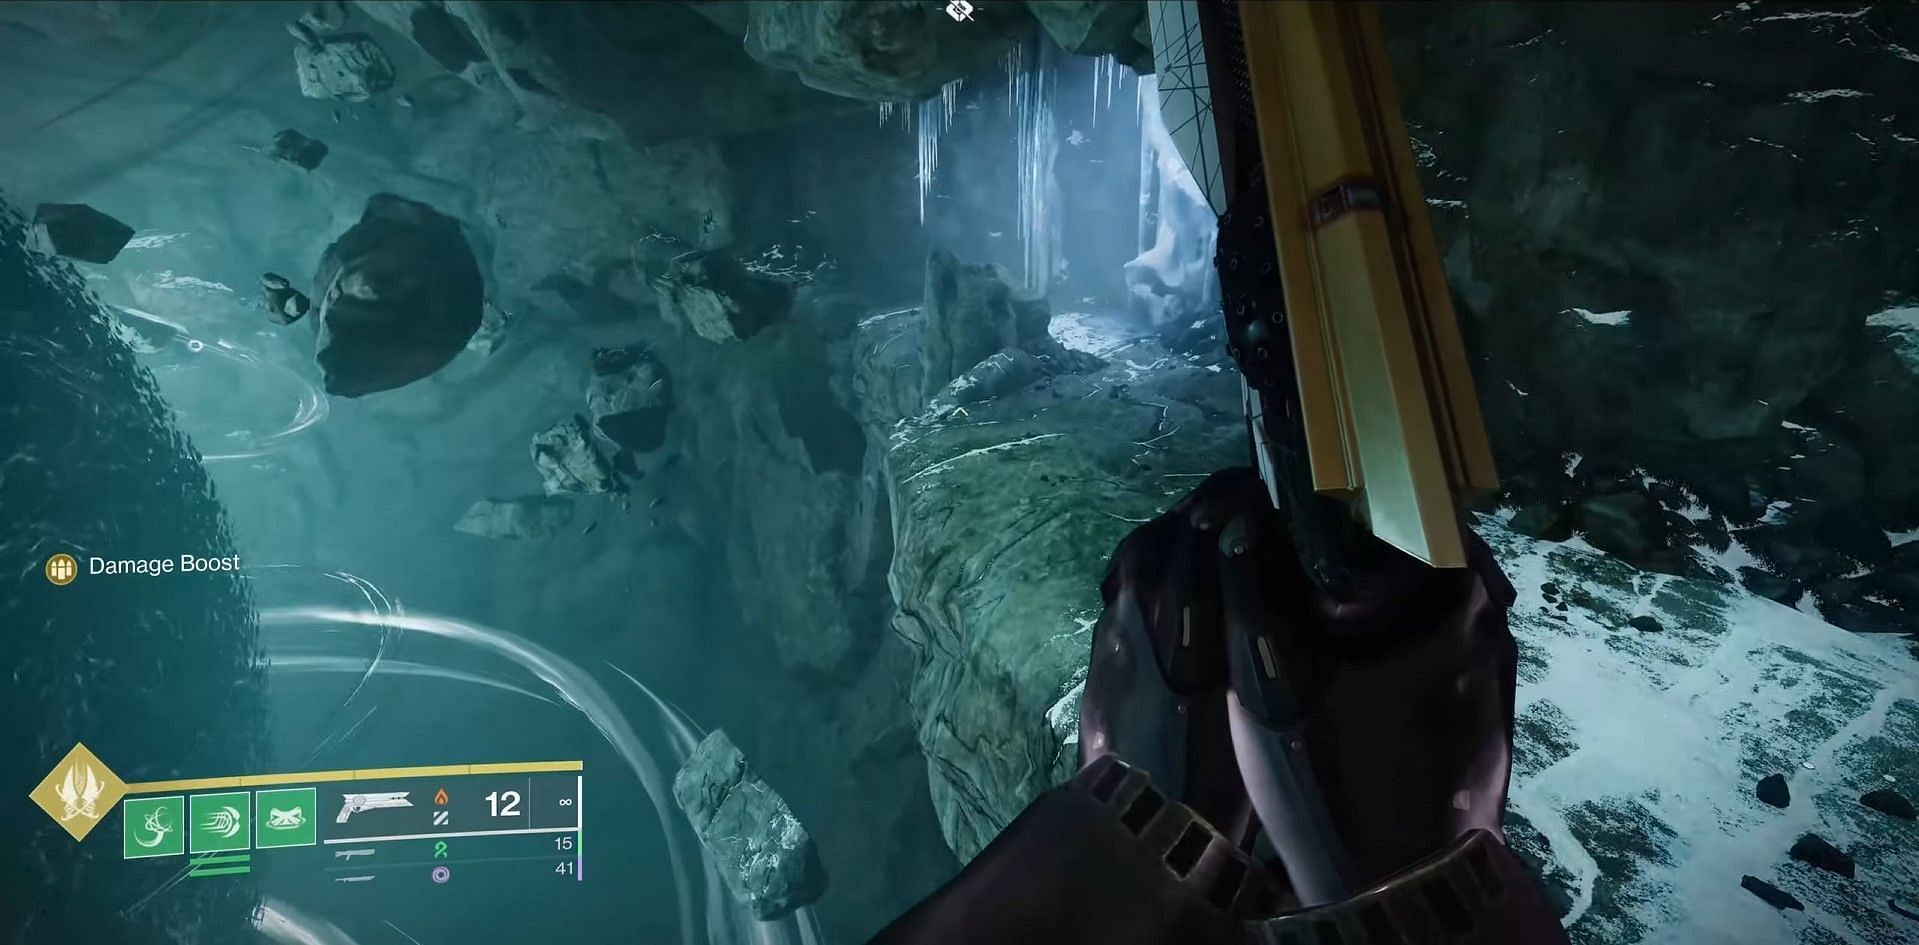
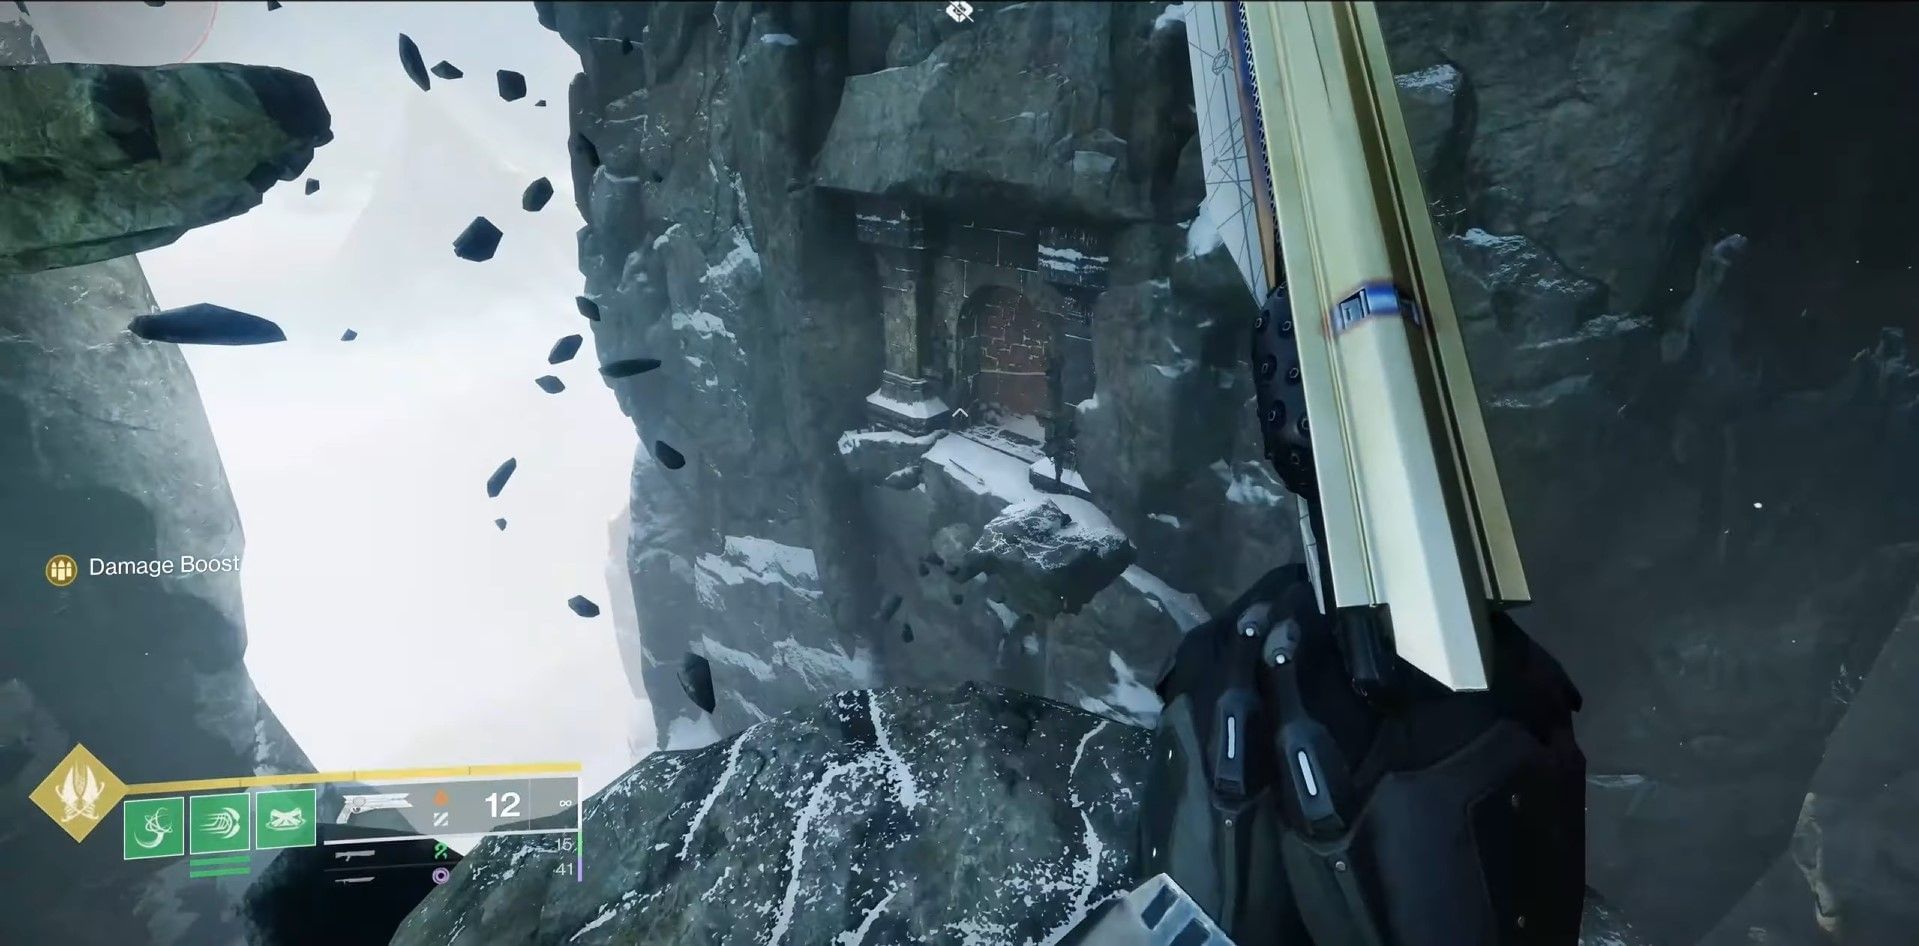
4) Level 1: Jumping puzzle after second boss

Climb outside and take the left mountain edges. Instead of taking the second left to the huge Taken Blight room, keep heading straight until you see a door to your left. The image below should provide a clearer idea.
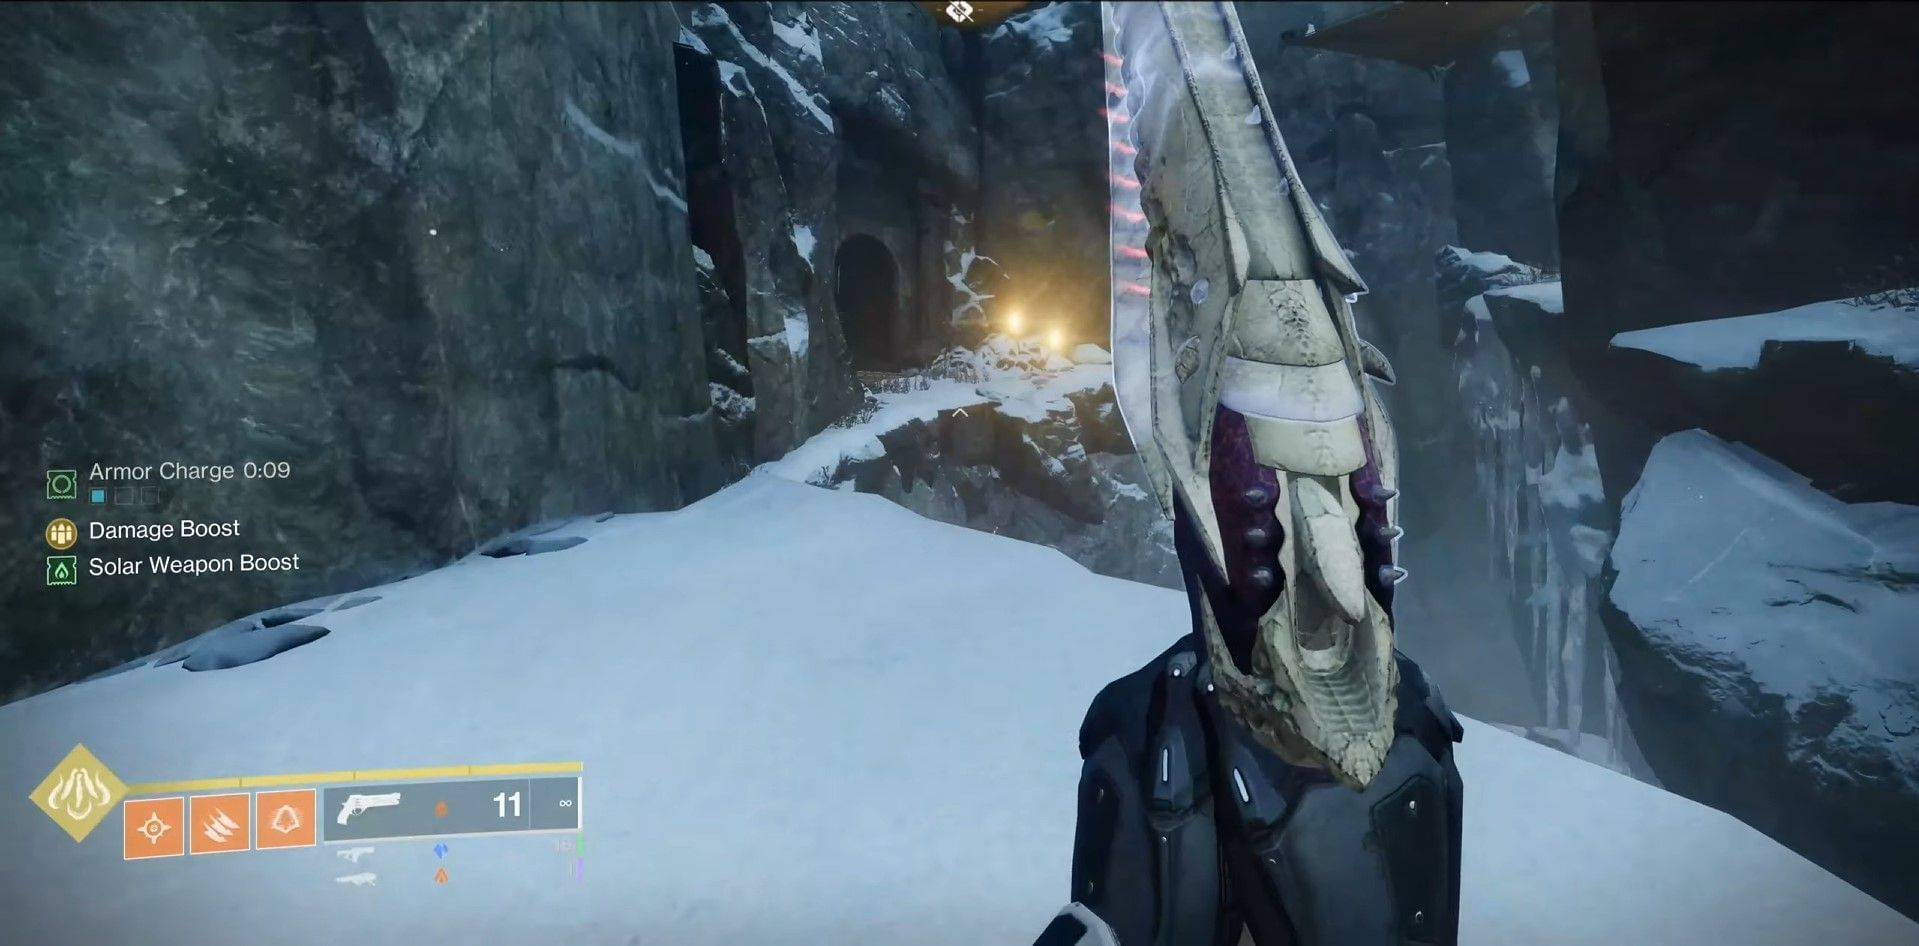
Enter the door and dispel to get the Bone.
5) Level 2: After prison cell
Follow the same route as the "Level 1: After the prison escape encounter" and walk past the Level 1 door. Walk straight and take the left located at the end of the hall. Watch for spike traps and look for a small gap on the wall to your right. Walk through this gap and take a right to arrive in another hallway.
In the new hallway, take the first right, followed by a left to find the Level 2 Taken door.
6) Level 2: After the maze and the first boss
Just before the room with several chests in front of the broken bridge, take the mountain edges to your right and keep going until you see a small sewer entrance on the wall.
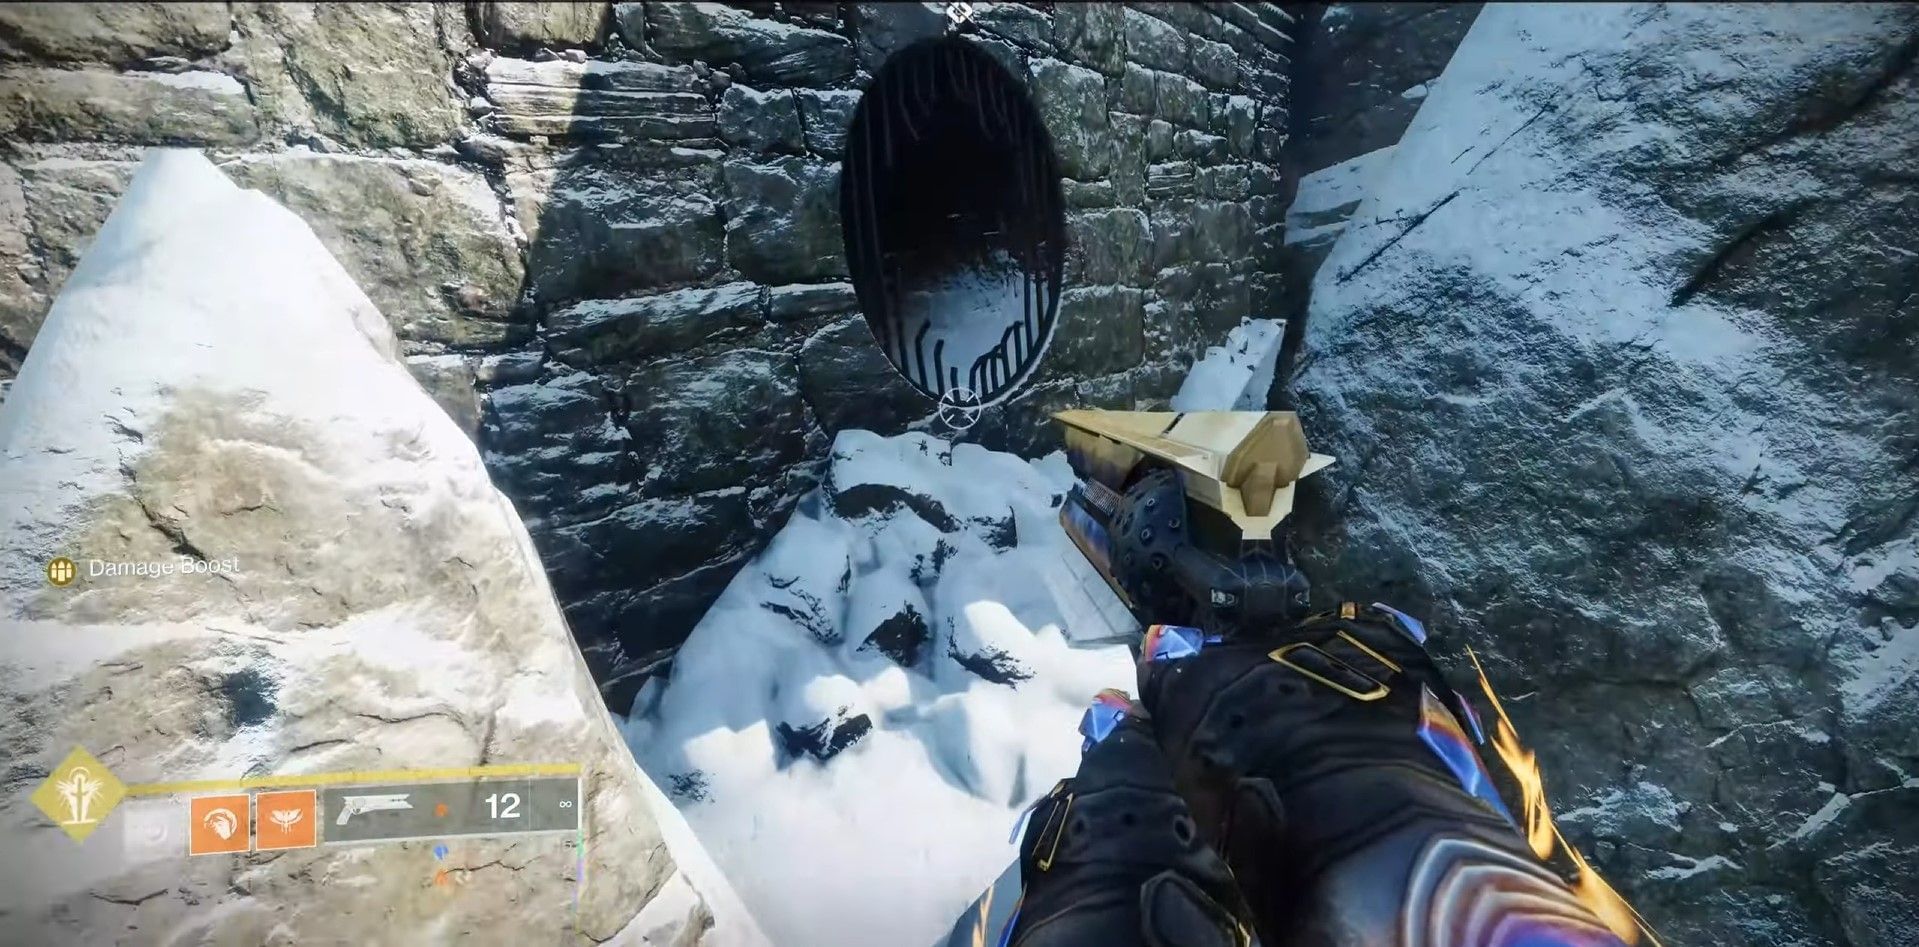
The door should be right in front of you.
7) Level 2: After the room with several chests
Head straight from the chest room through the small hole and climb up. Just before heading outside, look to your left for a small gap on the wall and head inside. Climb the stairs to find the door.
8) Level 3: After the prison cell
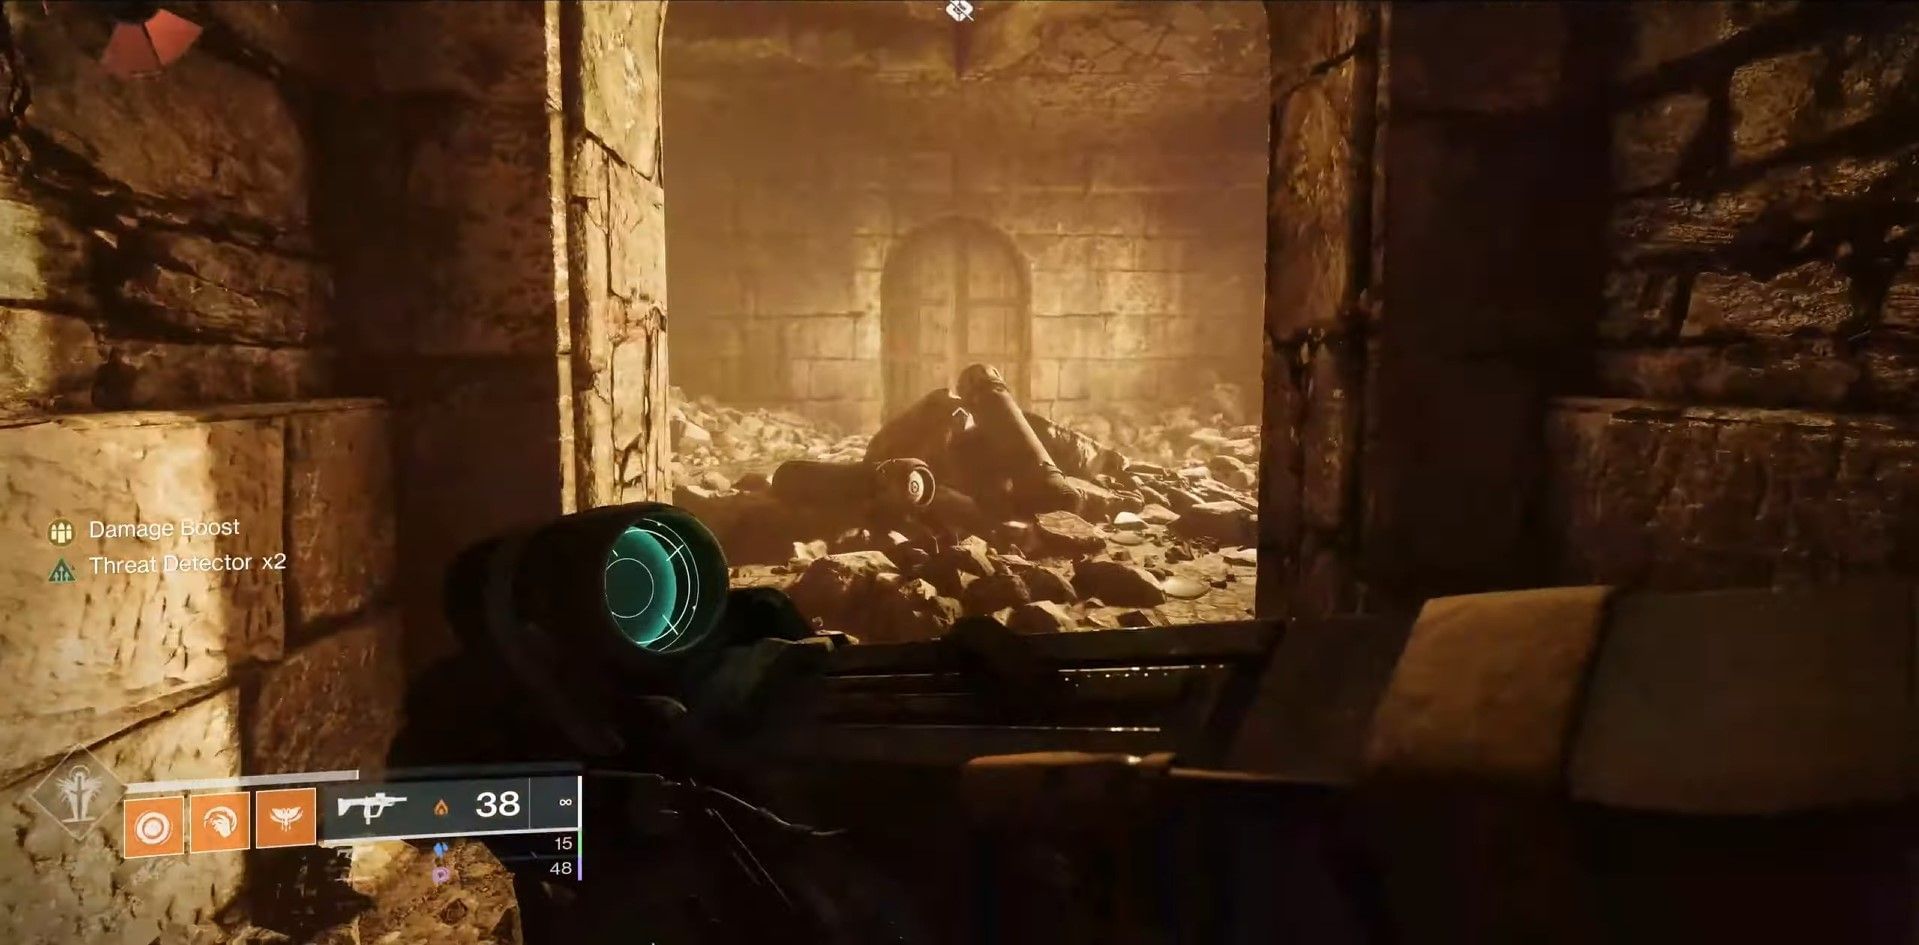
Follow the same path until you arrive at the door of "Level 2: After prison cell." From there, take a right and head down the stairs. Follow the path and look for a room with cylinders on the floor. Climb up from this room through the crack in the ceiling.
After climbing, walk through the door and take a left. Instead of falling down the hole, hop across and look for the door at the end of the hallway.
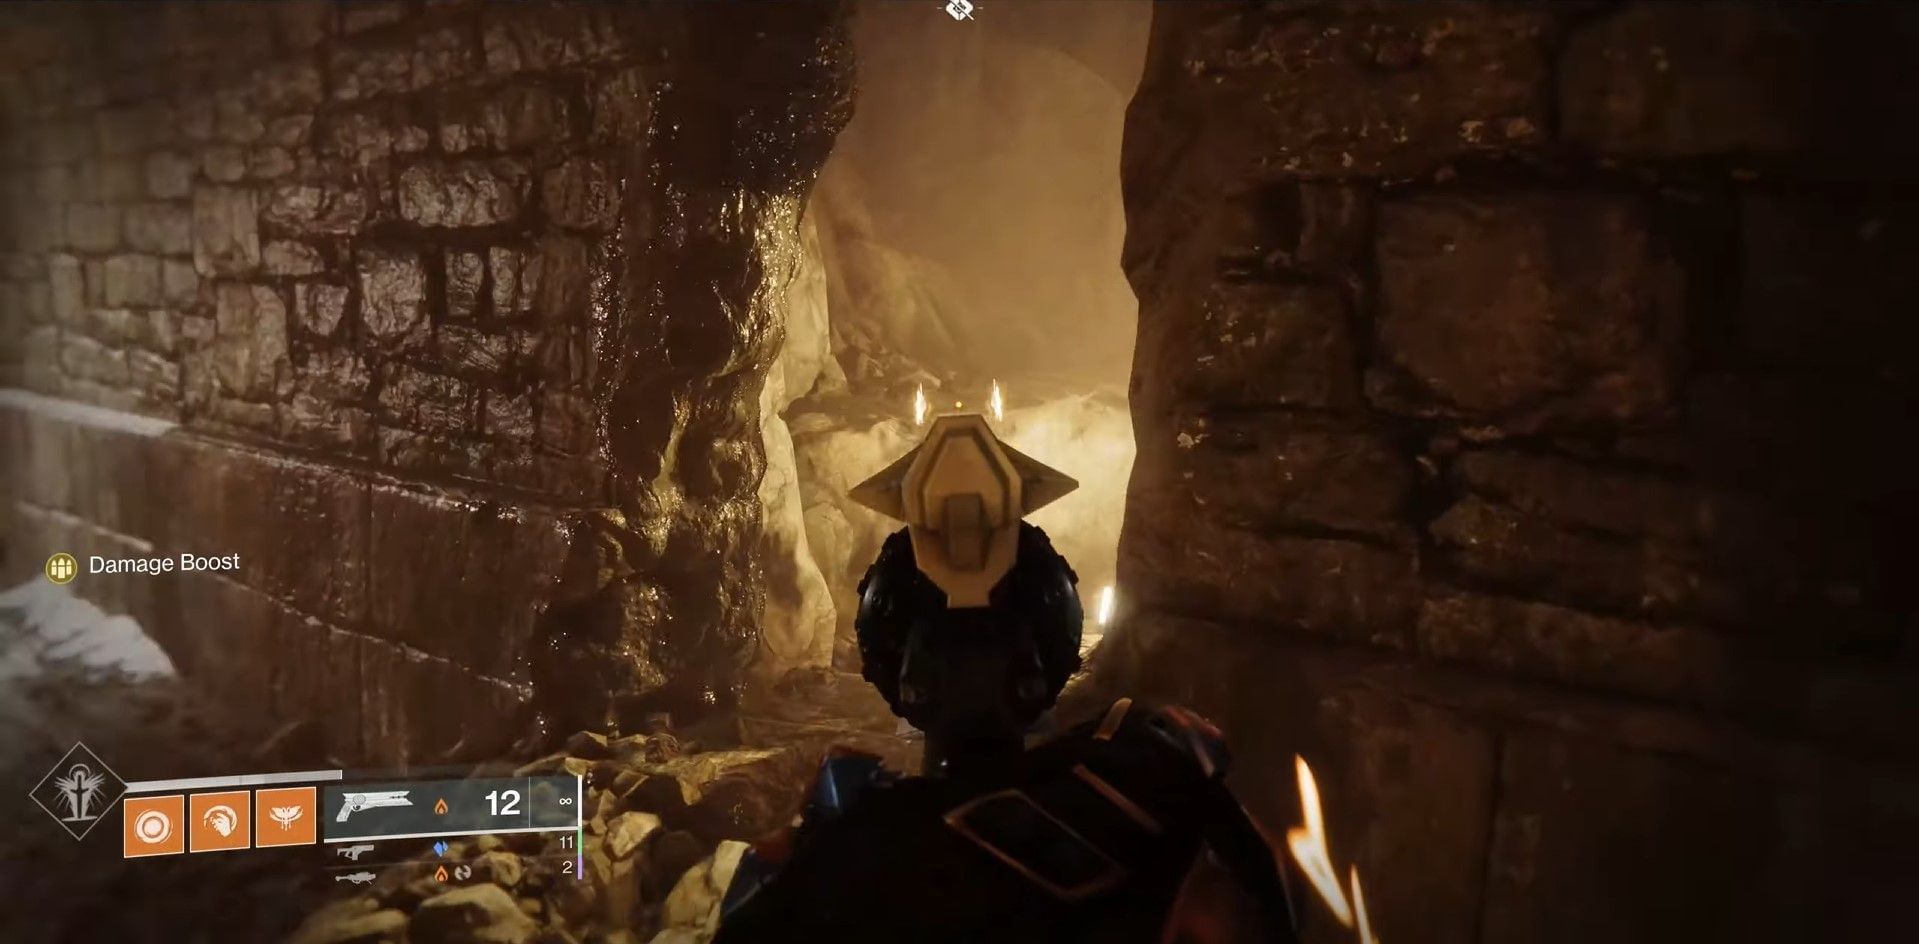
9) Level 3: Huge Taken Blight jumping puzzle
Just before the end of the puzzle, you will need to look for a small mountain edge on the lower side to your right. The image below should provide a clearer idea.
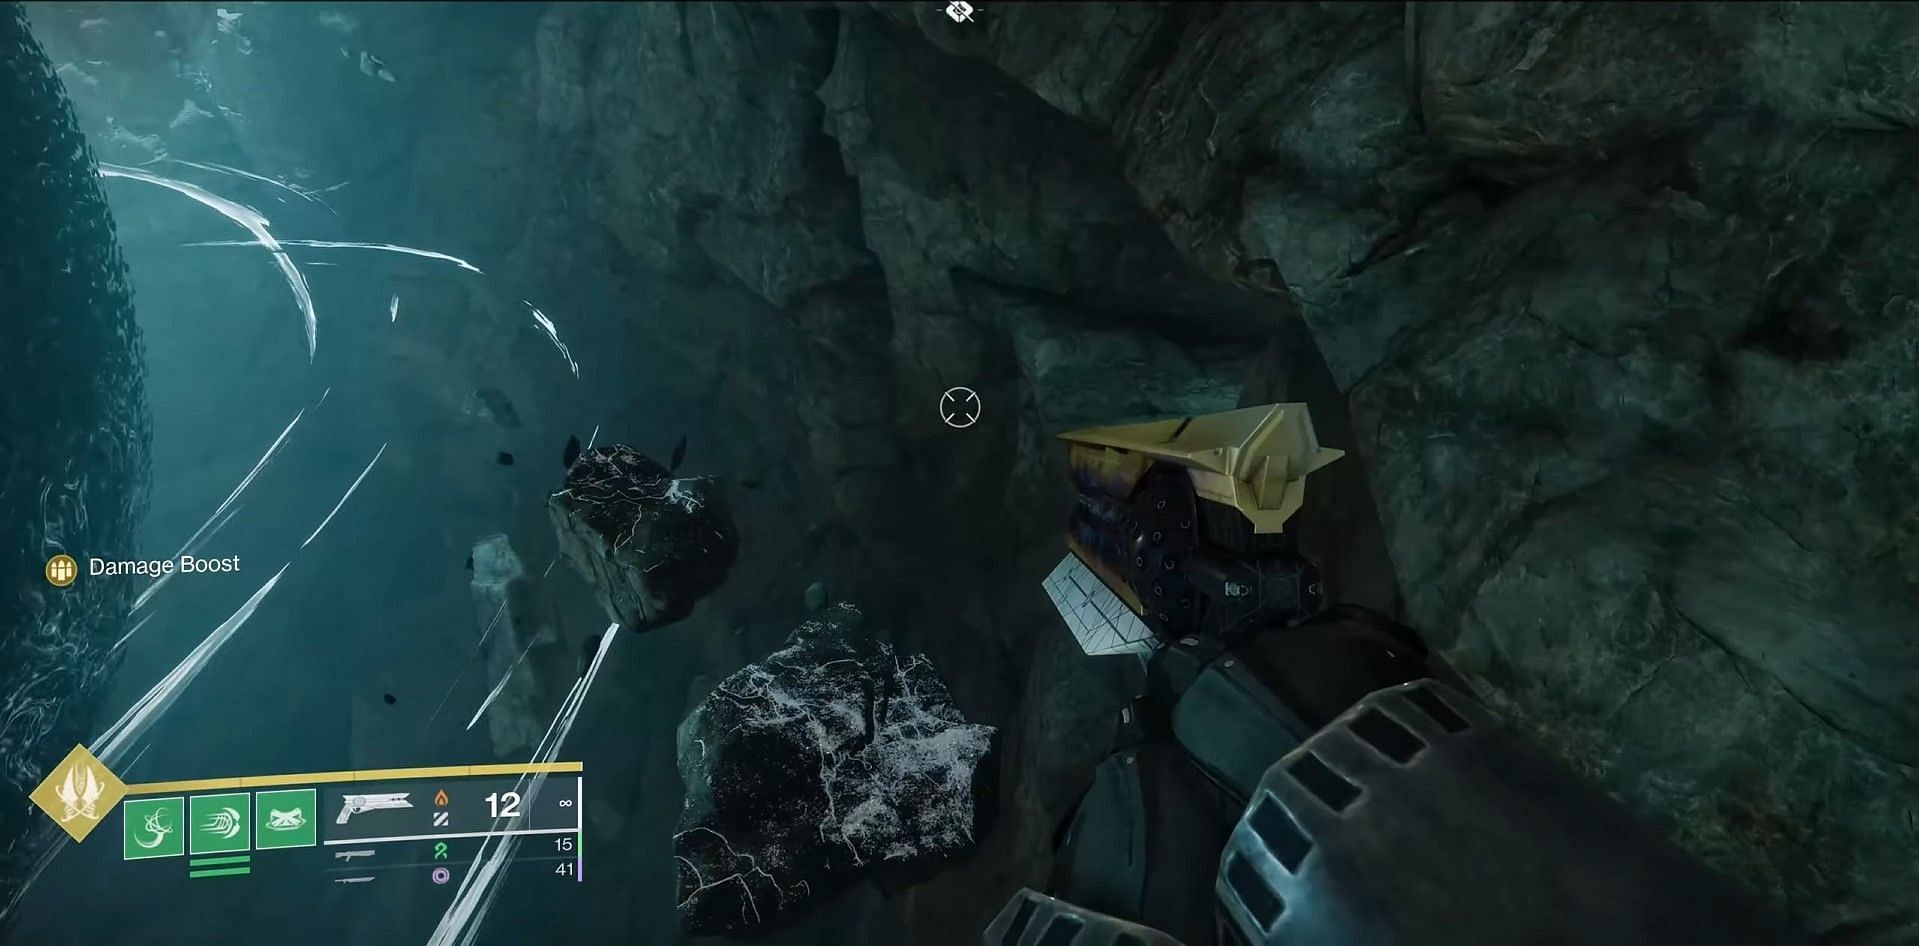
After the first small area with white lights and ice, keep jumping down and look for a gap to your right.
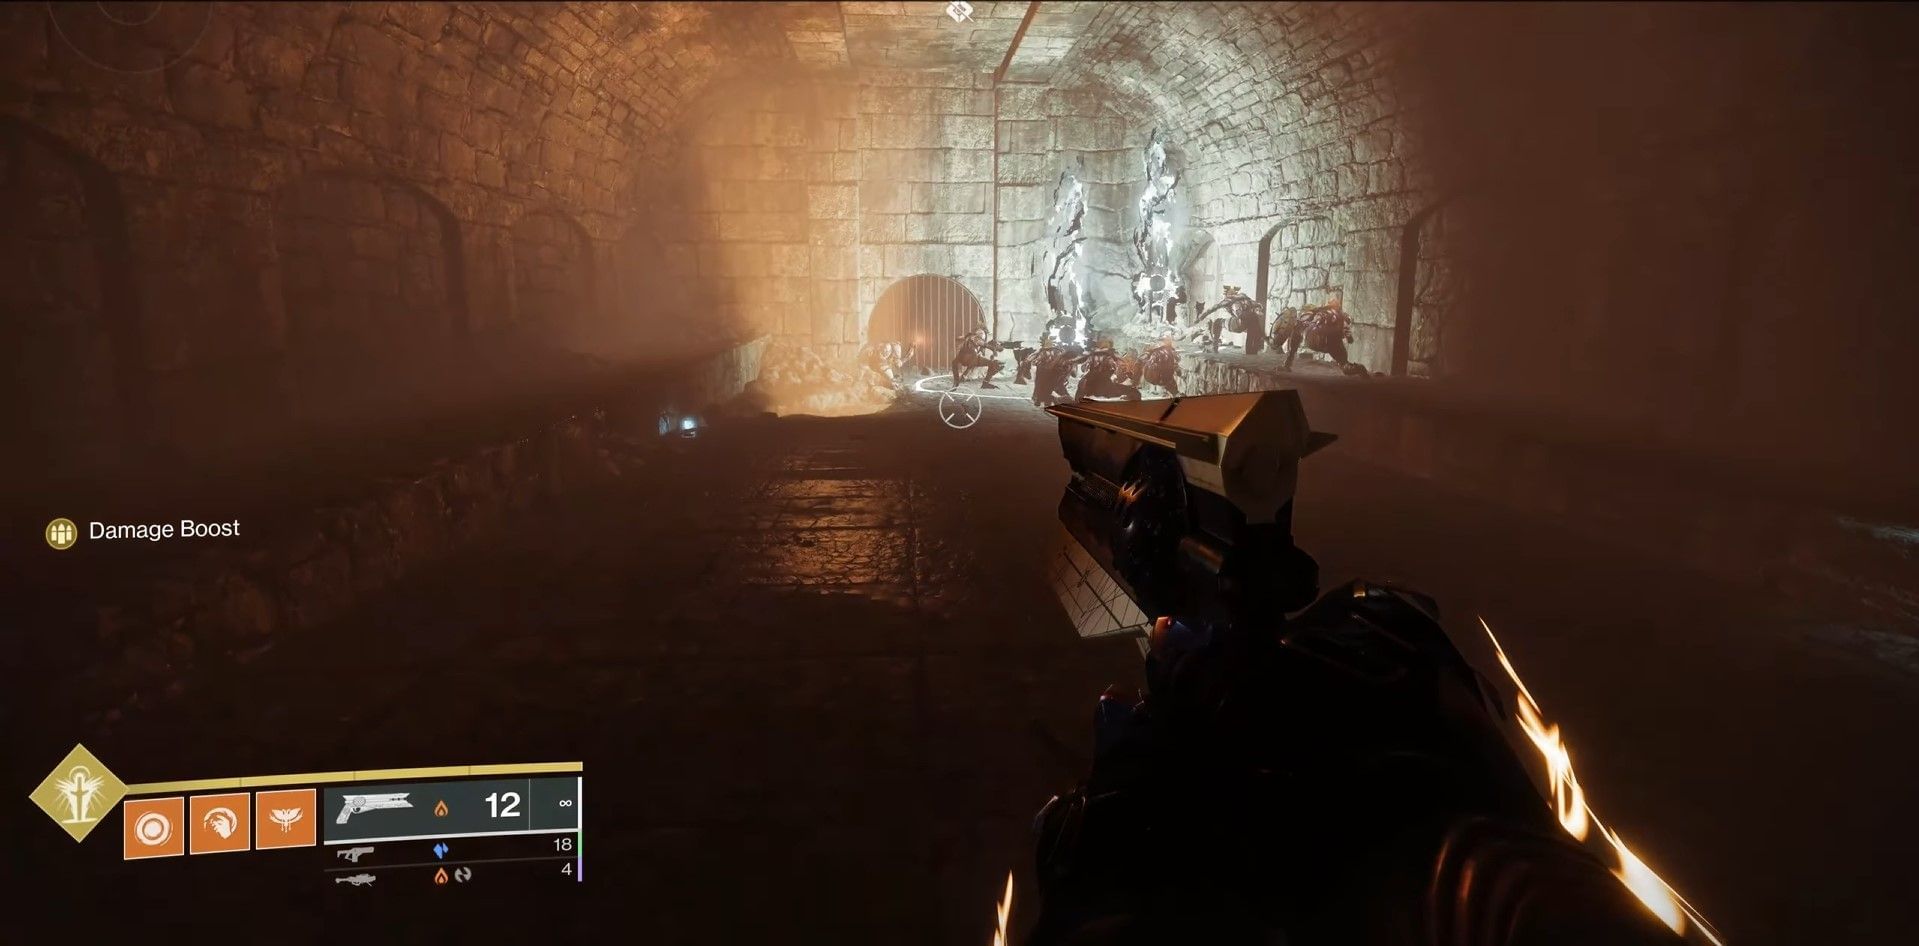
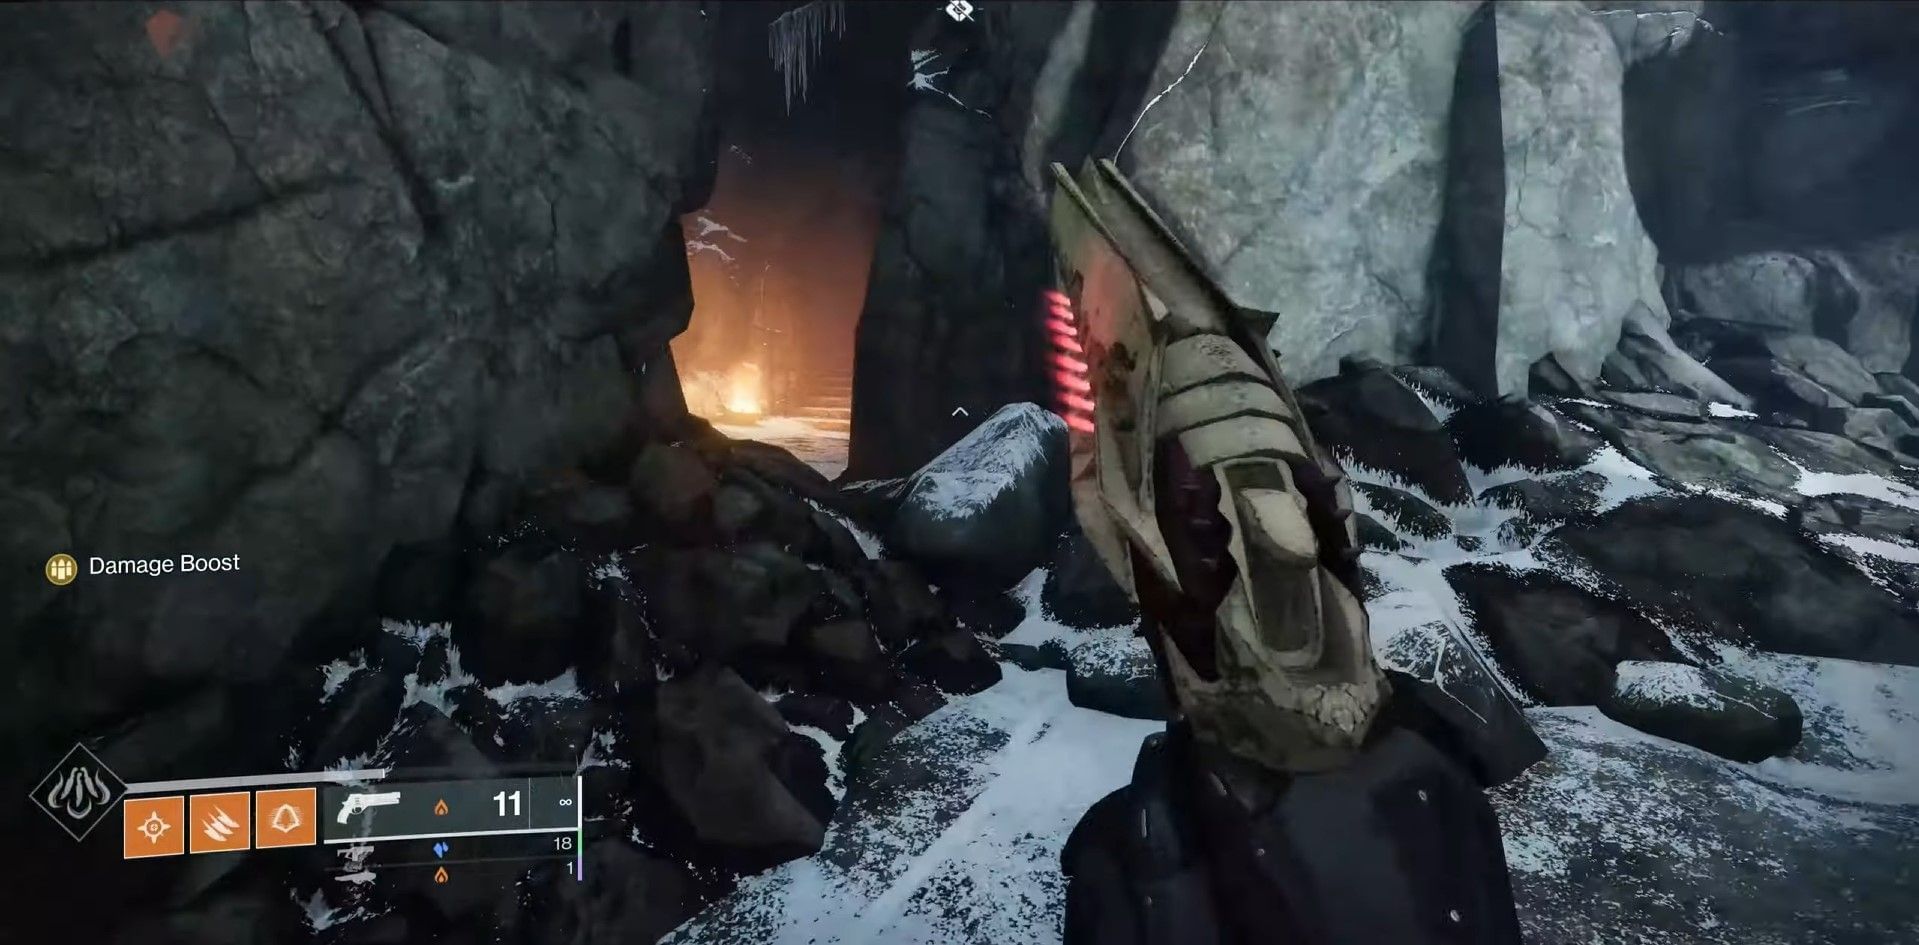
10) Level 3: After Taken Blight jumping puzzle
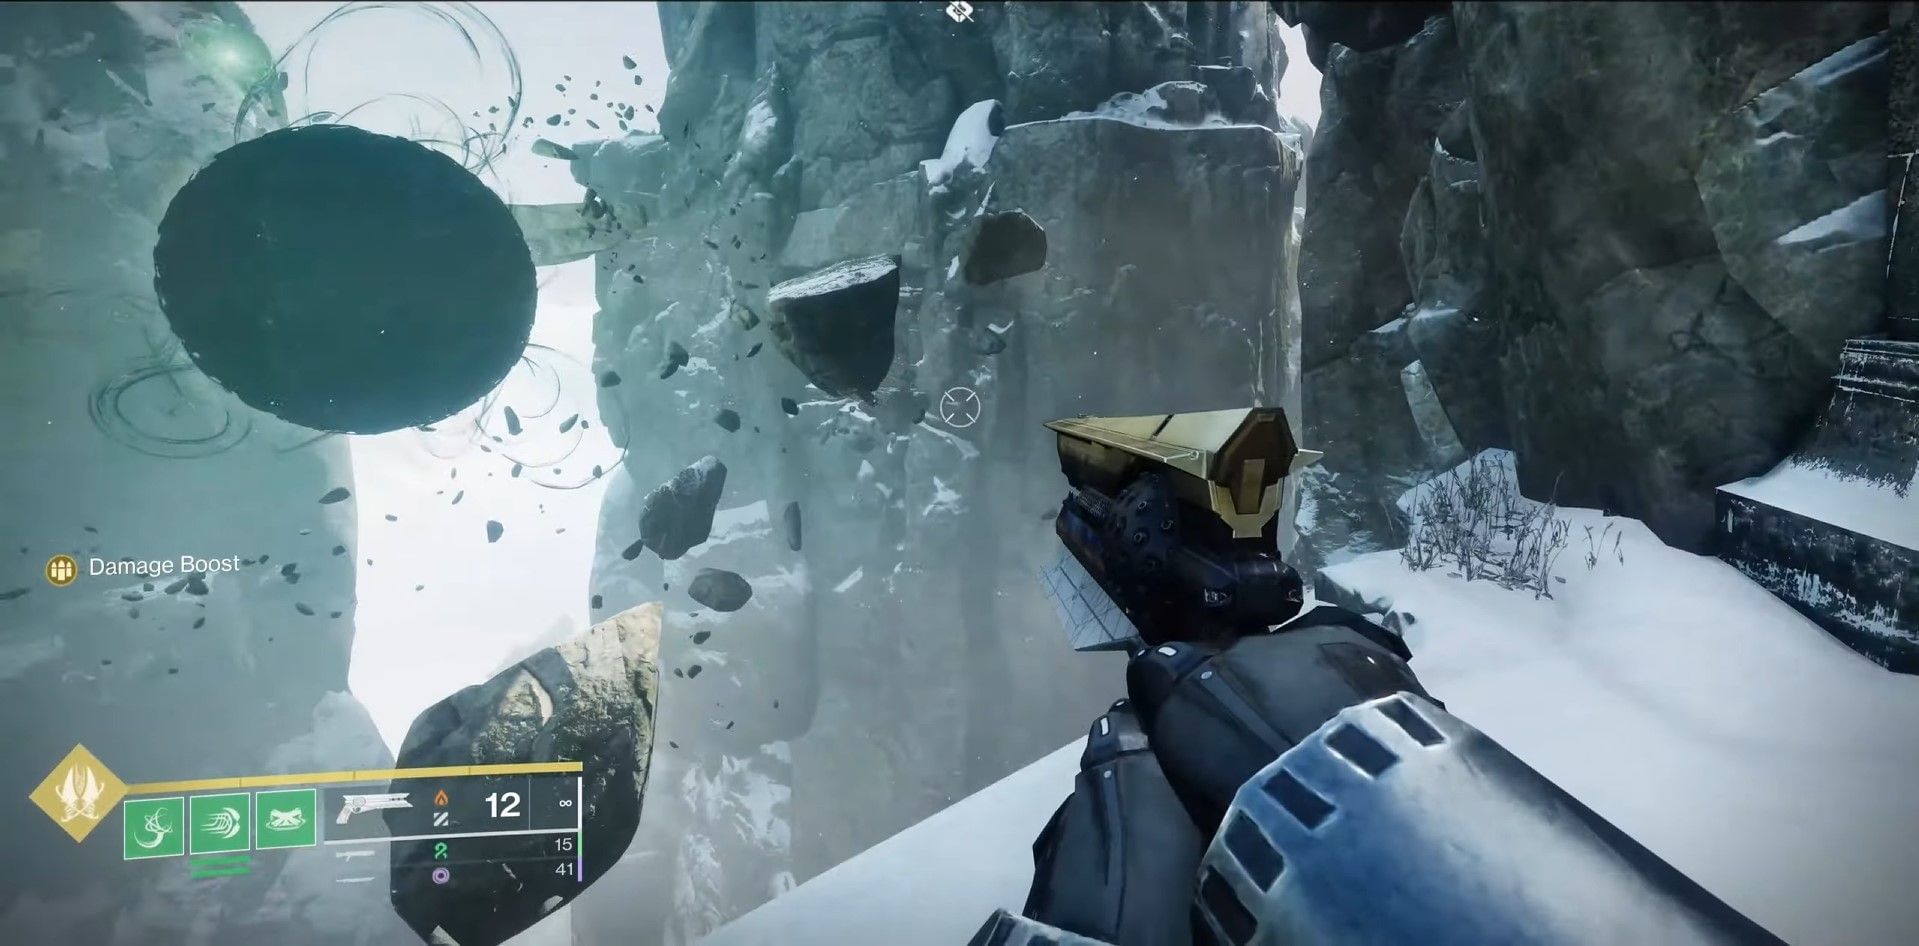
Follow the path until you come across an area with another Taken Blight in the middle, with a couple of Scorn Void Crossbow enemies.
Make your way to the entrance located directly opposite from where you came in, behind the Blight. Head inside and you will find the door.
Check out other guides on this game from Sportskeeda:
5 best Rocket Launchers for PvE || Destiny 2 weekly reset || Destiny 2 this week at Xur || Destiny 2 Grandmaster Nightfall calendar || Destiny 2 server status || Destiny 2 PvP build tier list || Destiny 2 PvE build tier list || Everything to expect from Destiny 2 in 2024 || All Destiny 2 Into the Light weapons and perks || All free emblem codes
