'%20x='0'%20y='0'%20height='100%25'%20width='100%25'%20%0A%20%20%20%20%20%20%20%20%20%20xlink%3Ahref='data:image/jpg;base64,/9j/2wBDAAYEBQYFBAYGBQYHBwYIChAKCgkJChQODwwQFxQYGBcUFhYaHSUfGhsjHBYWICwgIyYnKSopGR8tMC0oMCUoKSj/2wBDAQcHBwoIChMKChMoGhYaKCgoKCgoKCgoKCgoKCgoKCgoKCgoKCgoKCgoKCgoKCgoKCgoKCgoKCgoKCgoKCgoKCj/wgARCAAGAAoDASIAAhEBAxEB/8QAFgABAQEAAAAAAAAAAAAAAAAAAAQH/8QAFQEBAQAAAAAAAAAAAAAAAAAAAQL/2gAMAwEAAhADEAAAAMmiCv/EACEQAAEDAwQDAAAAAAAAAAAAAAIBAwQAERMGEhUhInHS/9oACAEBAAE/AG5HHaakvHHiPmYNOqRNeYblVLCVZrdYIy+wX6r/xAAYEQACAwAAAAAAAAAAAAAAAAAAAQMRIv/aAAgBAgEBPwCLStn/xAAVEQEBAAAAAAAAAAAAAAAAAAAAAf/aAAgBAwEBPwCv/9k='%3E%3C/image%3E%3C/svg%3E)
The Borderlands 4 Ironwall Resolve Bunker is one of the last you will encounter as you progress through the Main Missions to reach the Timekeeper. Much like other Bunkers, clearing this one out will not only give you loot (Legendary weapons), but SDUs (Storage Deck Upgrade) Tokens as well.
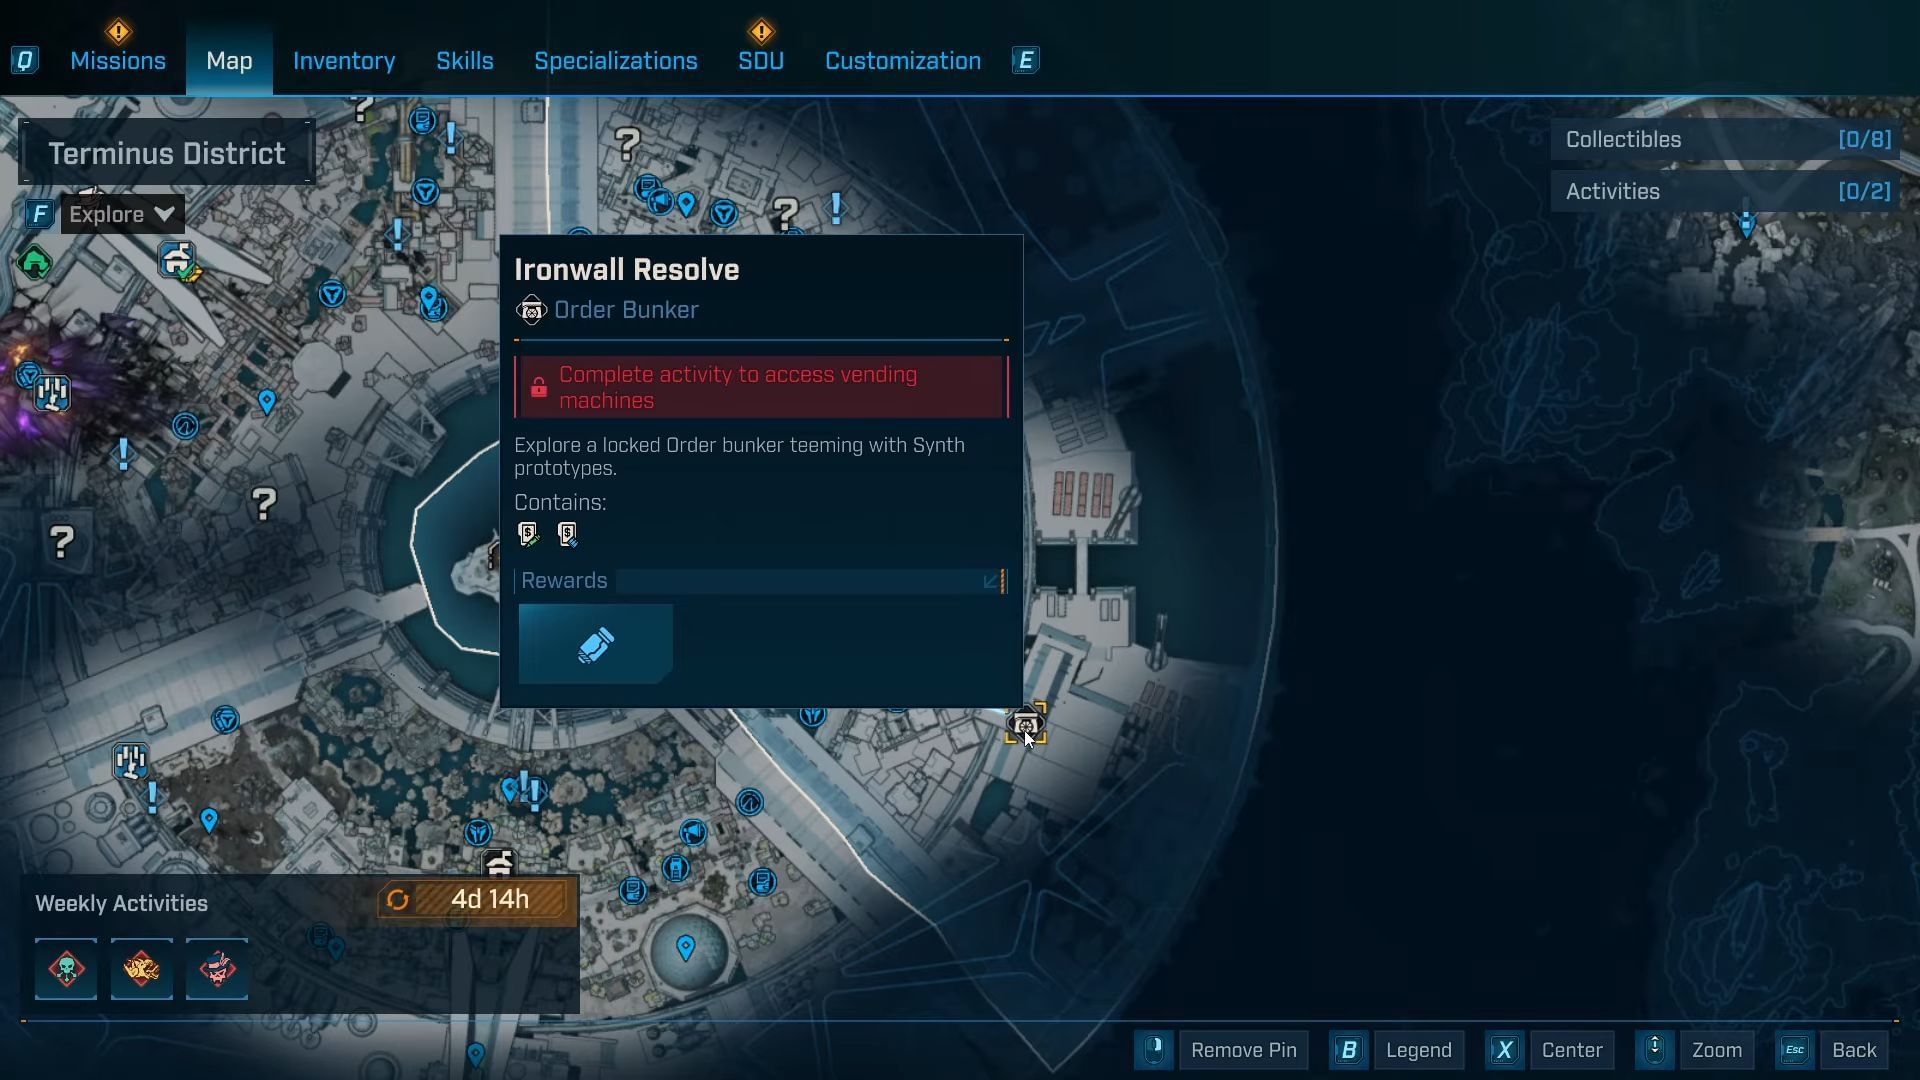
That being said, here is everything you need to know about the Borderlands 4 Ironwall Resolve Bunker: where to find it, how to defeat the boss within, and the loot you can expect to find.
Borderlands 4 Ironwall Resolve Bunker: Everything you need to know
Location
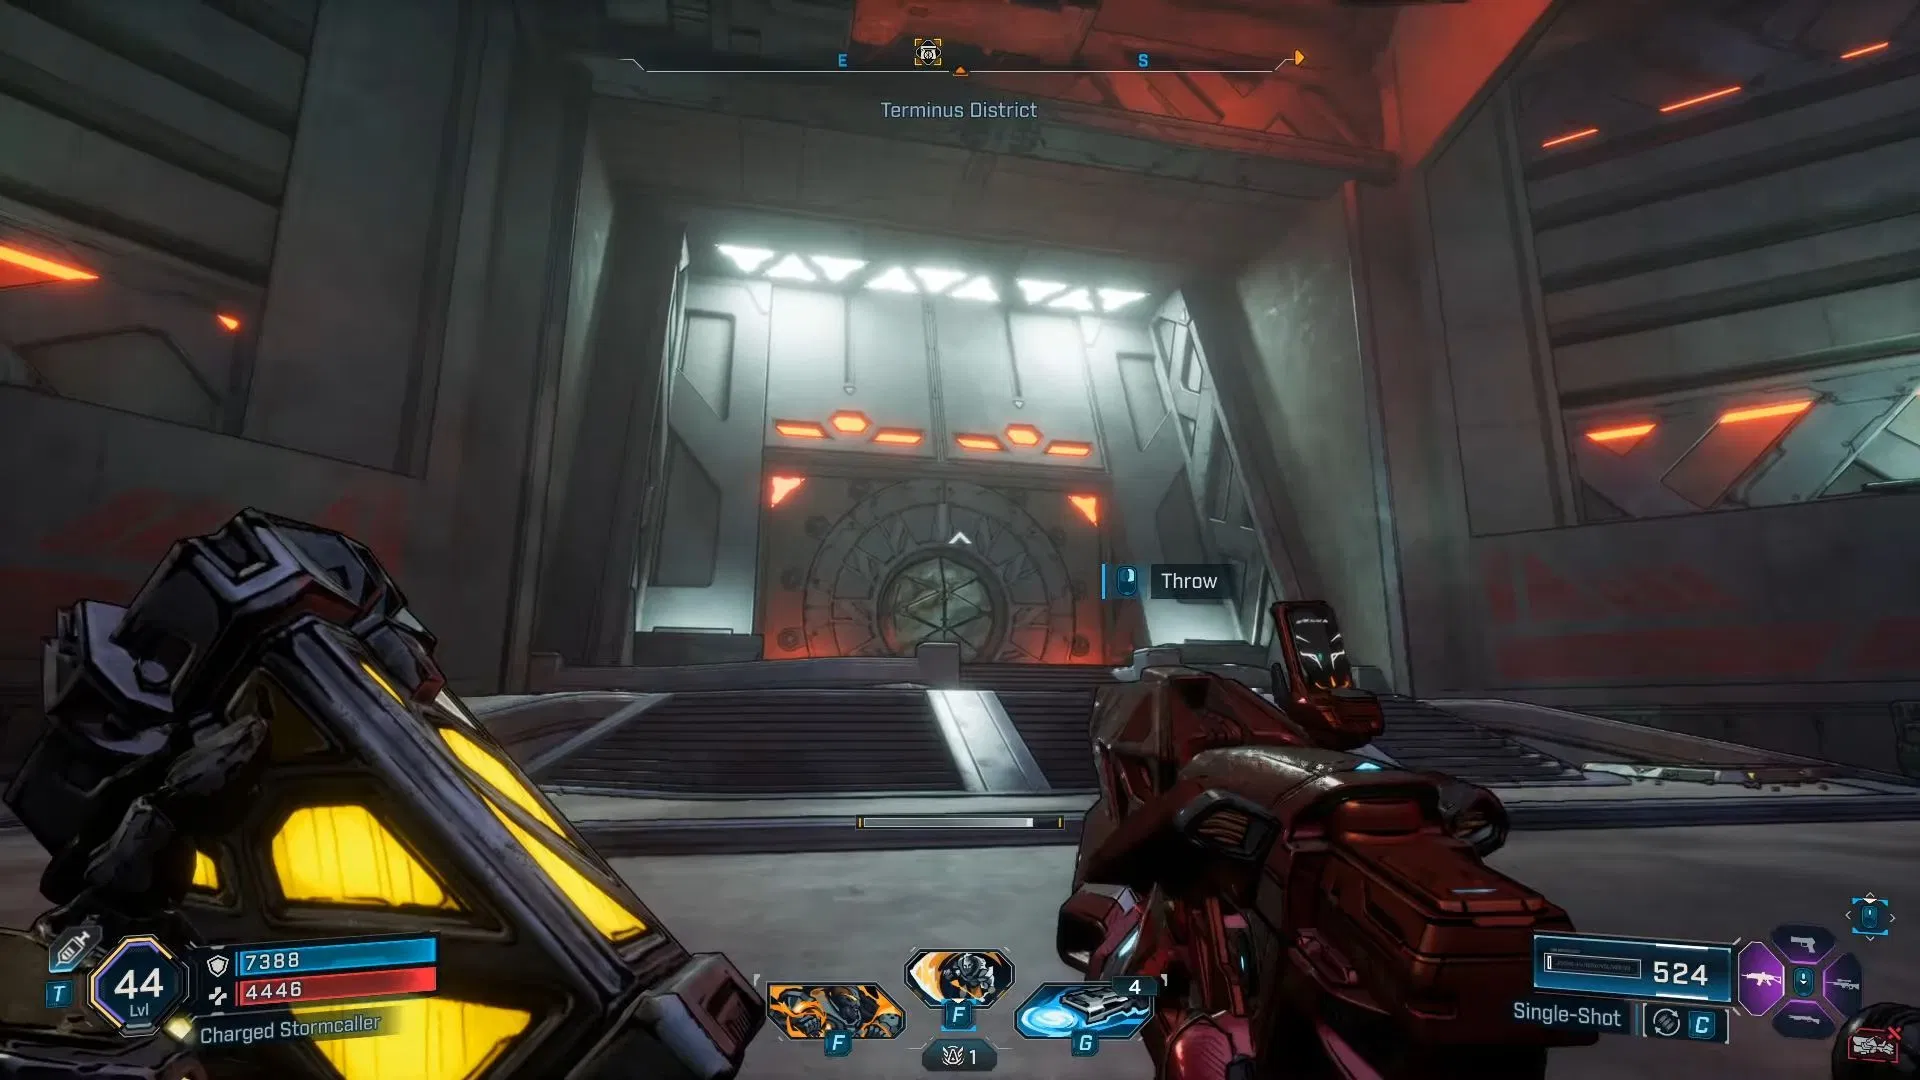
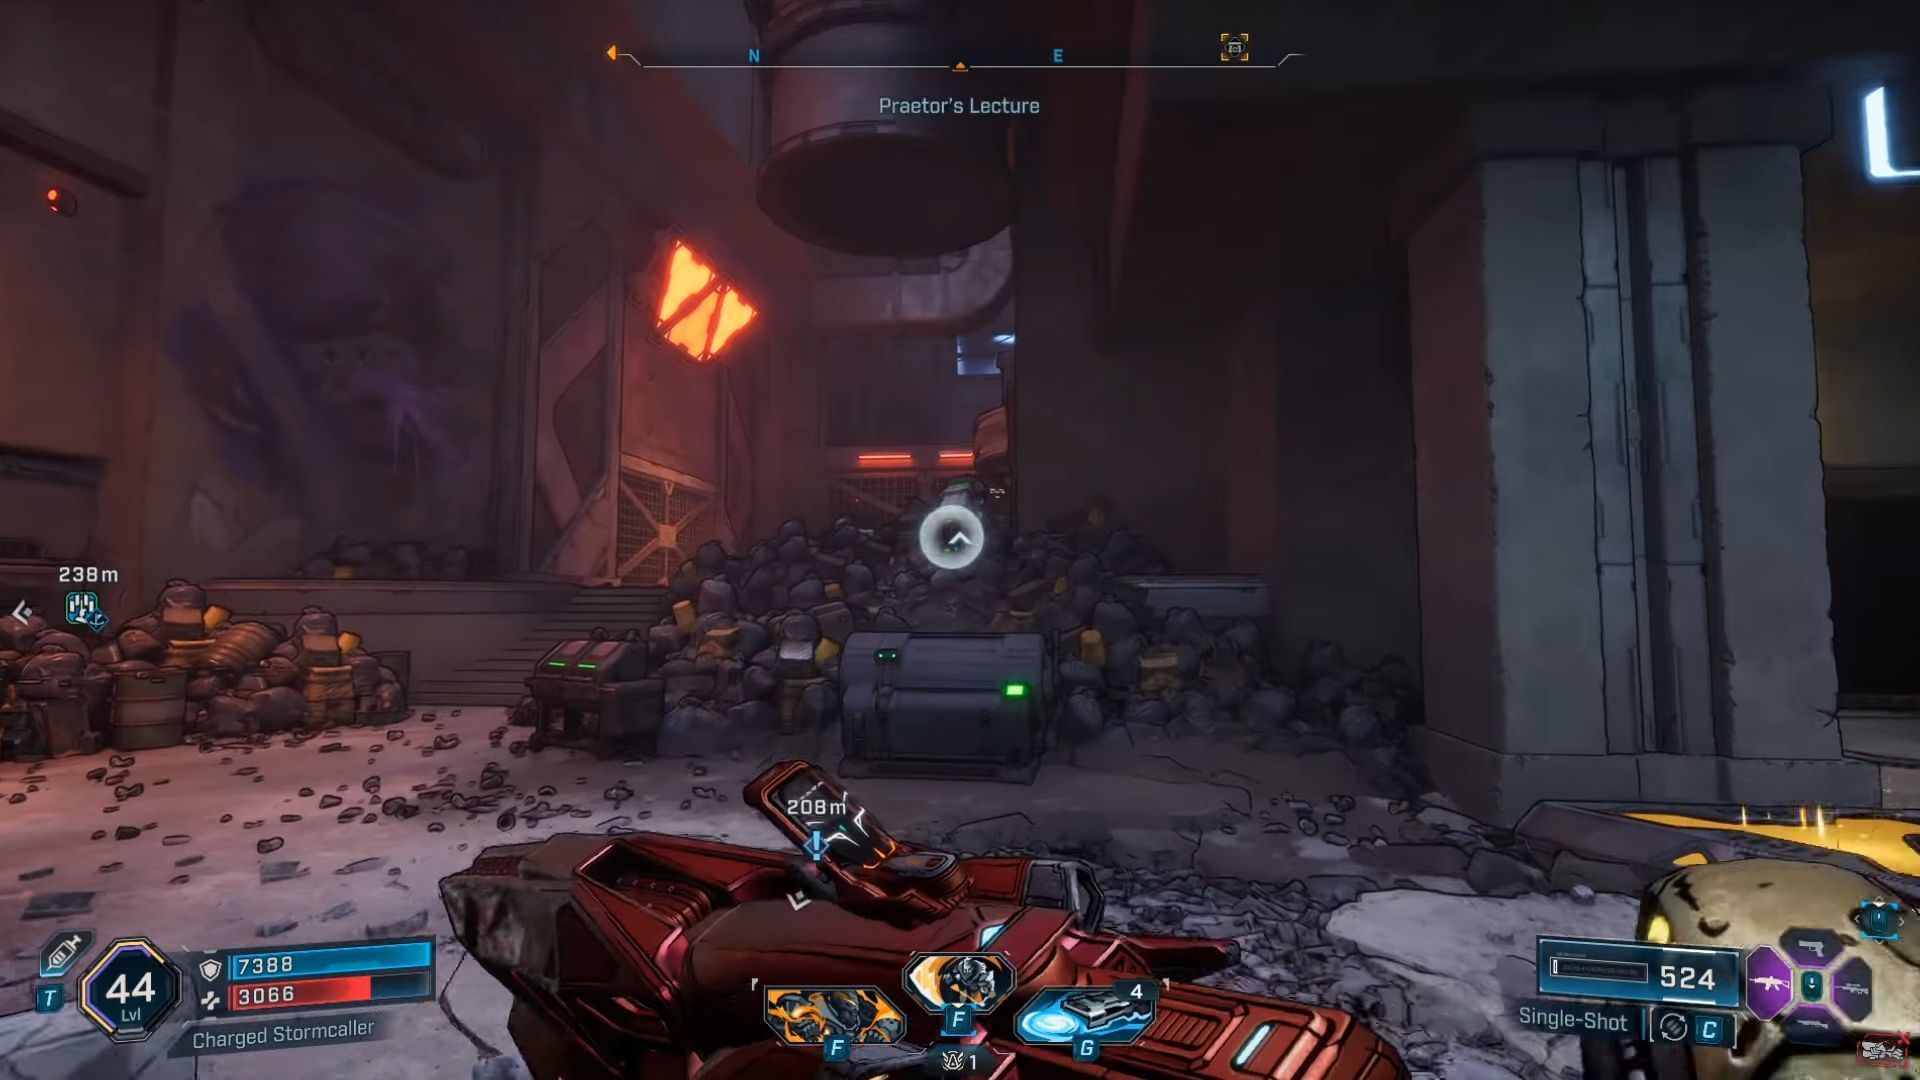
The closest Fast-Travel point to get to this Bunker is Frantic Scraw. The entrance to it can be found atop a staircase. To gain access, you'll need to find the Locust Station, which can be found next to a pile of trash adjacent to a house. The Locus Station is found atop it. From here, you can grab a Locust Canister to open the bunker door.
However, keep in mind that the Borderlands 4 Ironwall Resolve Bunker can only be accessed after you complete the One Gassy Issue Side Mission. You can start this side Mission by talking to Beth, located north of Sumpview Falls Safehouse in the Fades District.
Boss
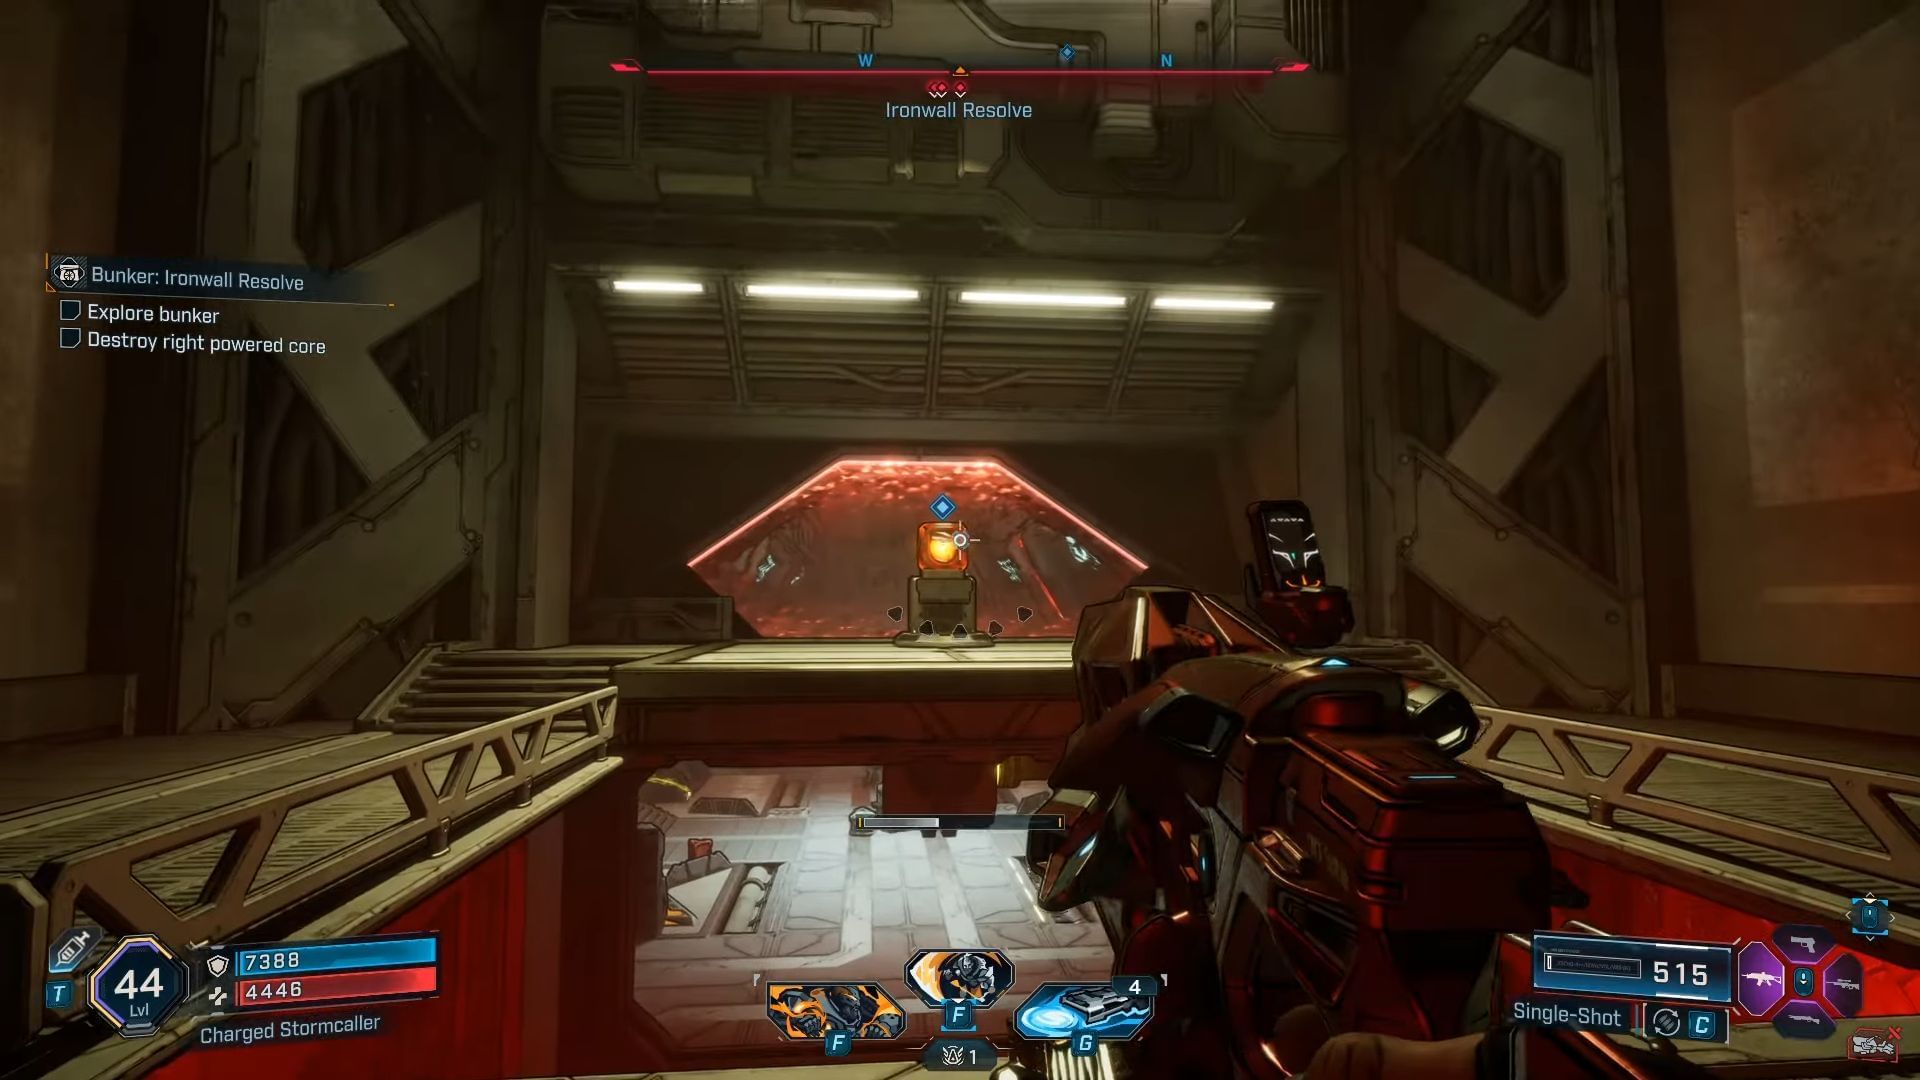
With the Borderlands 4 Ironwall Resolve Bunker being a bit complex to navigate, getting to the boss can be a bit tricky. To make your search easy, go through the large open corridors and destroy the Powered Core, left and right of the main door that's protected by a forcefield. You'll have to do some platforming as well to reach them. Also, be prepared to deal with a lot of Synths.

This is when you will encounter the boss called Directive-O. Not much of a threat once you get the Shield Bar down, and when that's done, use Corrosive/Cyro to get rid of the Armor Bar, and that's about it. Point and shoot using Maliwan weapons to defeat them with ease.

However, do keep in mind that you will have to aim high as the boss has a shield that will stop incoming fire. Try to flank to get behind them. Also, look out for the homing rockets that he shoots, as well as ensure to deal with lackeys that appear now and then. Keep moving, use cover wisely, and you should be fine.
Loot
Once you defeat Directive-O in the Borderlands 4 Ironwall Resolve Bunker, you could get these Legendary weapons:
- Bonnie and Clyde
- Whiskey Foxtrot
- Rowan's Charge
Read more articles here:
- Borderlands 4 Vault Hunter tier list: All class specs ranked
- Borderlands 4 Boss loot table: All Legendary drops in Fadefields
- Borderlands 4: All Fadefield Vault Key fragment locations