
'%20x='0'%20y='0'%20height='100%25'%20width='100%25'%20%0A%20%20%20%20%20%20%20%20%20%20xlink%3Ahref='data:image/jpg;base64,/9j/2wBDAAYEBQYFBAYGBQYHBwYIChAKCgkJChQODwwQFxQYGBcUFhYaHSUfGhsjHBYWICwgIyYnKSopGR8tMC0oMCUoKSj/2wBDAQcHBwoIChMKChMoGhYaKCgoKCgoKCgoKCgoKCgoKCgoKCgoKCgoKCgoKCgoKCgoKCgoKCgoKCgoKCgoKCgoKCj/wgARCAAIAAoDASIAAhEBAxEB/8QAFQABAQAAAAAAAAAAAAAAAAAABQb/2gAIAQEAAAAAZif/xAAUAQEAAAAAAAAAAAAAAAAAAAAE/9oACAECEAAAAEf/xAAUAQEAAAAAAAAAAAAAAAAAAAAD/9oACAEDEAAAAA//xAAiEAABAwMDBQAAAAAAAAAAAAADAQIEAAYxBREjEhMUITL/2gAIAQEAAT8An3zcD9KkiiBFGOaQ0SnBK5ROyrulcIqNqdeuvebI3JLKvcdyK7795xX/xAAXEQADAQAAAAAAAAAAAAAAAAAAAQIh/9oACAECAQE/ALhQsP/EABcRAQADAAAAAAAAAAAAAAAAAAEAAiH/2gAIAQMBAT8ALK7P/9k='%3E%3C/image%3E%3C/svg%3E)
Building a budget PC has never been easier, with countless guides and walkthroughs on the internet. For beginners, however, it can still be quite challenging, with smaller mistakes getting looked over. But when broken down into smaller, easier steps, it is manageable - almost like building a Lego set.
There are multiple parts that you need to buy, and these need to be fully compatible with each other. There are websites such as PcPartPicker that can help you figure out if the selected components will work together.
In this guide, we recommend budget components that can run all games at medium to low settings. Note that peripherals are not listed as they are personal choices.
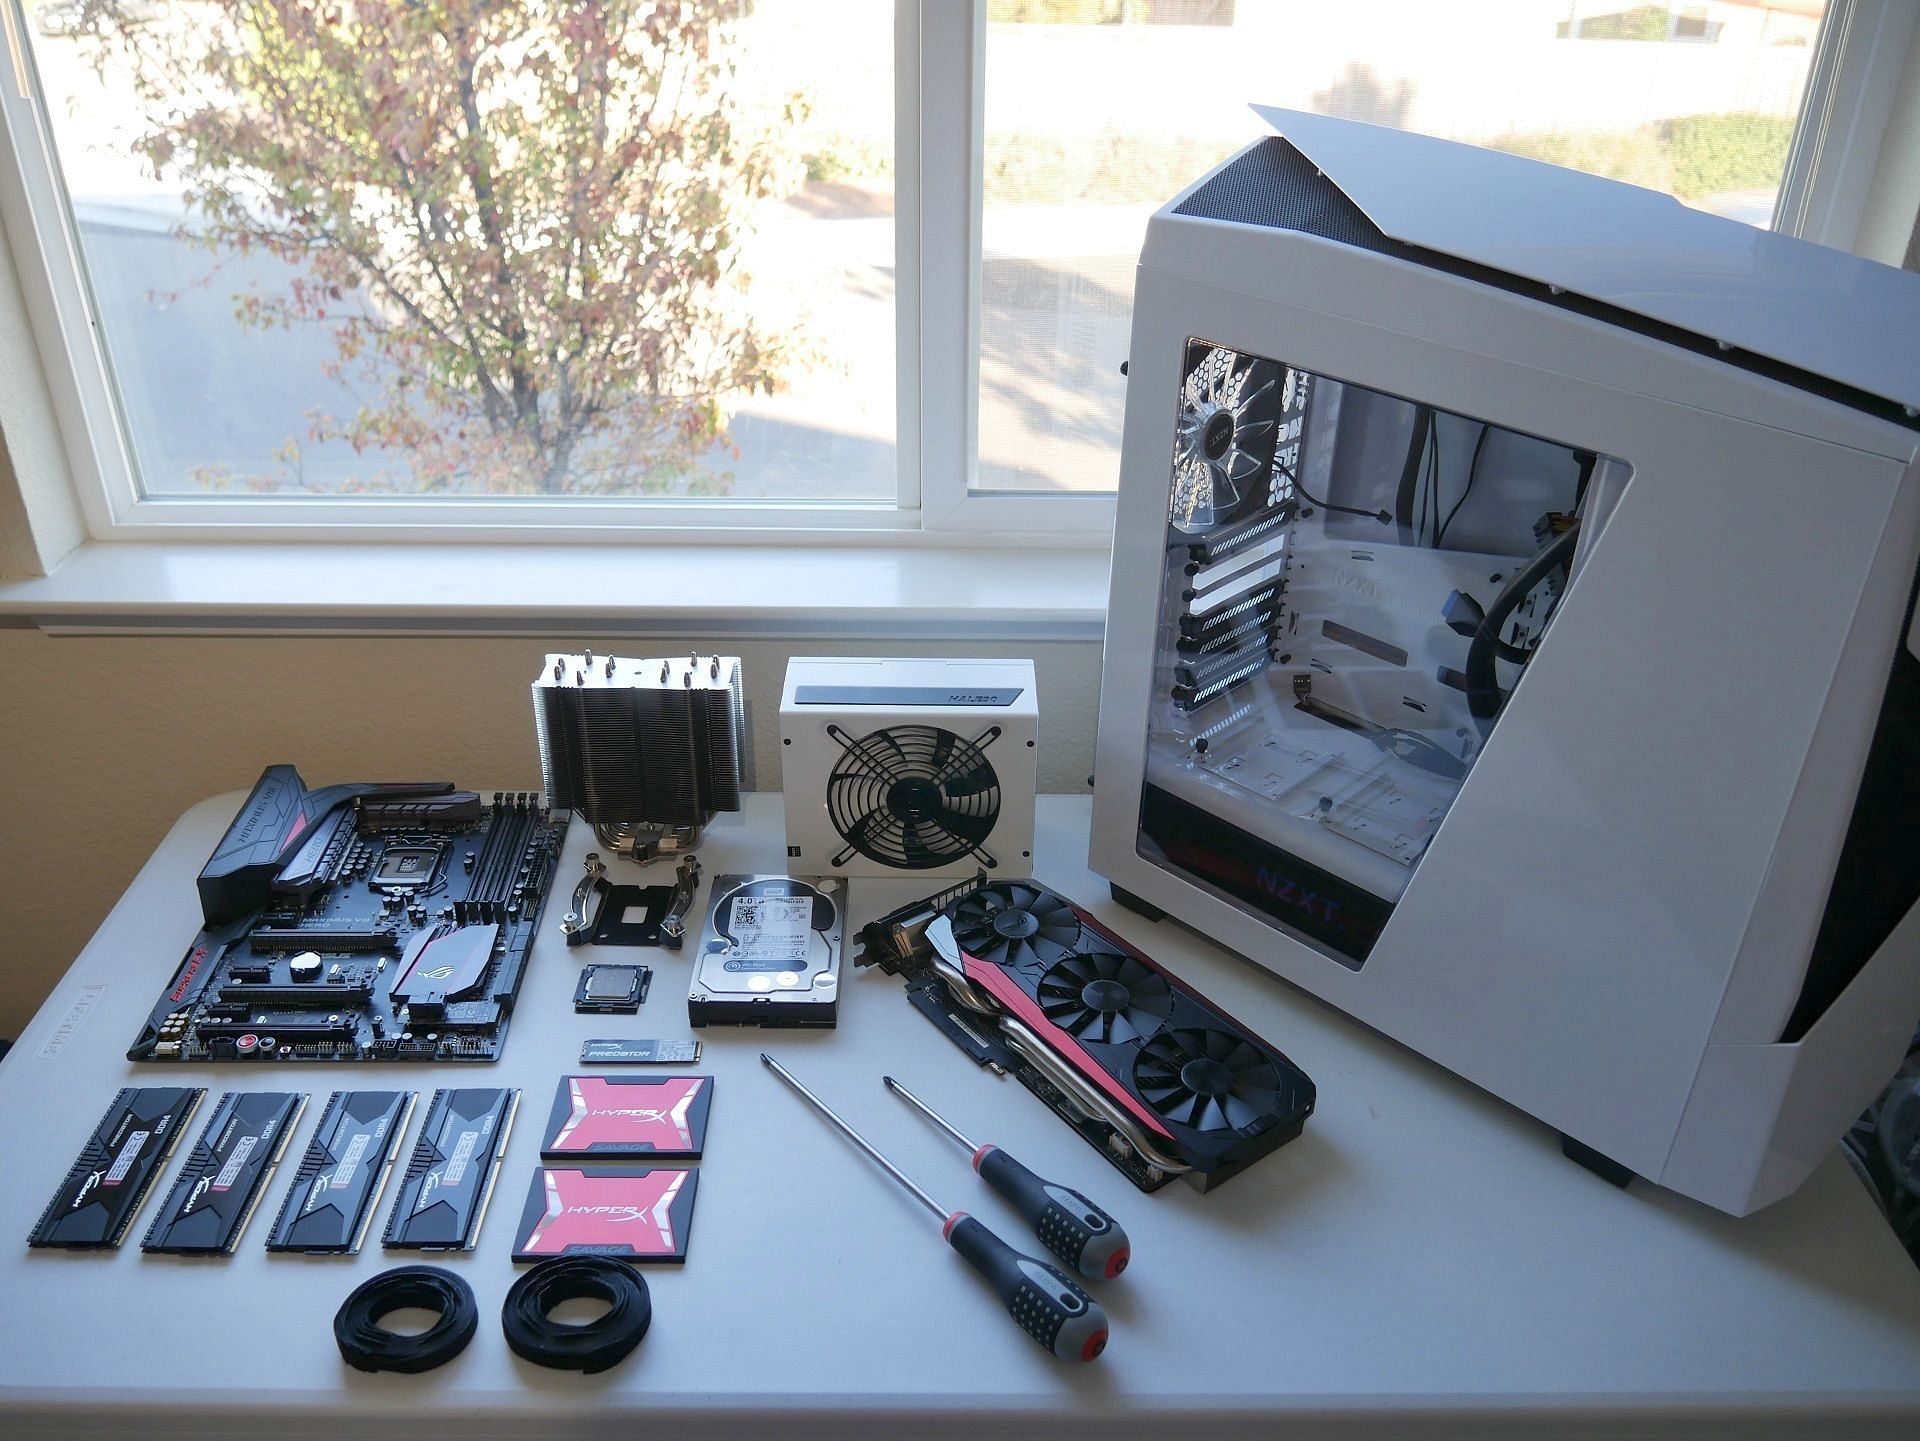
Before starting the PC build, you need to prepare and get some tools ready. The tools required are a Phillips head screwdriver, thermal paste (though the CPU cooler comes with pre-installed thermal paste), and some zip-ties.
Budget PC components
1) CPU: Intel i5 12400F - $169
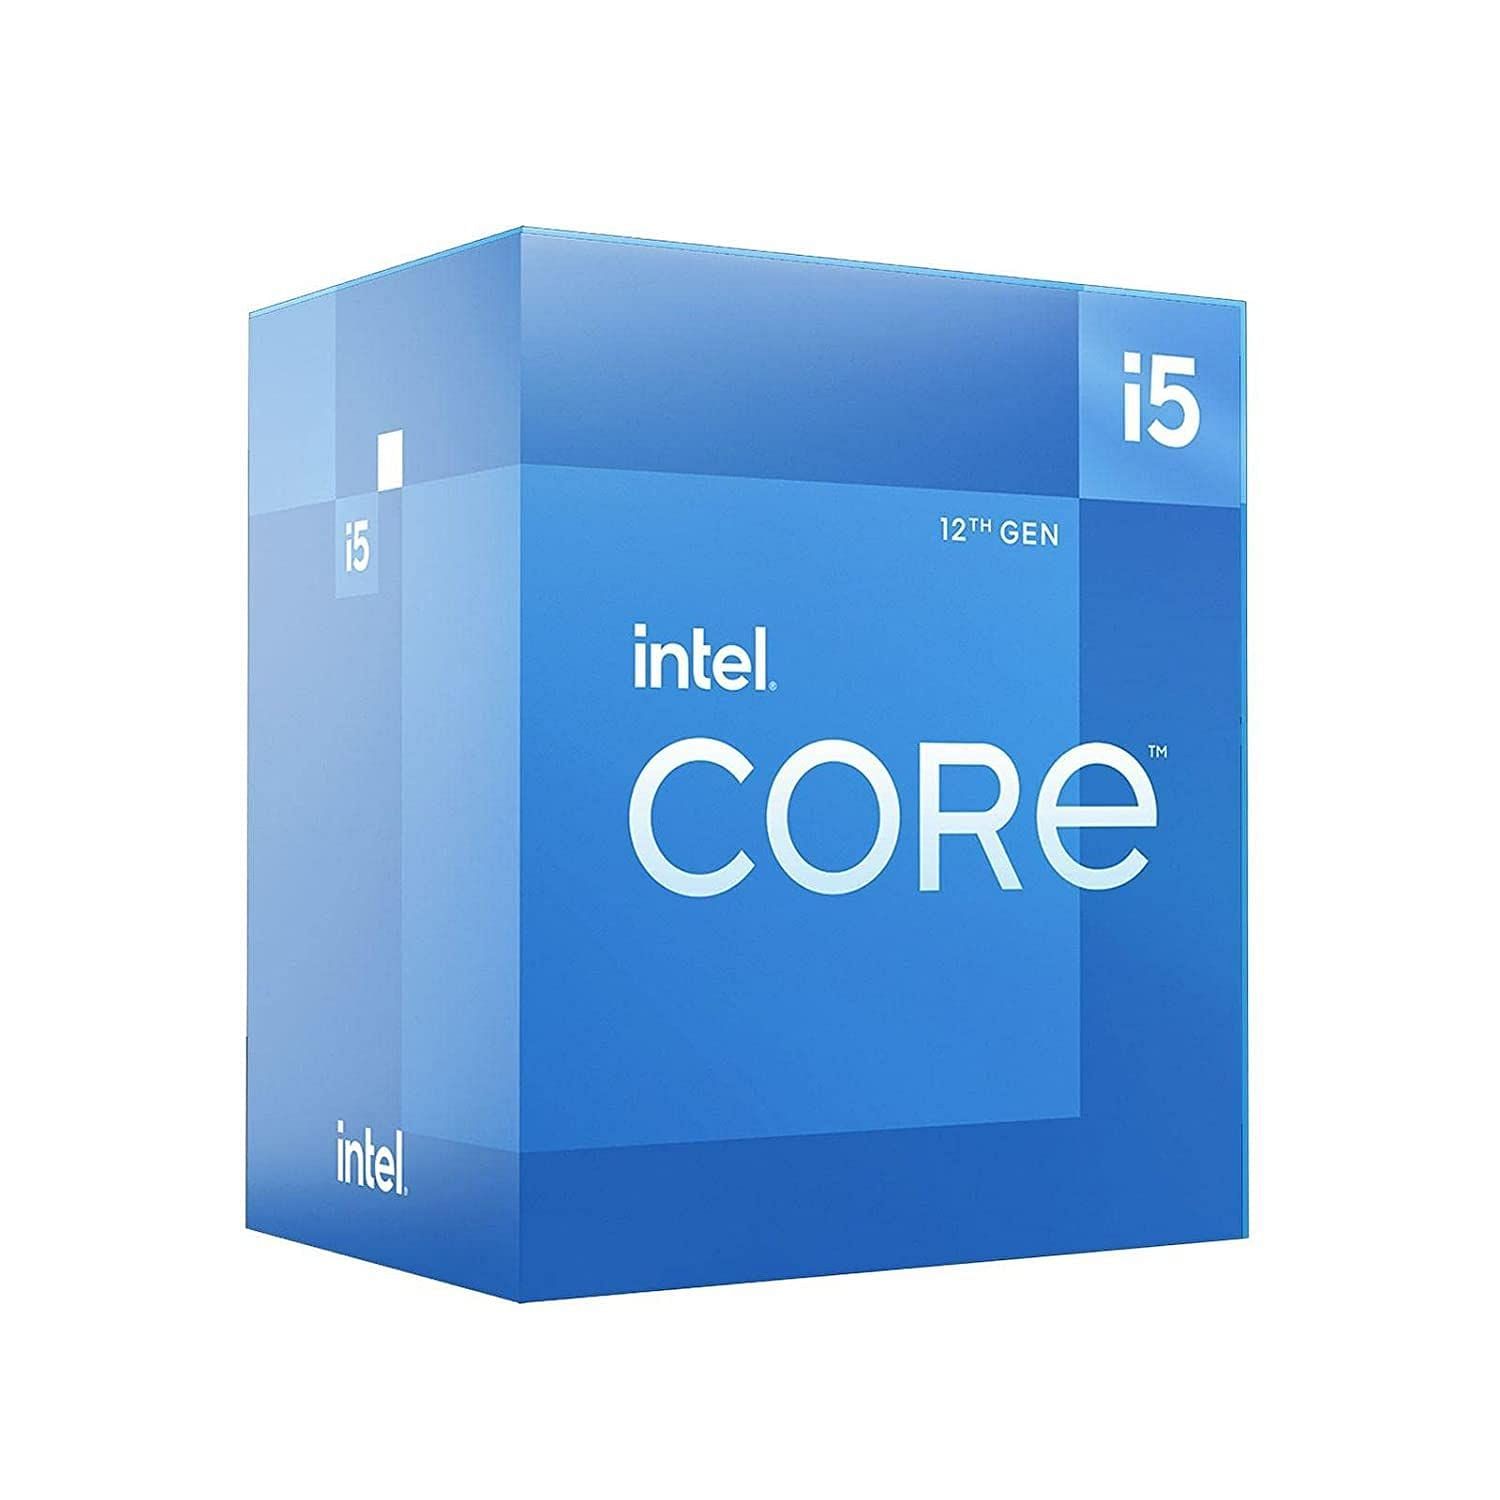
This CPU is a solid choice for a budget PC that can handle games if paired with an equally powerful GPU. On Amazon, it can be bought for $169.
2) GPU: MSI Armor Radeon RX 6600 8GB - $458
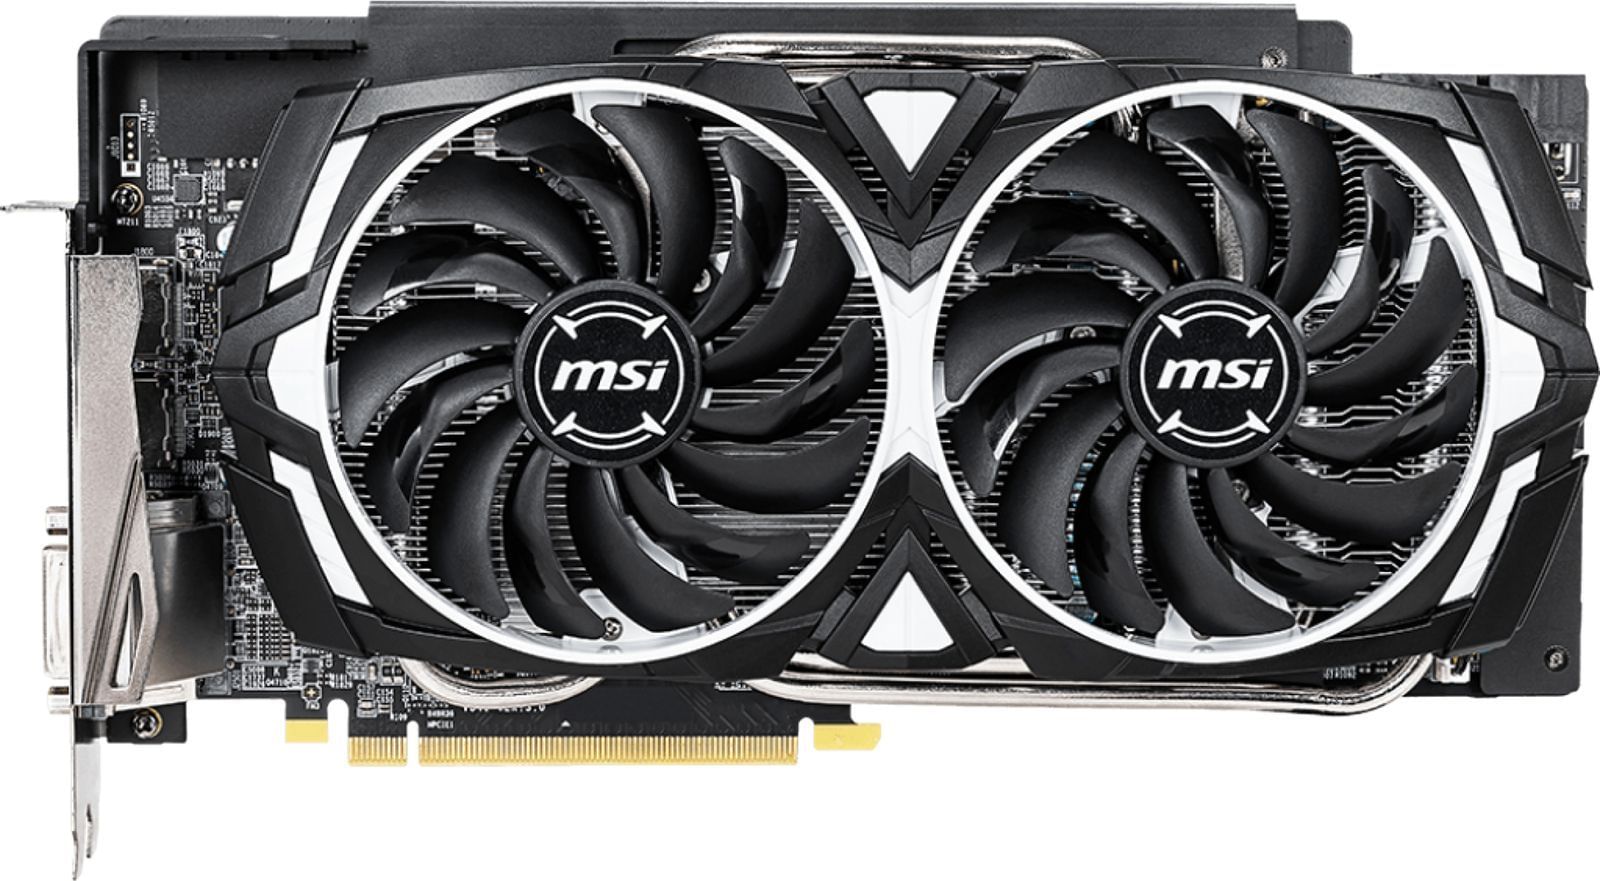
It's the most expensive part of the PC, but it's worth it as it can easily handle games at 1080p. Though the retail price is $329, it is currently selling for $458 on Amazon.
3) Motherboard: ASUS Prime B660-PLUS - $179
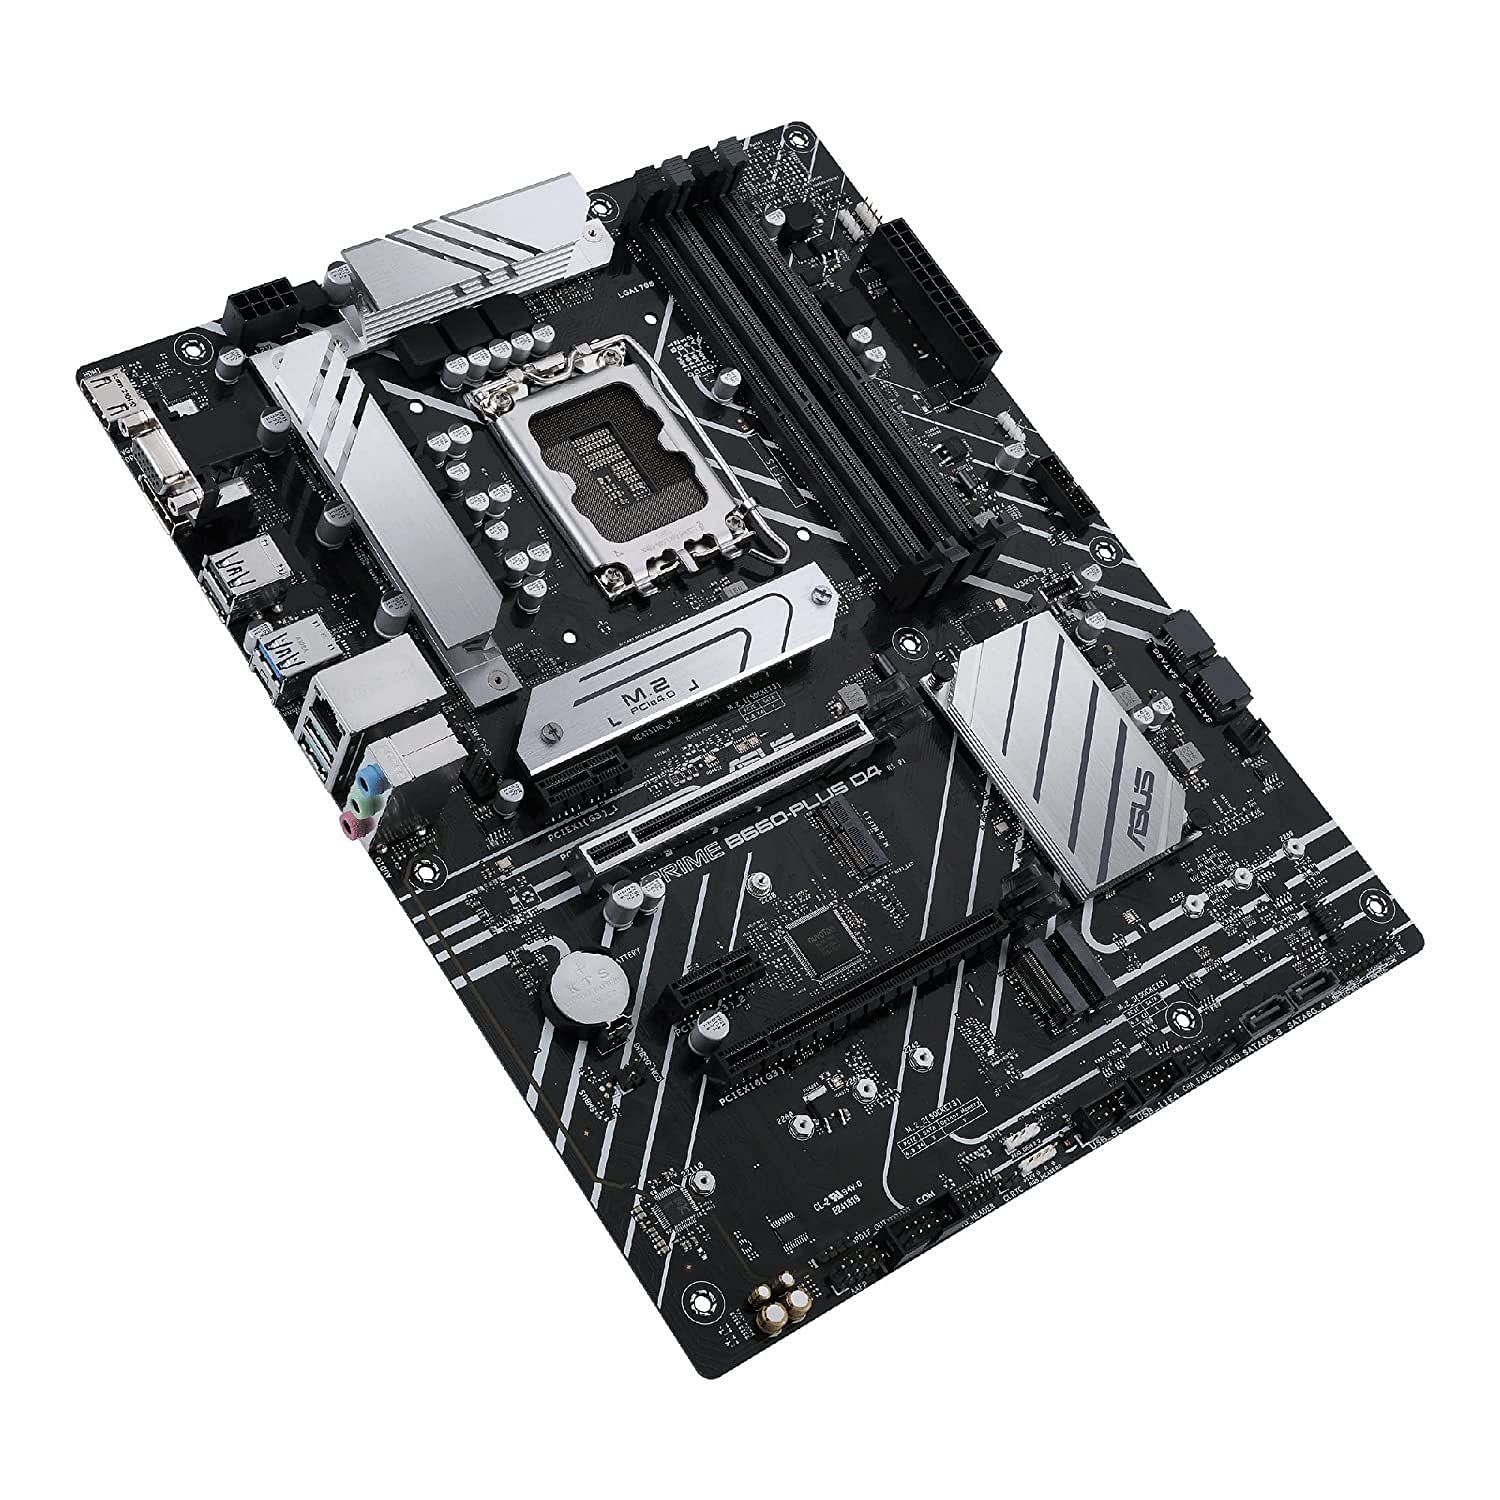
The ASUS Prime B660-PLUS is a quality motherboard with all the necessary features and slots, including: PCIe 4.0, 3x M.2, 2x USB 3.2 GEN 2 Type-C, 1x USB 3.2 GEN 1 Type-C, and heatsinks for VRM, M.2 and PCH. It offers plenty of upgradability in RAM and storage.
4) Storage: WD Blue SN570 500GB M.2 SSD - $49
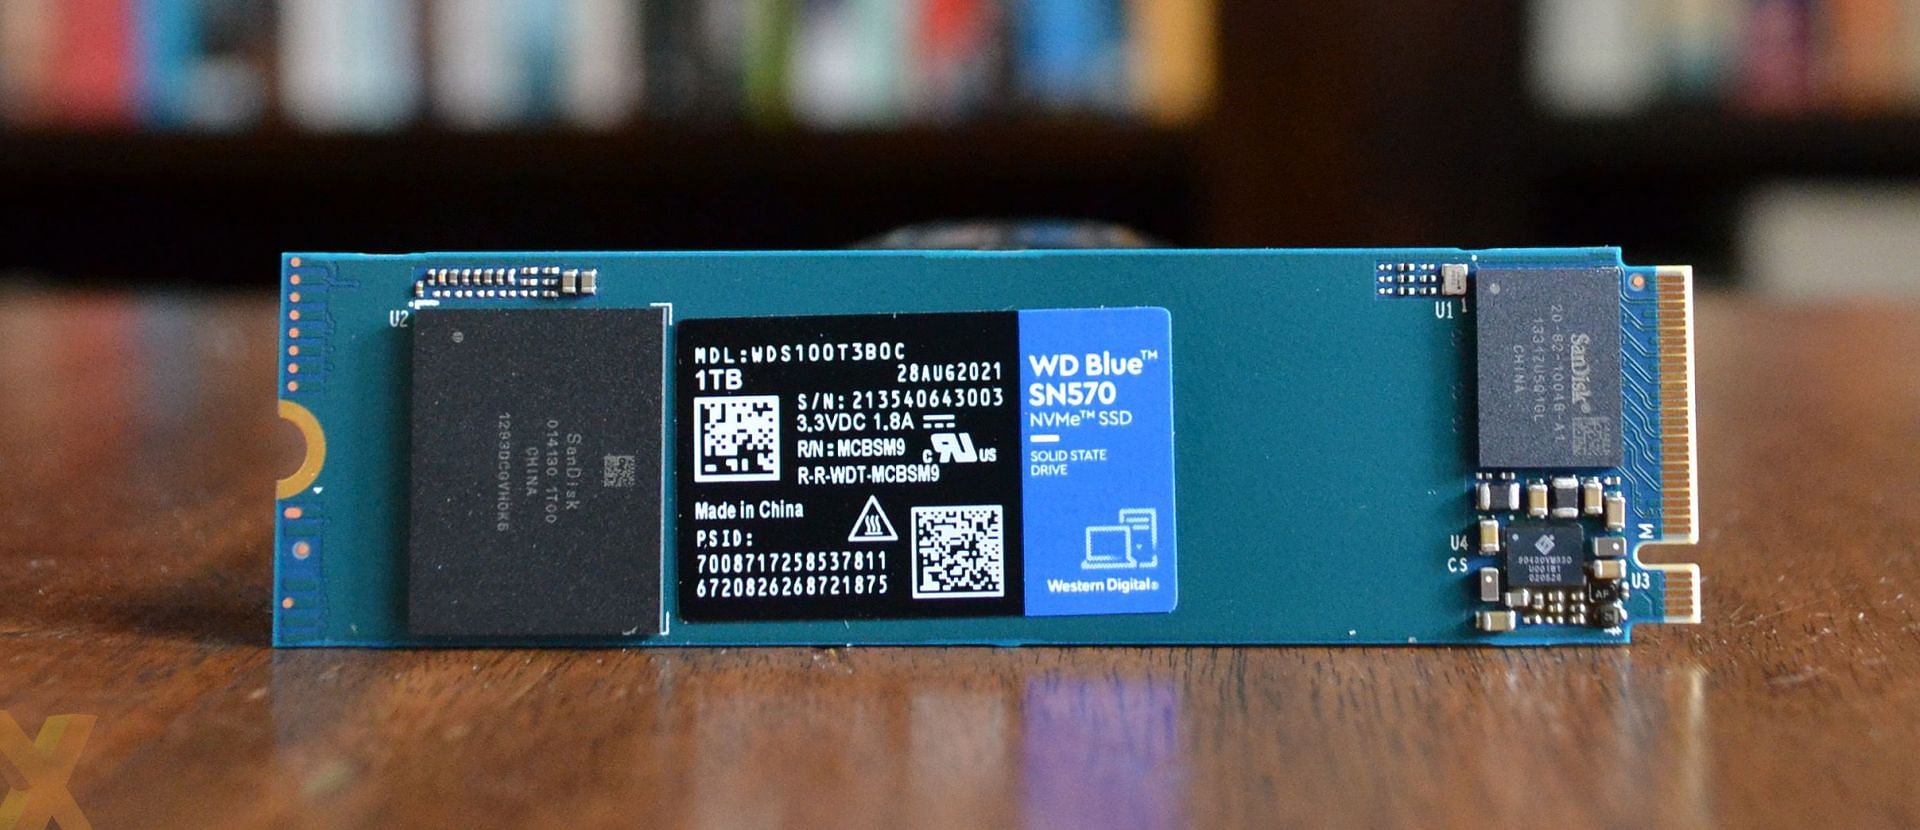
An SSD in a gaming PC is necessary, as they offer speeds much faster than traditional hard disks. This one is a solid budget choice that runs at 3300MB/s.
5) RAM: G.Skill Ripjaws V 16GB (2 x 8) DDR4 3600 - $59
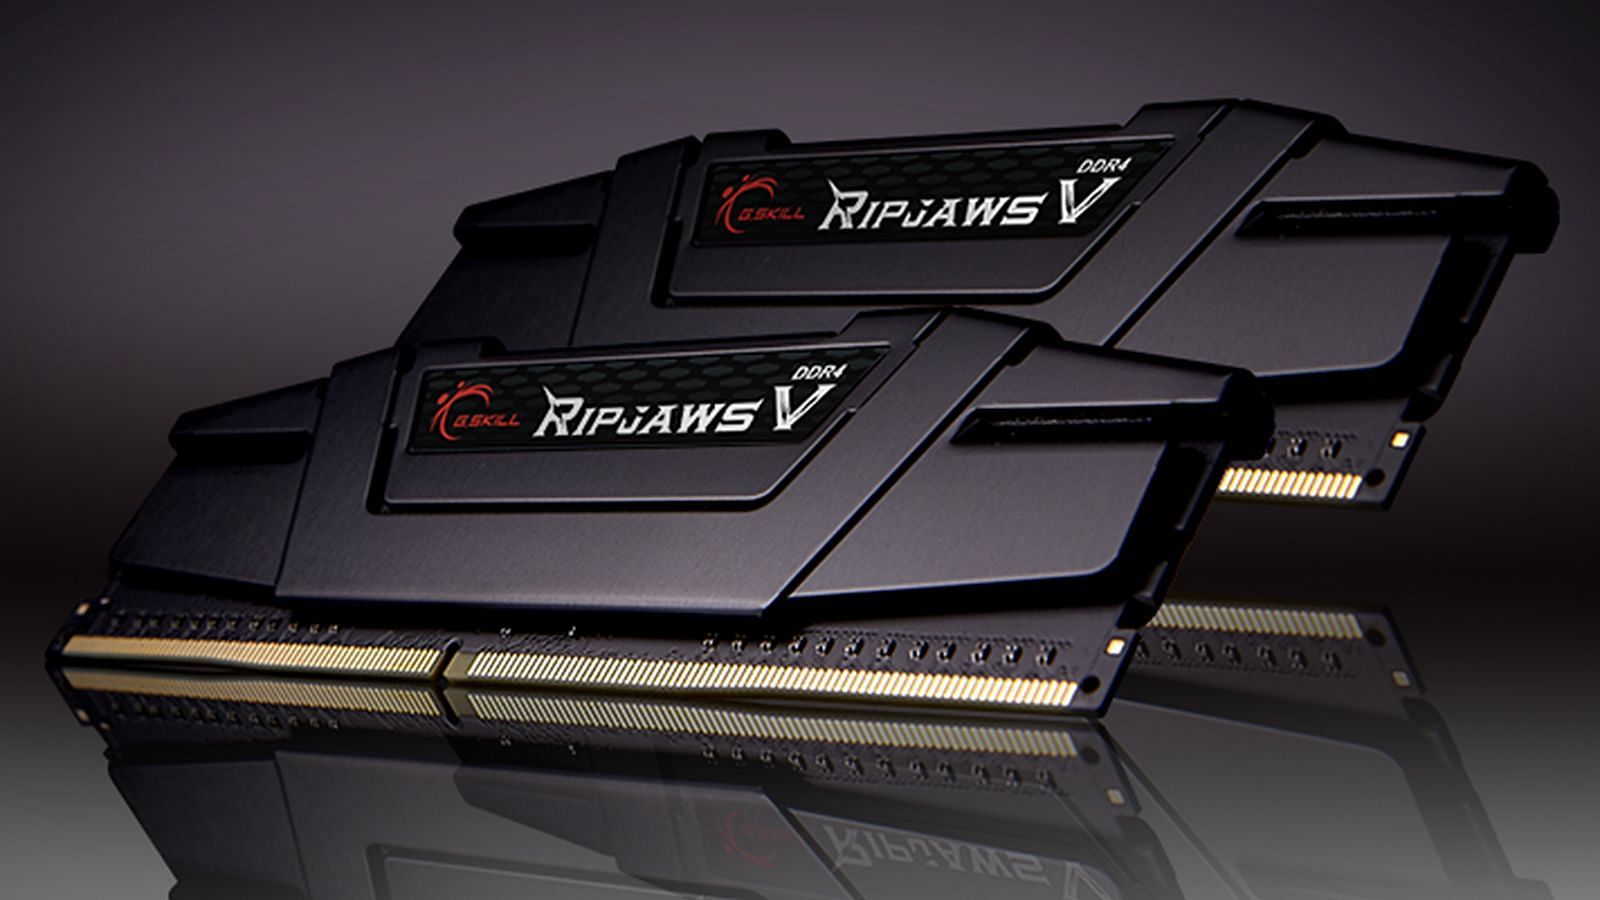
A valuable choice of RAM as it offers good performance for $59. The motherboard will have two additional slots for upgradability to 32 GB of RAM.
6) PSU: EVGA 650 B5 80 Plus Bronze - $99
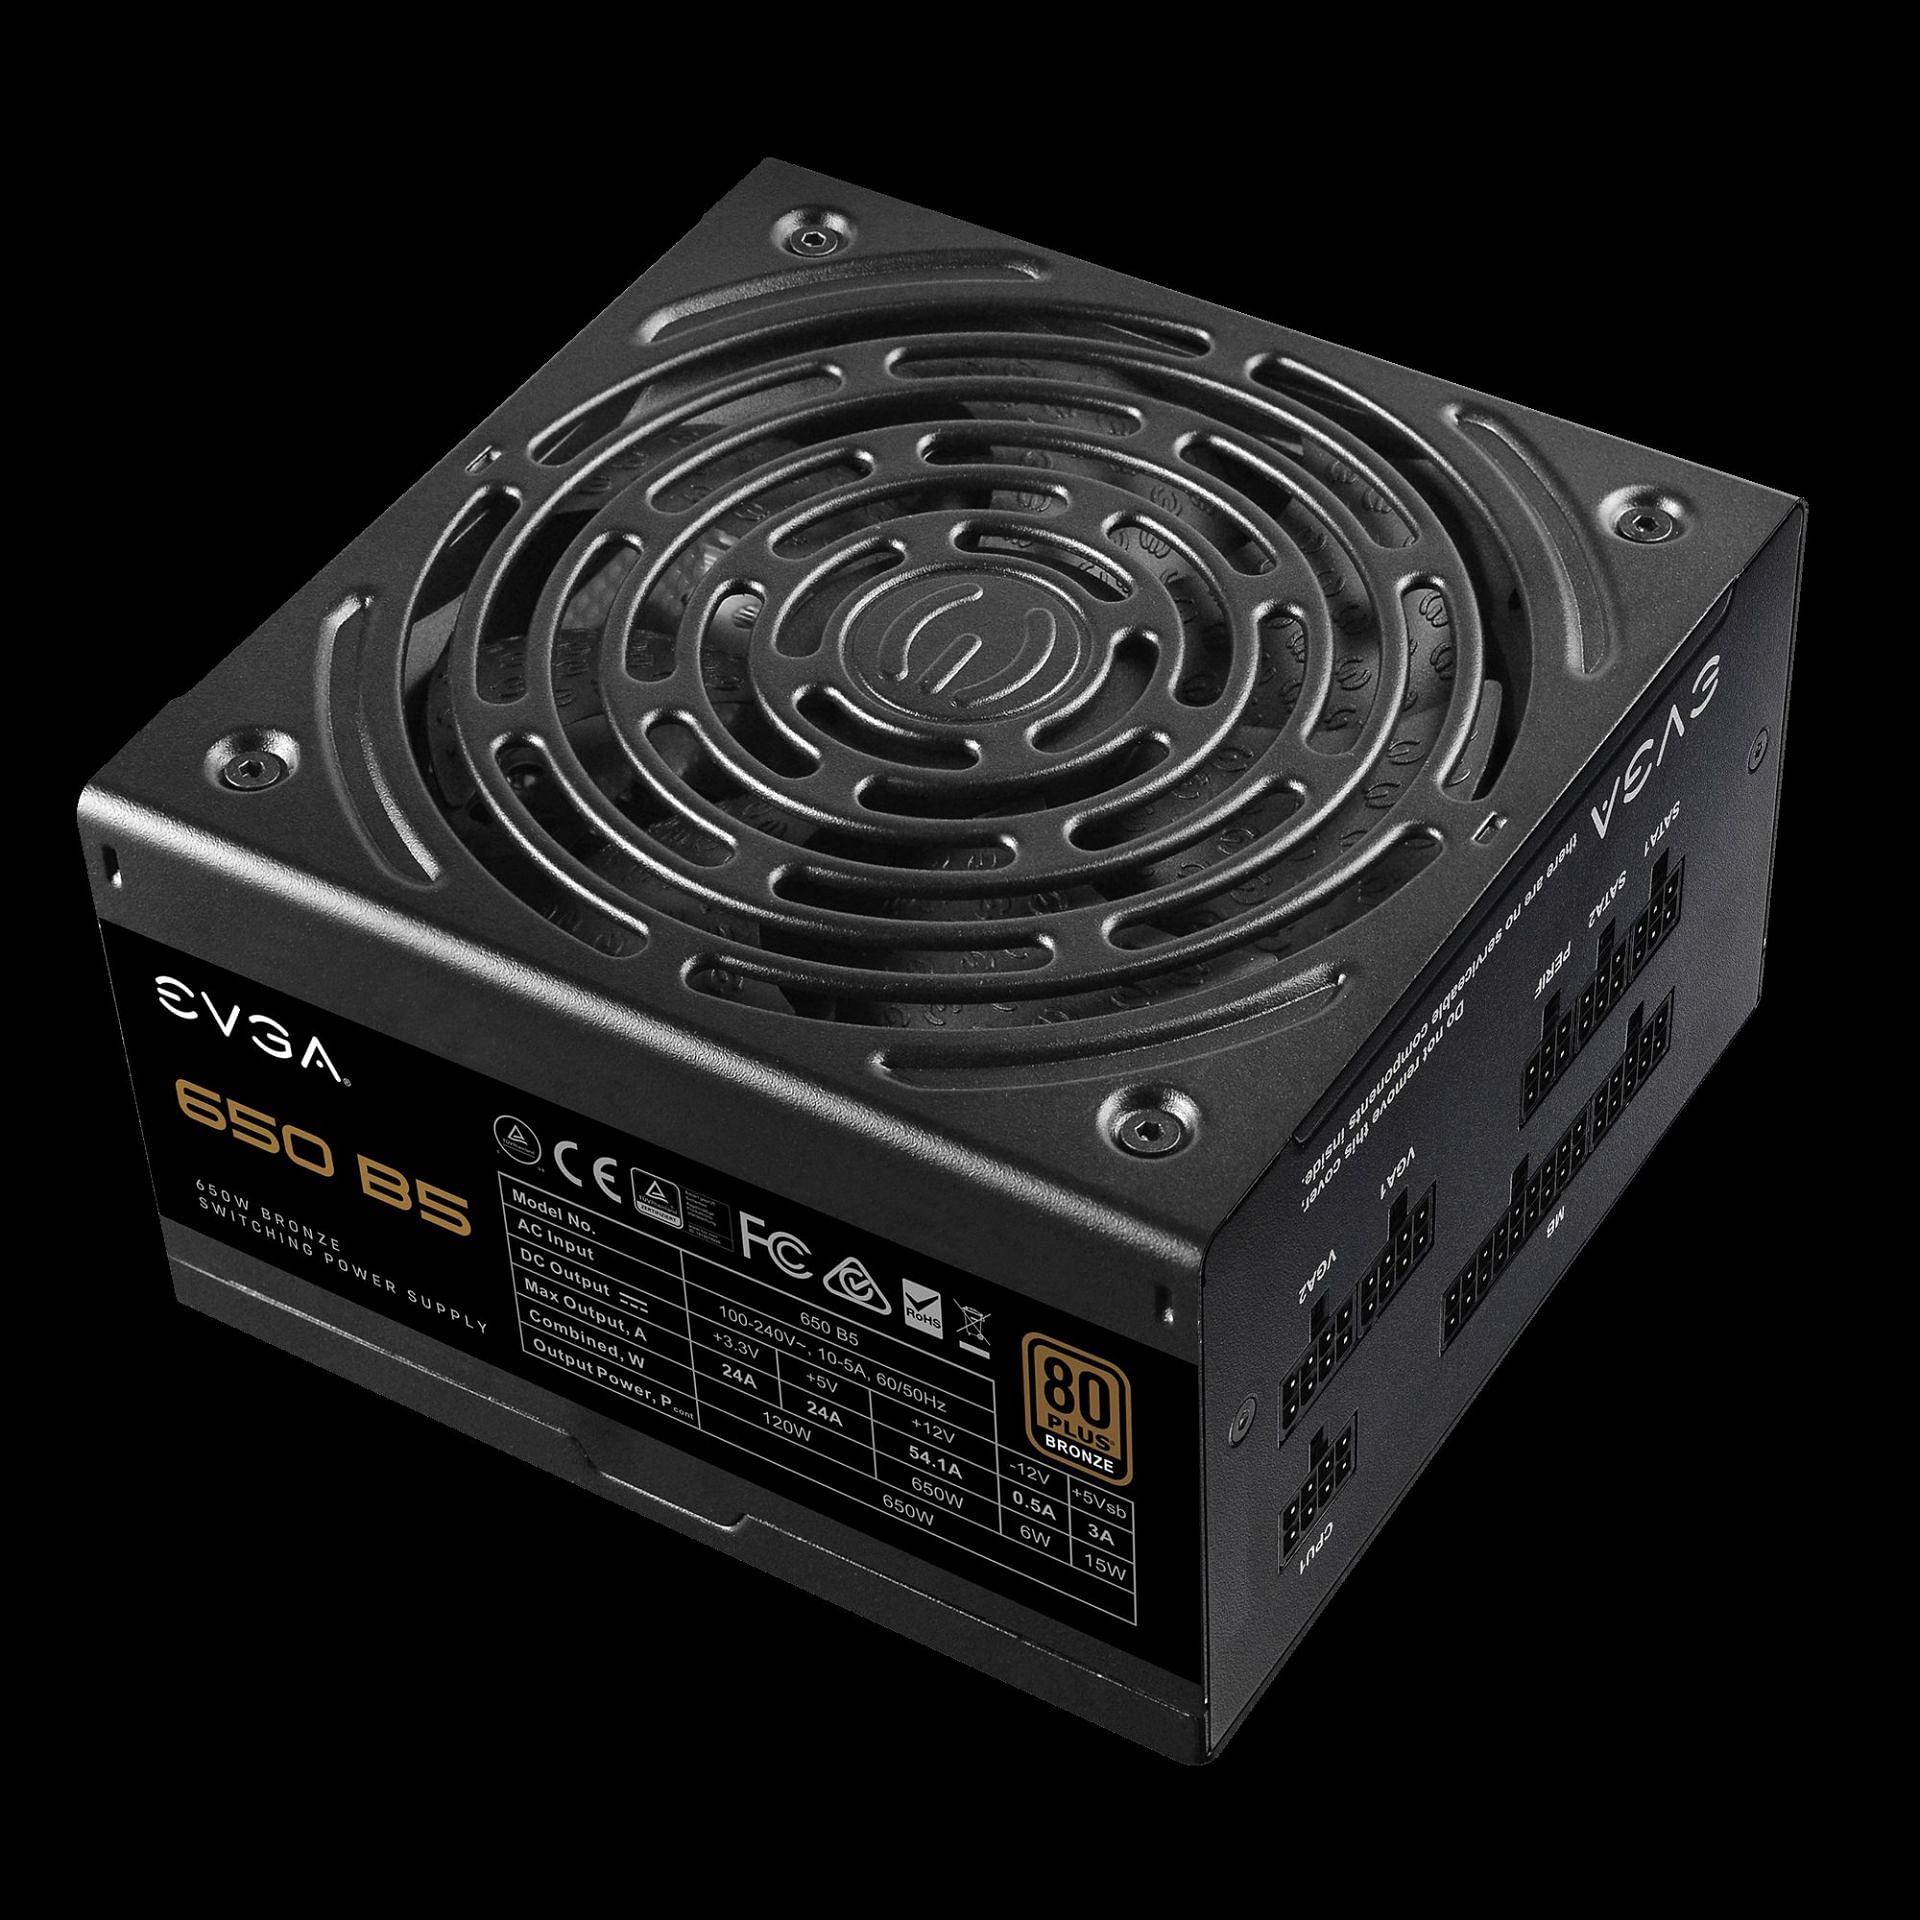
A 650W power supply will have enough overhead for everything in the PC to function smoothly. This will also ensure the longevity and safety of the components. Since this PSU is modular, your build will look neat and clean with only the necessary cables plugged in.
7) Cabinet: Antec NX410 ATX - $94
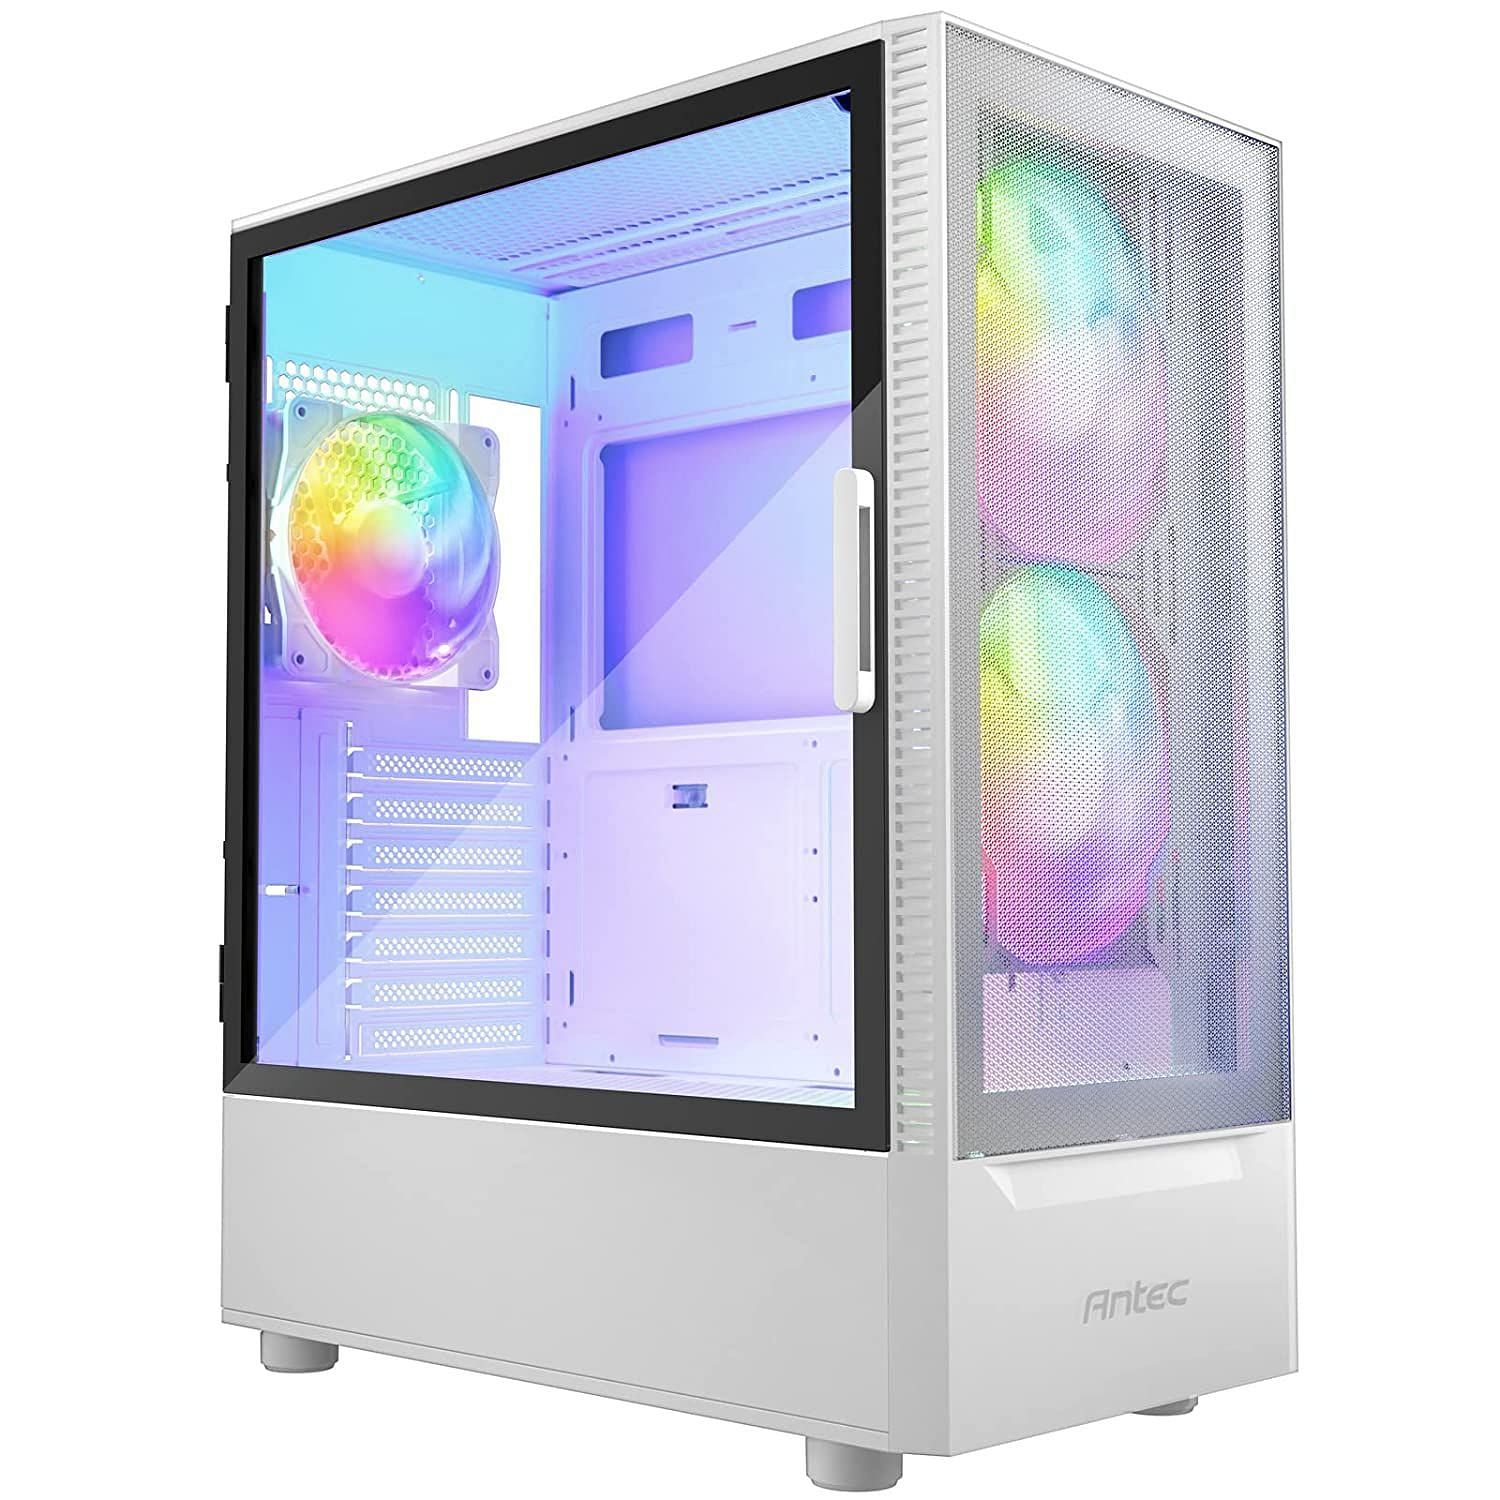
This is one of the best cabinets for budget users. It is flashy and comes with three pre-installed fans for sufficient airflow; two 140mm fans in the front, and one 120mm fan in the back. This cabinet can house all sizes of motherboards and has seven expansion slots for storage and sufficient upgradability, and comes in black as well.
Total: $1107
All prices are from Amazon and Newegg.
Step-by-step guide for building a gaming PC
1) Unbox and open
First, open every box and keep all the components ready. Open both side panels of the cabinet and keep all the screws within reach.
2) Install the fans
If your cabinet does not come with pre-installed fans, you need to install them before anything else. Keep your cooling balanced to ensure proper airflow, with air being drawn in from the front and blown out of the back. The plastic fan guards have an arrow that points to where the wind will flow. In this PC build, the fans are pre-installed and nothing has to be done.
3) CPU installation
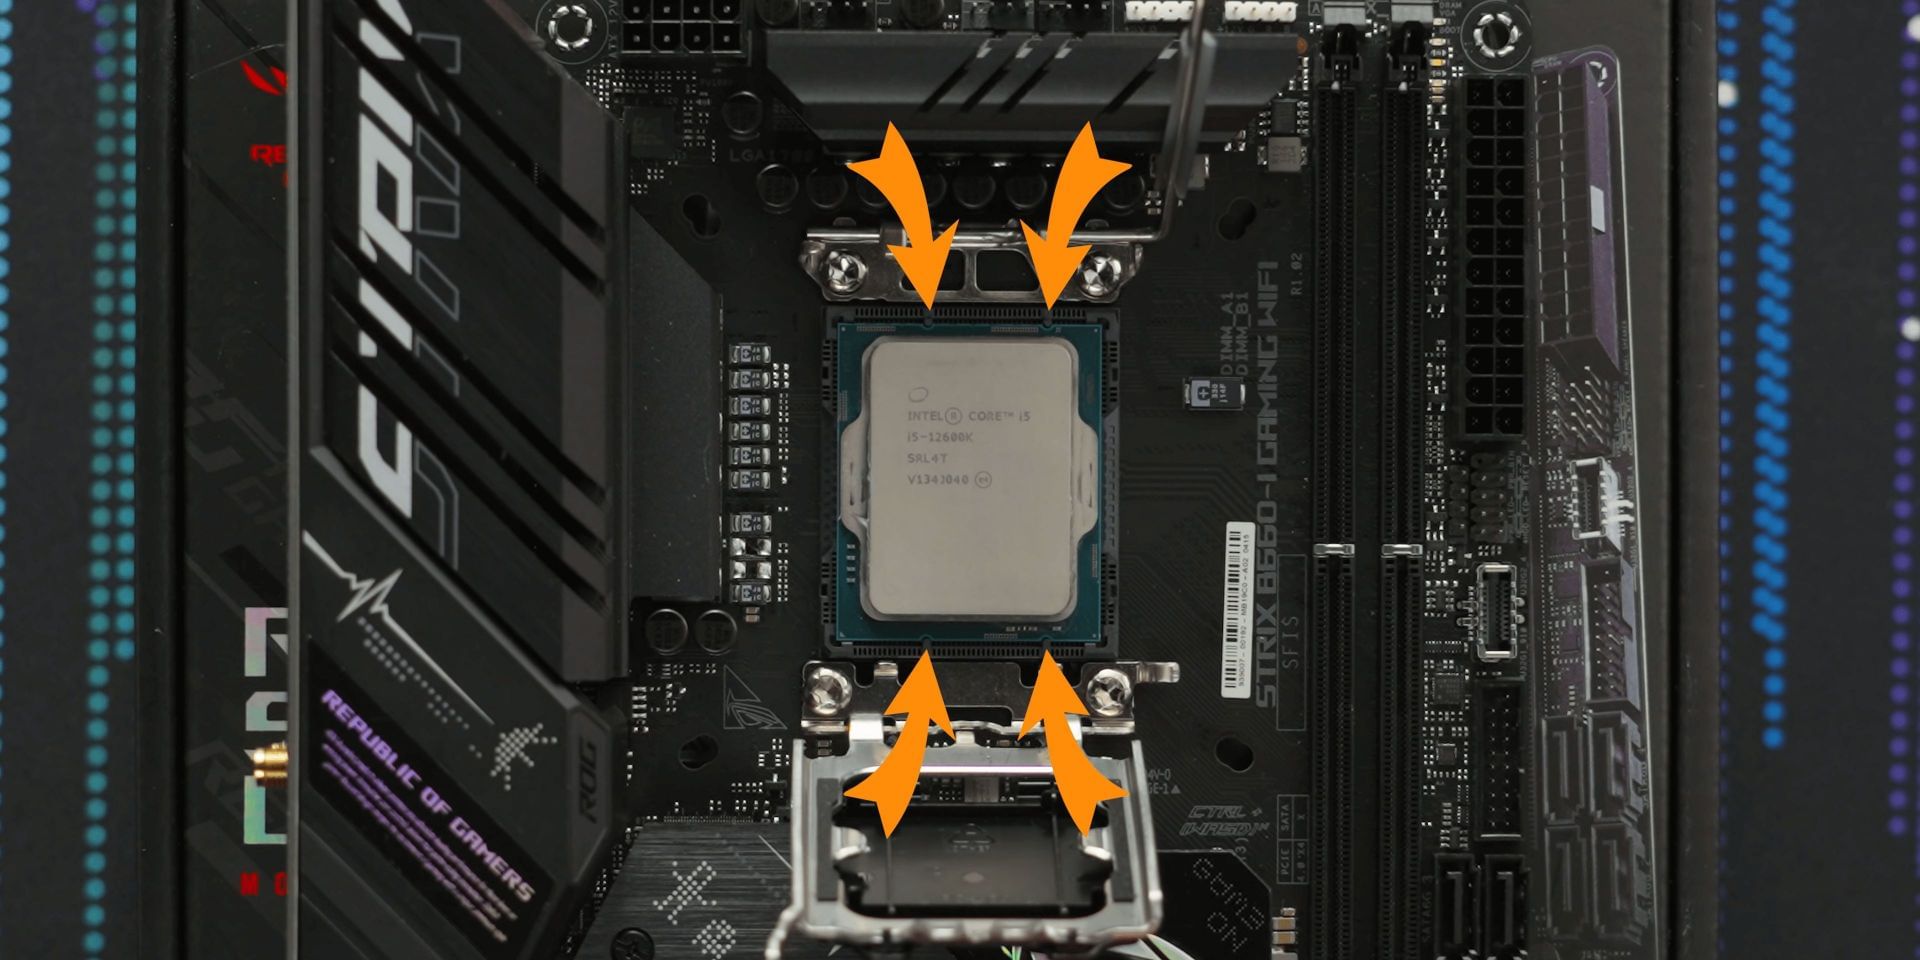
Before installing your motherboard into the cabinet, you will need to install the CPU, RAM, CPU cooler, and M.2 storage on the motherboard. If you do not have M.2 storage, install the CPU and RAM. CPU installations can differ slightly from AMD to Intel.
Put the motherboard on top of the box it came in. Next, slide and lift the retention arm onto the CPU socket, leaving the plastic cover in place. Gently place the CPU inside the socket while matching the golden triangle on the CPU with the one on the socket. Close the bracket by pushing the retention arm under the screw which holds it down. The plastic cover should come flying off - this takes a bit of force so don't worry about damaging any components.
4) RAM and storage installation
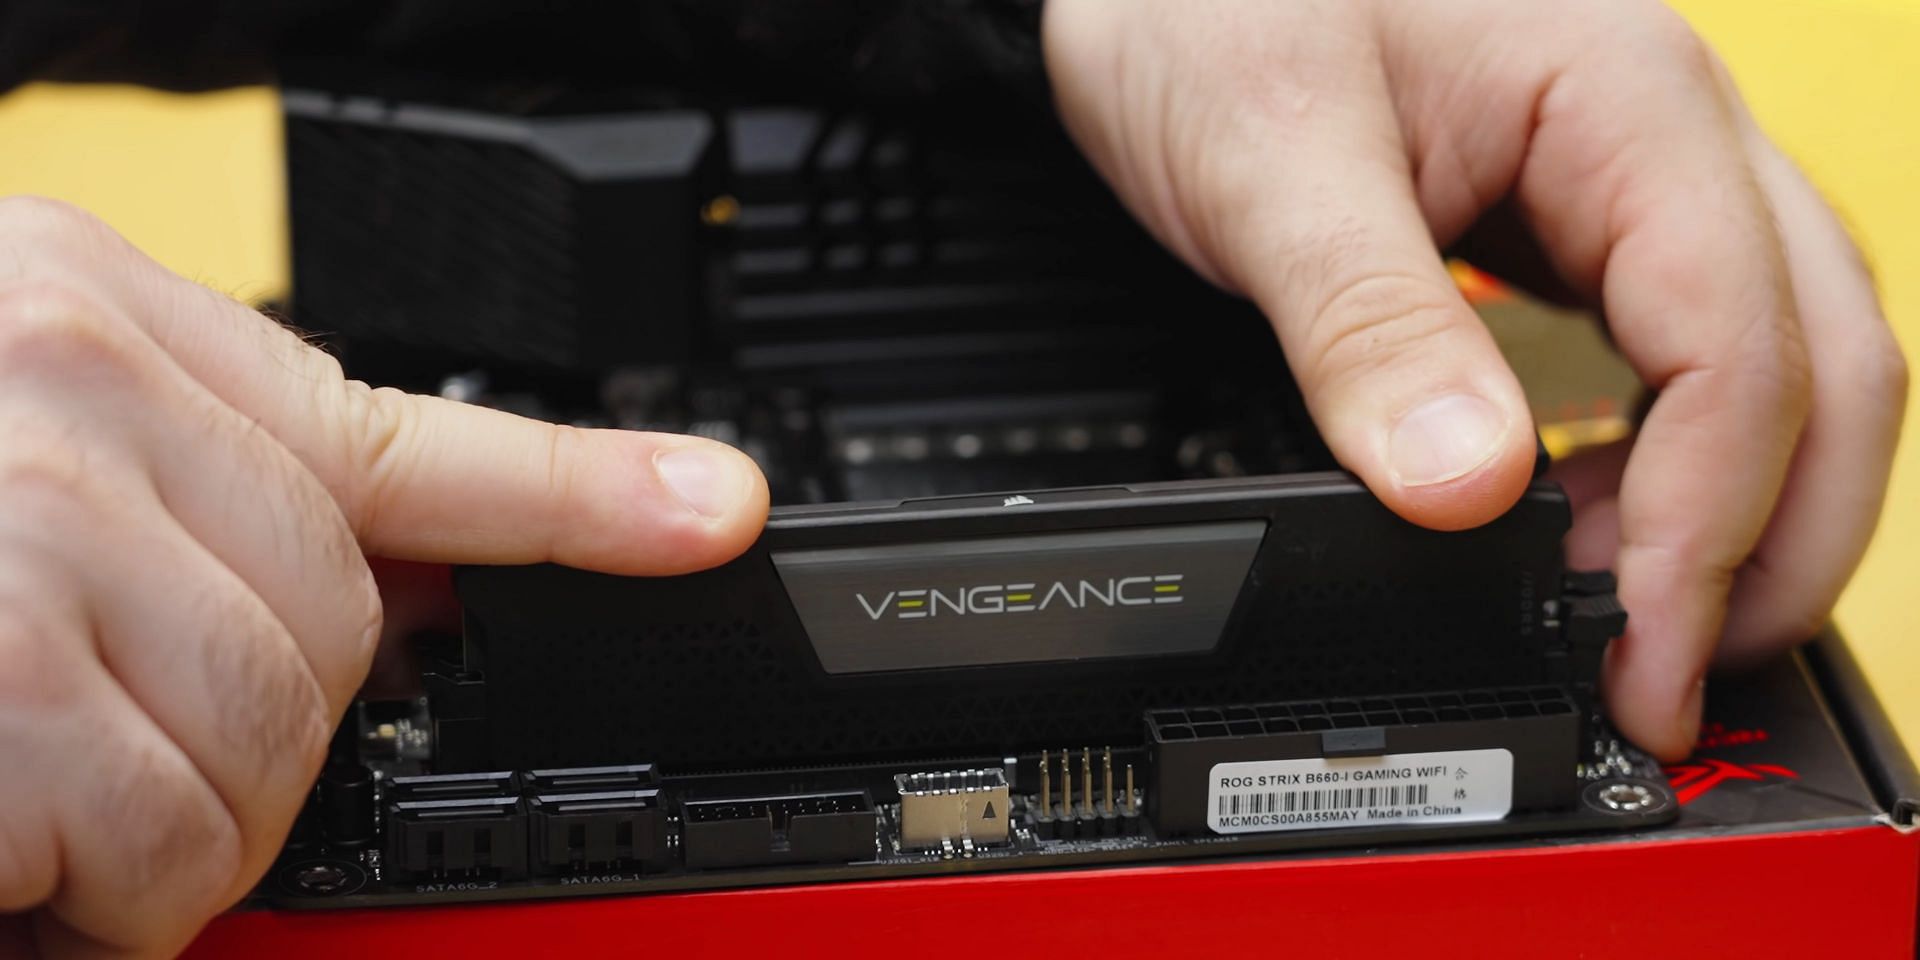
Installing RAM is fairly easy: open the latches of the DDR4 slot next to the CPU socket, line the RAM stick with the notches in the slot and push it down with force until it snaps into place and closes the latch itself. If you're installing two RAM sticks with four slots on the motherboard, install them in a dual-channel mode by installing them in alternate slots and not next to each other.
M.2 storage installation is also straightforward: Unscrew the cover of M.2 on the motherboard (if any), and slide the drive into the slot at an angle while making sure the notches line up. Lay the SSD flat on the motherboard and secure the mounting screw. You can also install the cover if you want.
5) CPU cooler installation
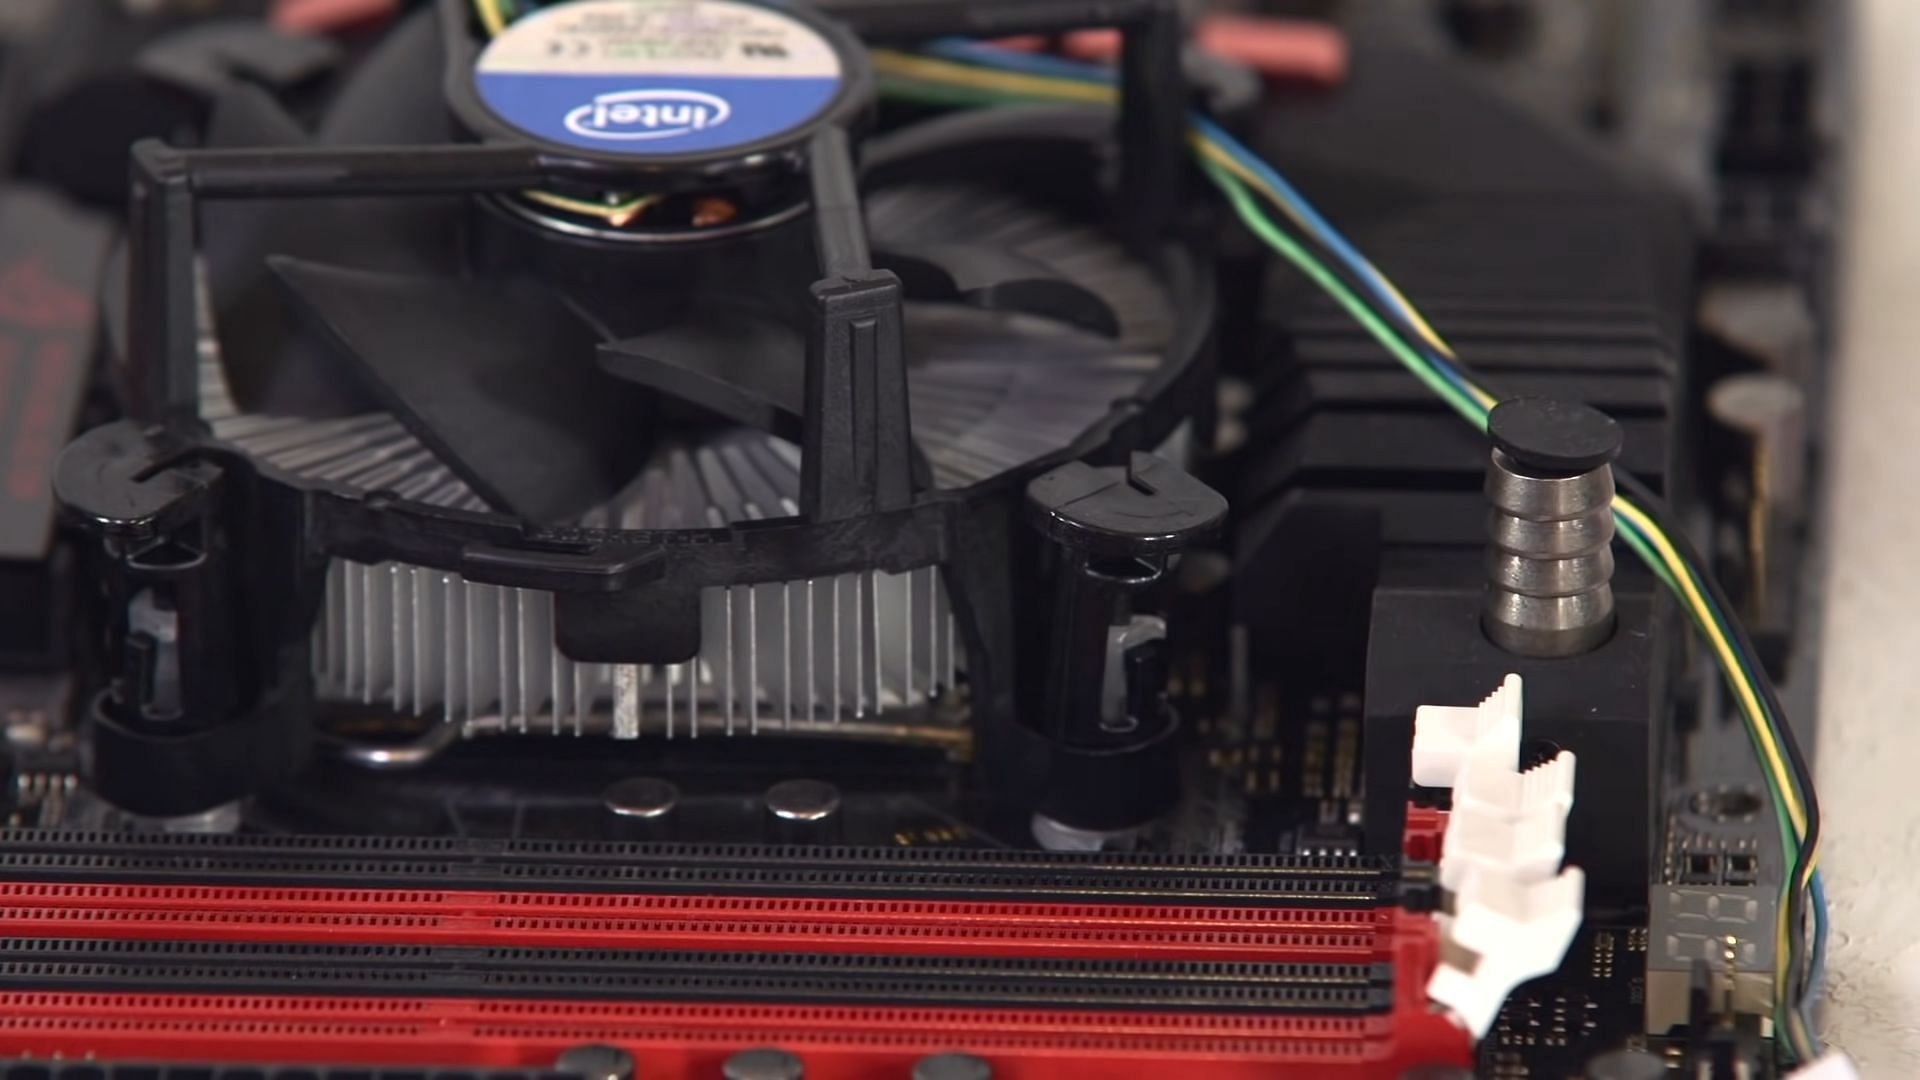
The stock cooler needs to be installed in this build. If in your case, there is a third-party cooler being used, refer to the manual that comes with the cooler for the installation guide, as every cooler is installed in different ways.
First, install the thermal paste by putting a pea-sized amount in the middle of the CPU. This step is not necessary if you decide to go with the pre-installed paste on the CPU cooler, but if you do use this step, clean the paste on the cooler using tissue paper and isopropyl alcohol.
Intel stock coolers use push pins that go through the holes in the motherboard, so line up the pins on the cooler with the holes and place the cooler gently. Apply pressure on opposite corners for the thermal paste to spread evenly and keep pushing until you hear a snap. Rotate the pins towards the cooler to lock them in place. Plug in the CPU cooler wire on the motherboard where it is labeled as "CPU-FAN."
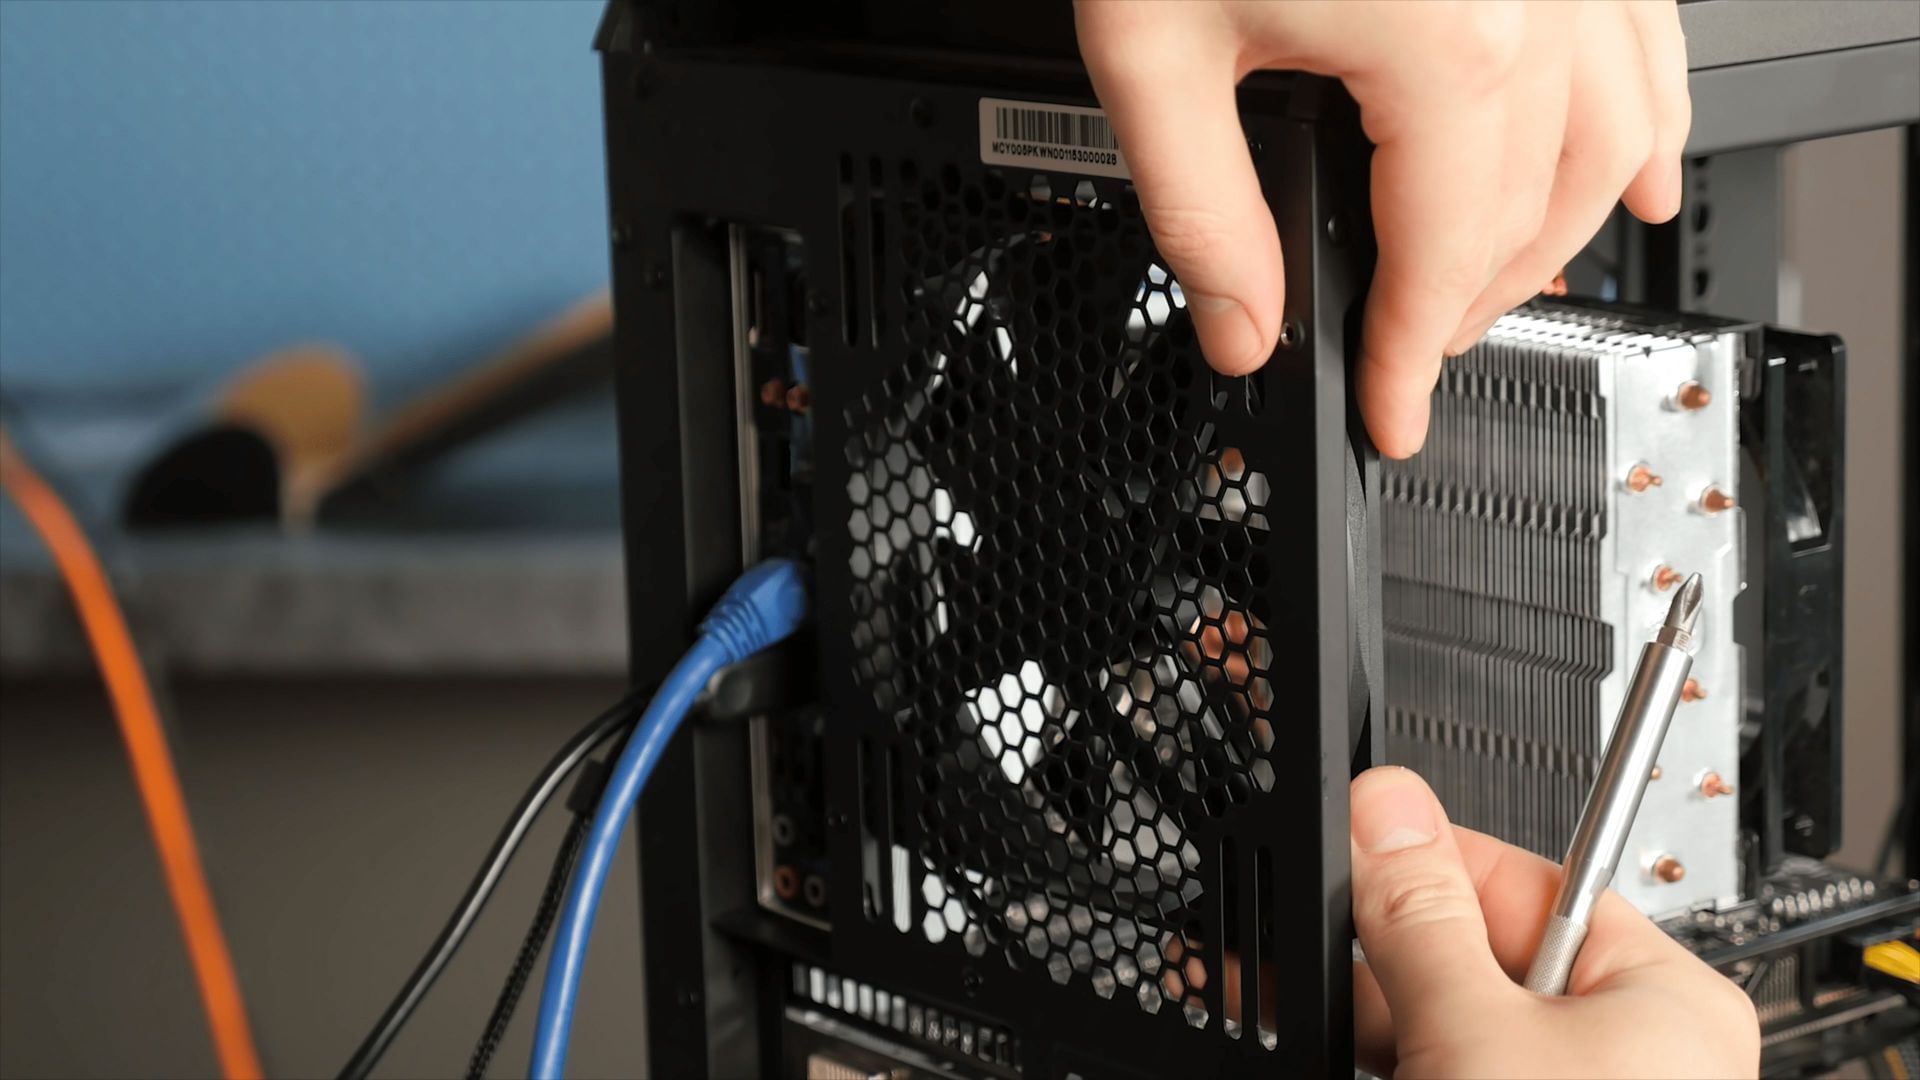
6) Install the motherboard in the cabinet
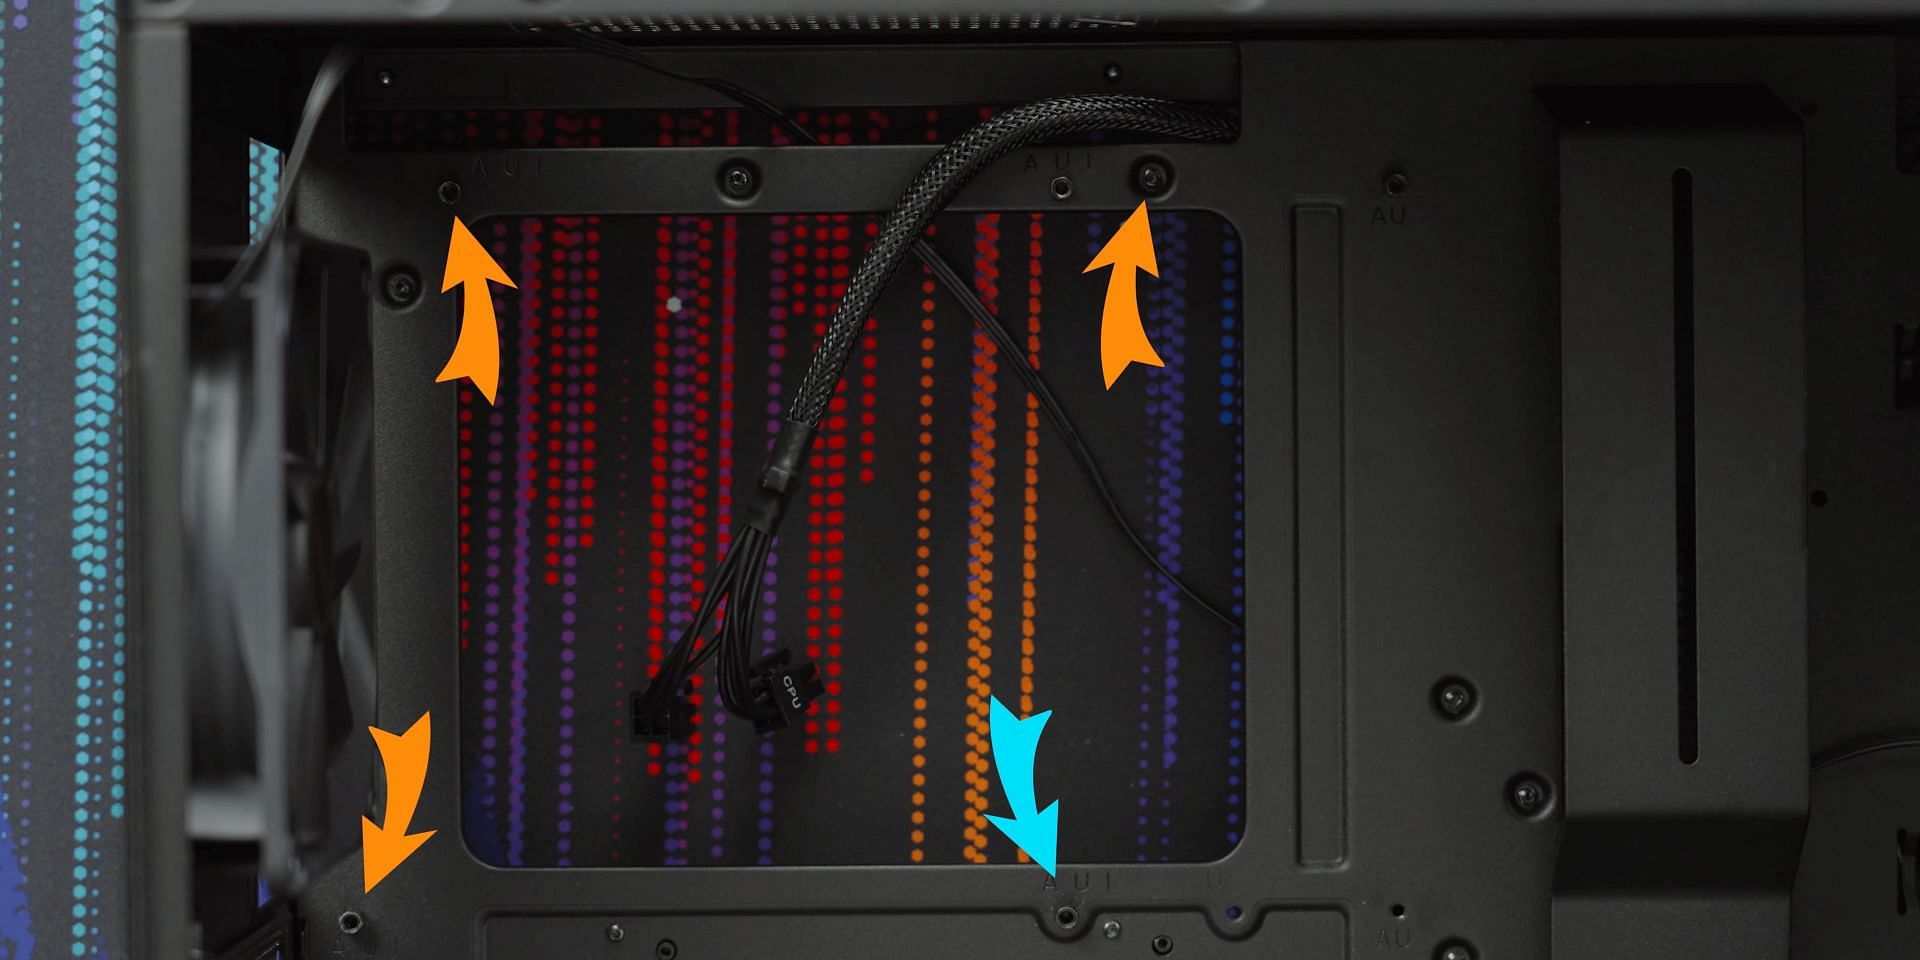
If the standoffs did not come pre-installed in the cabinet, gather all the standoffs that came with it and install them. Depending on the size of motherboard, the installation of standoffs will vary. Refer to the cabinet guide for your size and remove any standoffs installed in the wrong spots.
Install the I/O shield that came with your motherboard and fit it into the back of the cabinet by putting pressure on it and making sure that it's the right side up. Some motherboards come with the I/O shield pre-installed.
Finally, fit the motherboard in and line up the standoffs and the I/O shield with the ports on the motherboard. After that, install the screws into the standoffs through the motherboard.
7) Install PSU and SATA storage
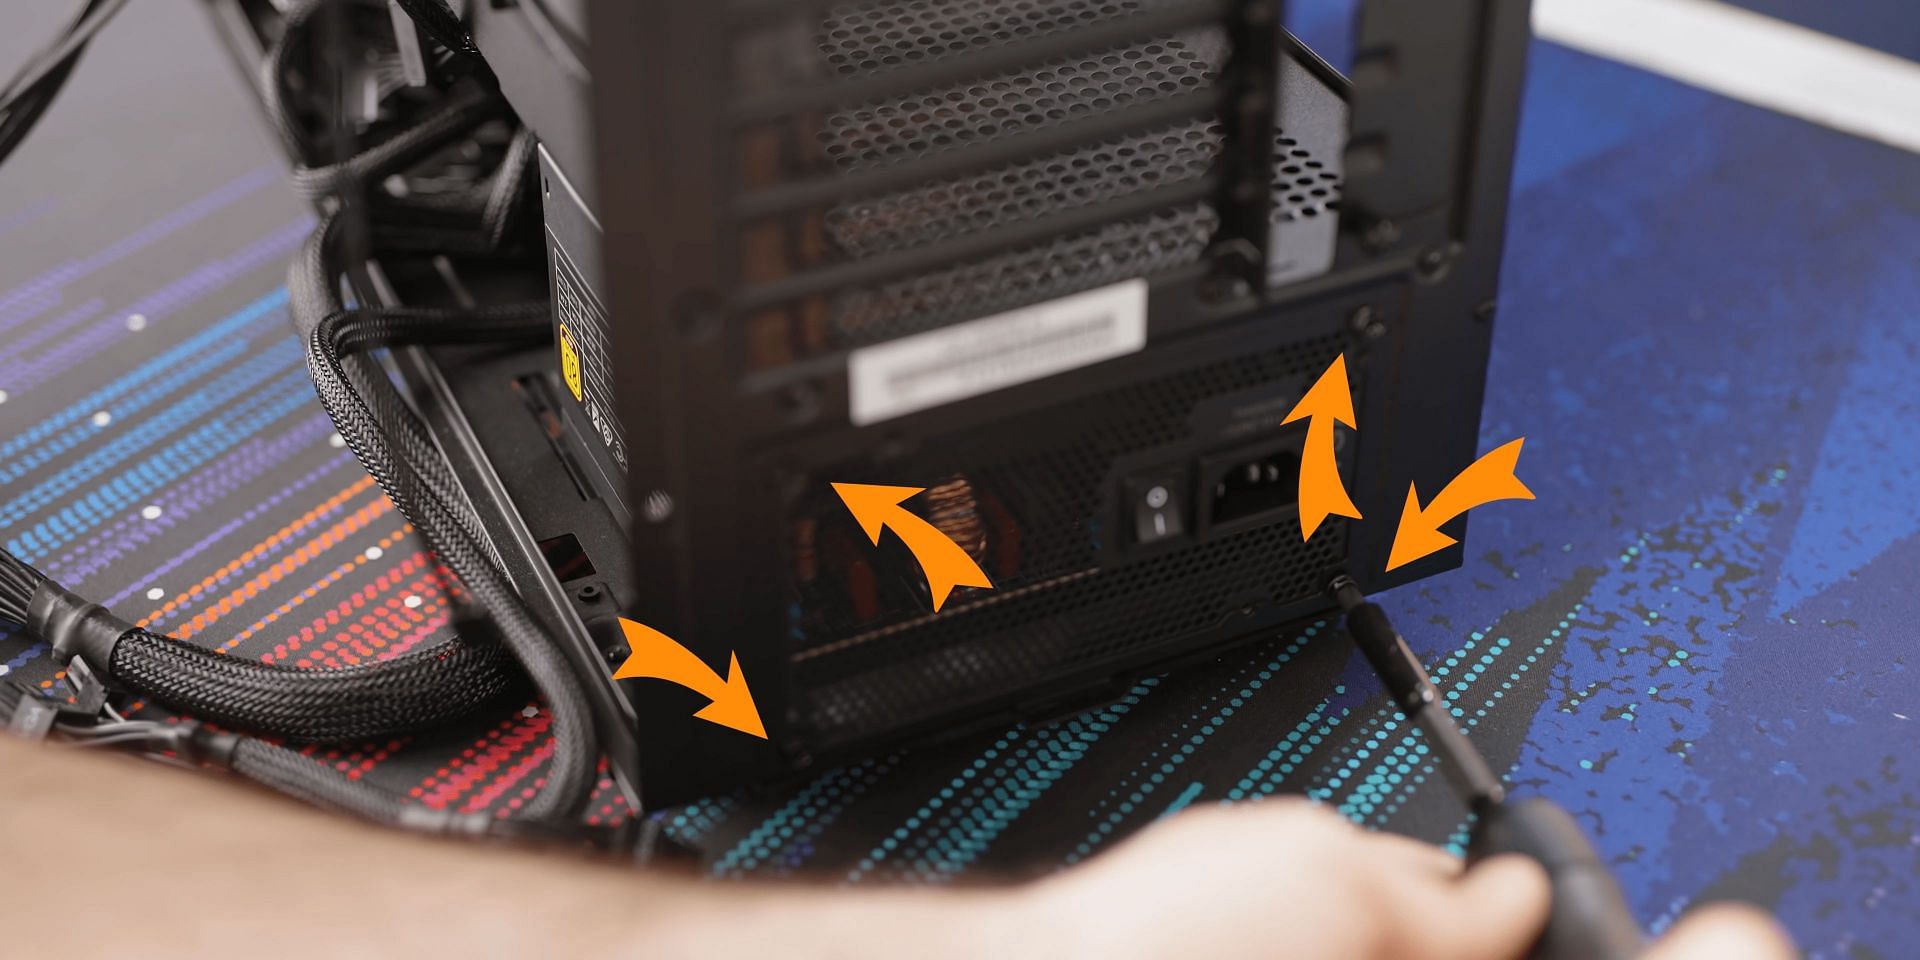
Remove the PSU bracket in the cabinet (if any) first, which is usually at the bottom back of the cabinet. Some cabinets have space for the PSU at the top. Second, thread in the PSU cables through the slot and put them at the side, then slide in the PSU (applicable if PSU is non-modular). If your PSU is modular, simply slide the PSU in the slot with the PSU fan facing downwards and secure the bracket back onto the cabinet.
SATA storage is installed differently in cabinets; some cabinets have drive bays where the 2.5/3.5-inch drives can slide in, whereas in other cabinets, the storage needs to be screwed in. Install the drives with the power port facing the cabinet.
8) Install the GPU
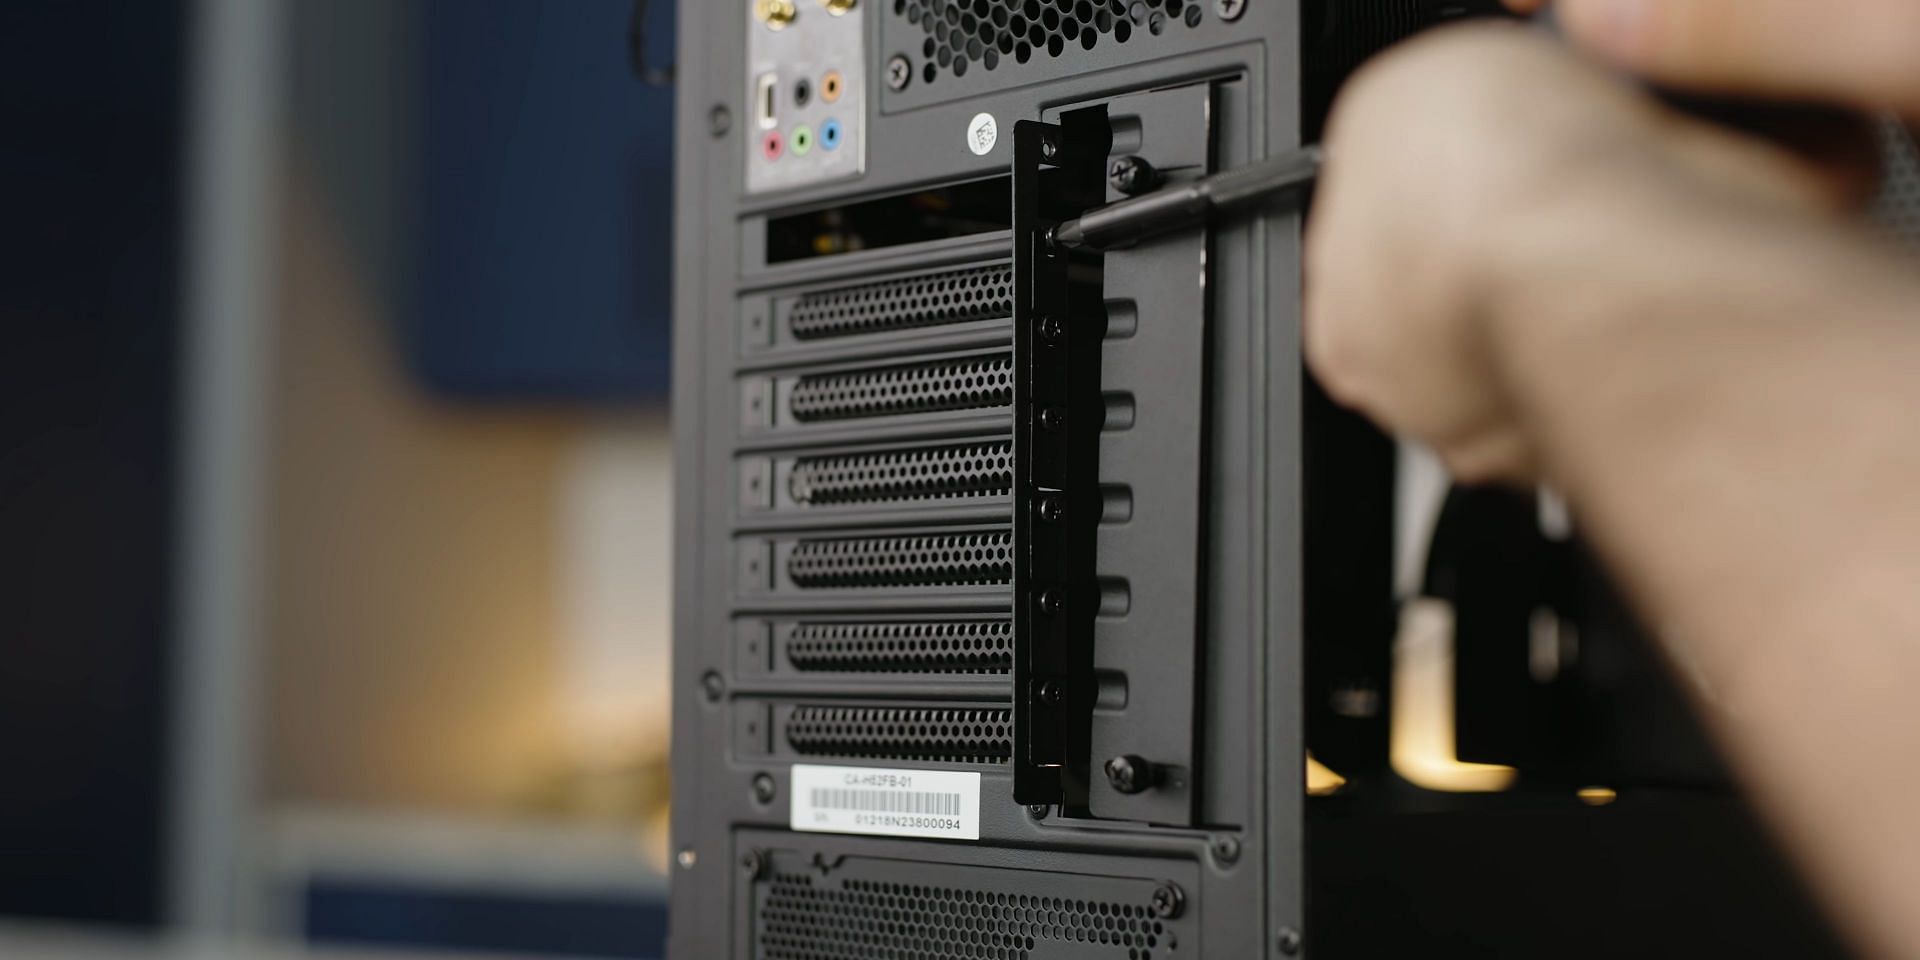
If your motherboard has more than one PCIe slot, install the GPU into the slot closest to the CPU. To do so, unscrew two of the rear PCIe slots in the cabinet next to the PCIe slot on the motherboard, open the latch in the PCIe slot, line up the GPU with the notches and push it into place by applying some pressure until you hear a click. Lastly, install the PCIe slots with the same screws that were removed earlier, to secure the GPU in place.
9) Plug in the cables
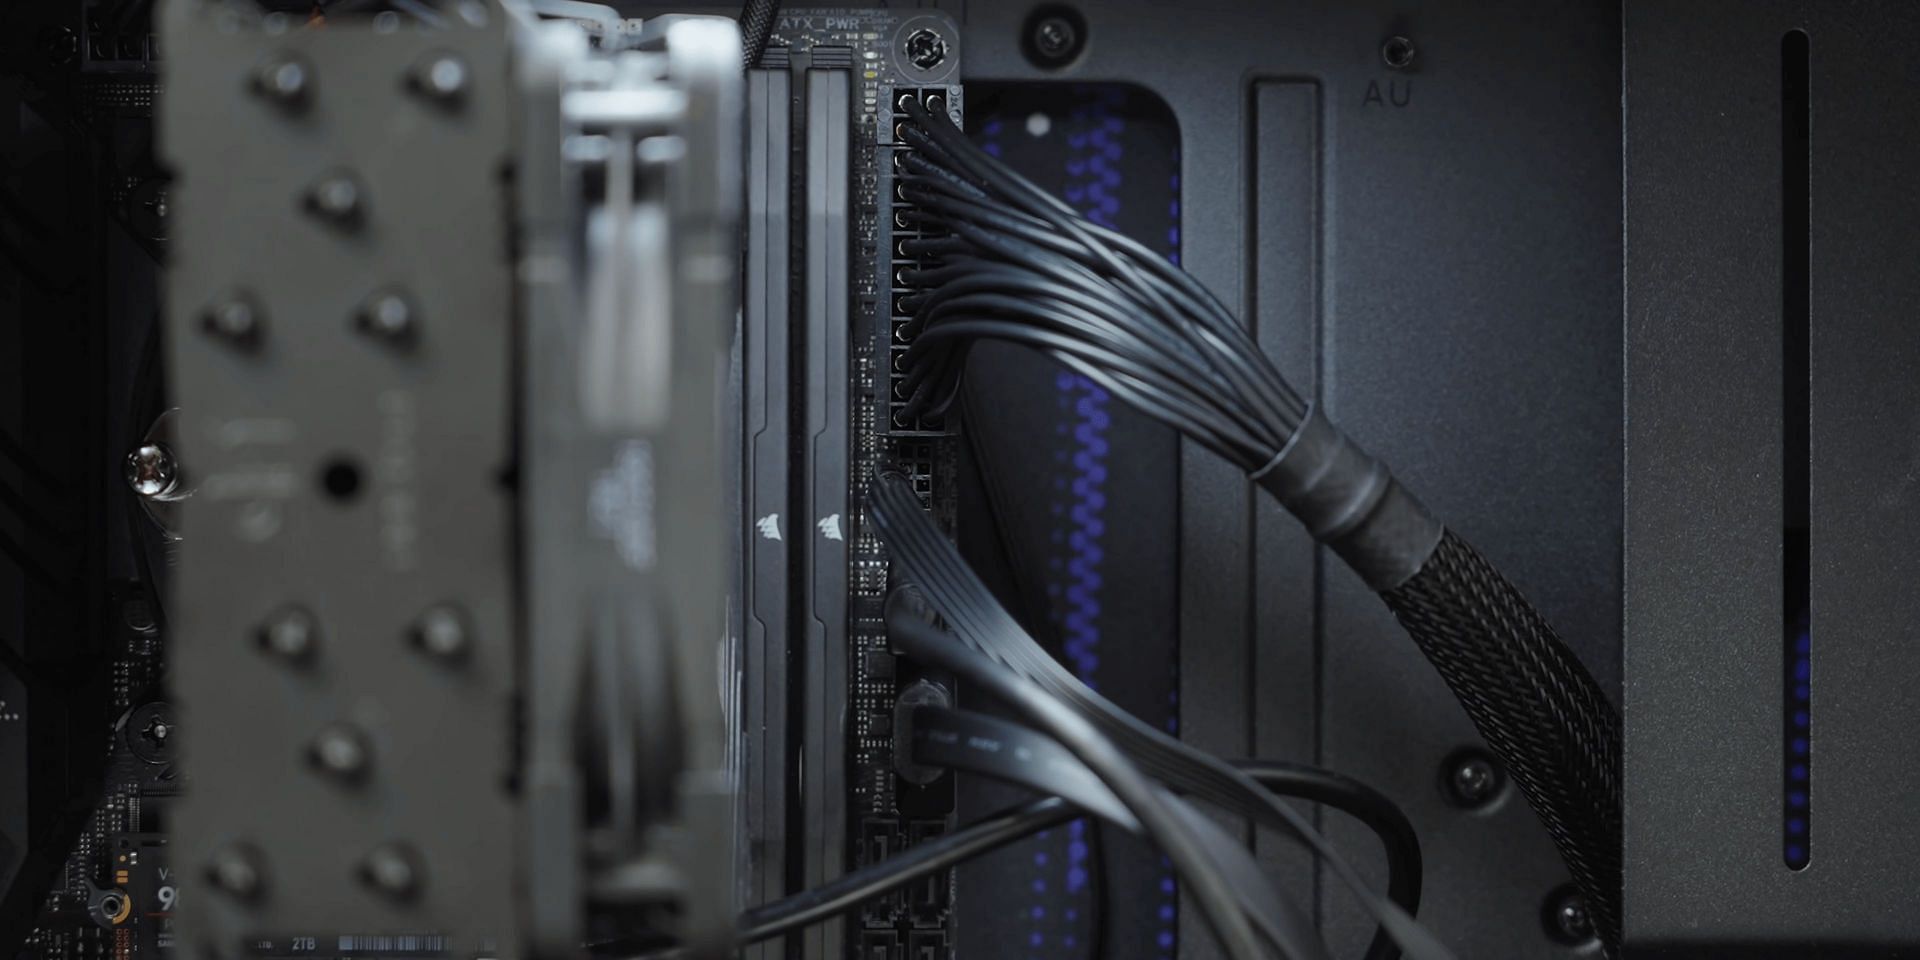
If you have a modular PSU, plug in all the necessary cables into the PSU first and route them around through the right side of the cabinet. Mainly, a 24-pin motherboard power connector, 8-pin CPU power connector, SATA power connector, and GPU power cables are needed. Connect the 8-pin cable to the top of the motherboard, the 24-pin in the ATX power port on the motherboard, and SATA power to the storage devices.
Next, connect all the cables in your cabinet to the motherboard, such as the front I/O buttons and audio jack cables. Using individual pins, follow the motherboard manual to plug them into the correct spots and make sure not to bend the fragile pins. The USB 3.0 and USB 2.0 cables from the front I/O need to be connected as well.
Connect the storage to the motherboard by connecting the data cable to the motherboard and storage device.
Connect the GPU PCIe power cable to the GPU, which can either be a 6-pin, 8-pin or 12-pin connector, depending on how much power your GPU needs.
Lastly, connect the cabinet fans to the motherboard, which are either 3-pin or 4-pin. The fans do not have any power cables. Fans can be connected into the slots named as "CHA_FAN1", "CHA_FAN2," and so on.
This part of the build depends on the hardware you have. Refer to the manuals of your cabinet, motherboard, and PSU for further information.
10) Cable management and close-up
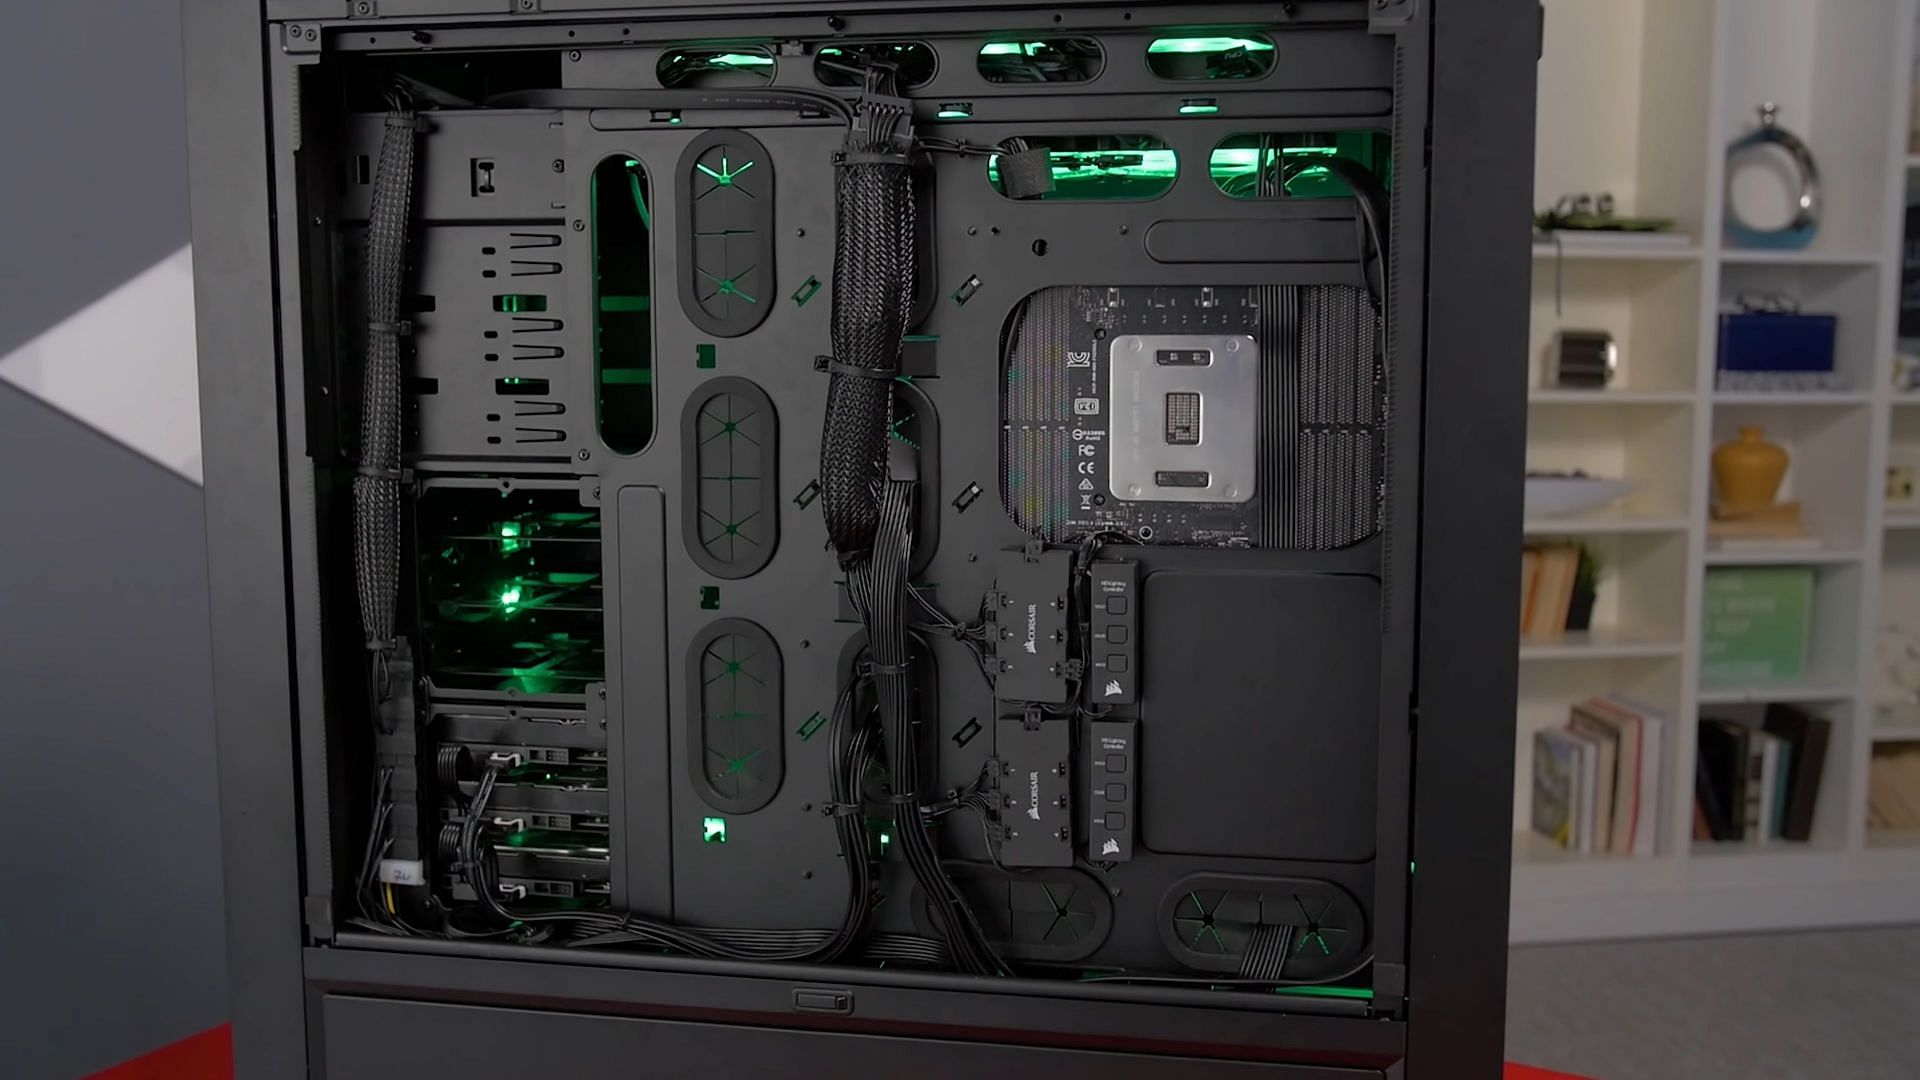
To ensure a clean build with good airflow, the cables need to be moved out of the way by routing them through the back of the cabinet. To do that, use a zip-tie to bunch all the cables together at the back and close the side-panel.
Finally, plug in the PSU power cable, display cables and all your peripherals and power up your PC.
