
'%20x='0'%20y='0'%20height='100%25'%20width='100%25'%20%0A%20%20%20%20%20%20%20%20%20%20xlink%3Ahref='data:image/jpg;base64,/9j/2wBDAAYEBQYFBAYGBQYHBwYIChAKCgkJChQODwwQFxQYGBcUFhYaHSUfGhsjHBYWICwgIyYnKSopGR8tMC0oMCUoKSj/2wBDAQcHBwoIChMKChMoGhYaKCgoKCgoKCgoKCgoKCgoKCgoKCgoKCgoKCgoKCgoKCgoKCgoKCgoKCgoKCgoKCgoKCj/wgARCAAGAAoDASIAAhEBAxEB/8QAFgABAQEAAAAAAAAAAAAAAAAAAAUH/8QAFQEBAQAAAAAAAAAAAAAAAAAAAgP/2gAMAwEAAhADEAAAAMrjFh//xAAdEAADAAEFAQAAAAAAAAAAAAABAgMEAAYREiGS/9oACAEBAAE/AKb+brjK8qJJccxZJ9fZdTwPrjU935omoetywHvDgDX/xAAVEQEBAAAAAAAAAAAAAAAAAAAAA//aAAgBAgEBPwCT/8QAFxEAAwEAAAAAAAAAAAAAAAAAAAERA//aAAgBAwEBPwDRWH//2Q=='%3E%3C/image%3E%3C/svg%3E)
Overcoming the most challenging Destiny 2 PvE activity has always been the community's end goal. From a newly released Raid to a Master Dungeon, a proper load-out in one of three classes can go a long way. Since Bungie did tie in some of the best weapons behind a Raid and Dungeon loot pool, players have all the more reason to farm them until they can land a god roll.
Hence, this article will guide you through five of the best load-outs you can use in endgame activities, especially Raids, and Dungeons, alongside their Master variants. You will also find different builds of the same element in this list, as switching them up according to the difficulty for your own and allies' benefit is essential.
Disclaimer: This article is subjective and solely reflects the writer's opinion.
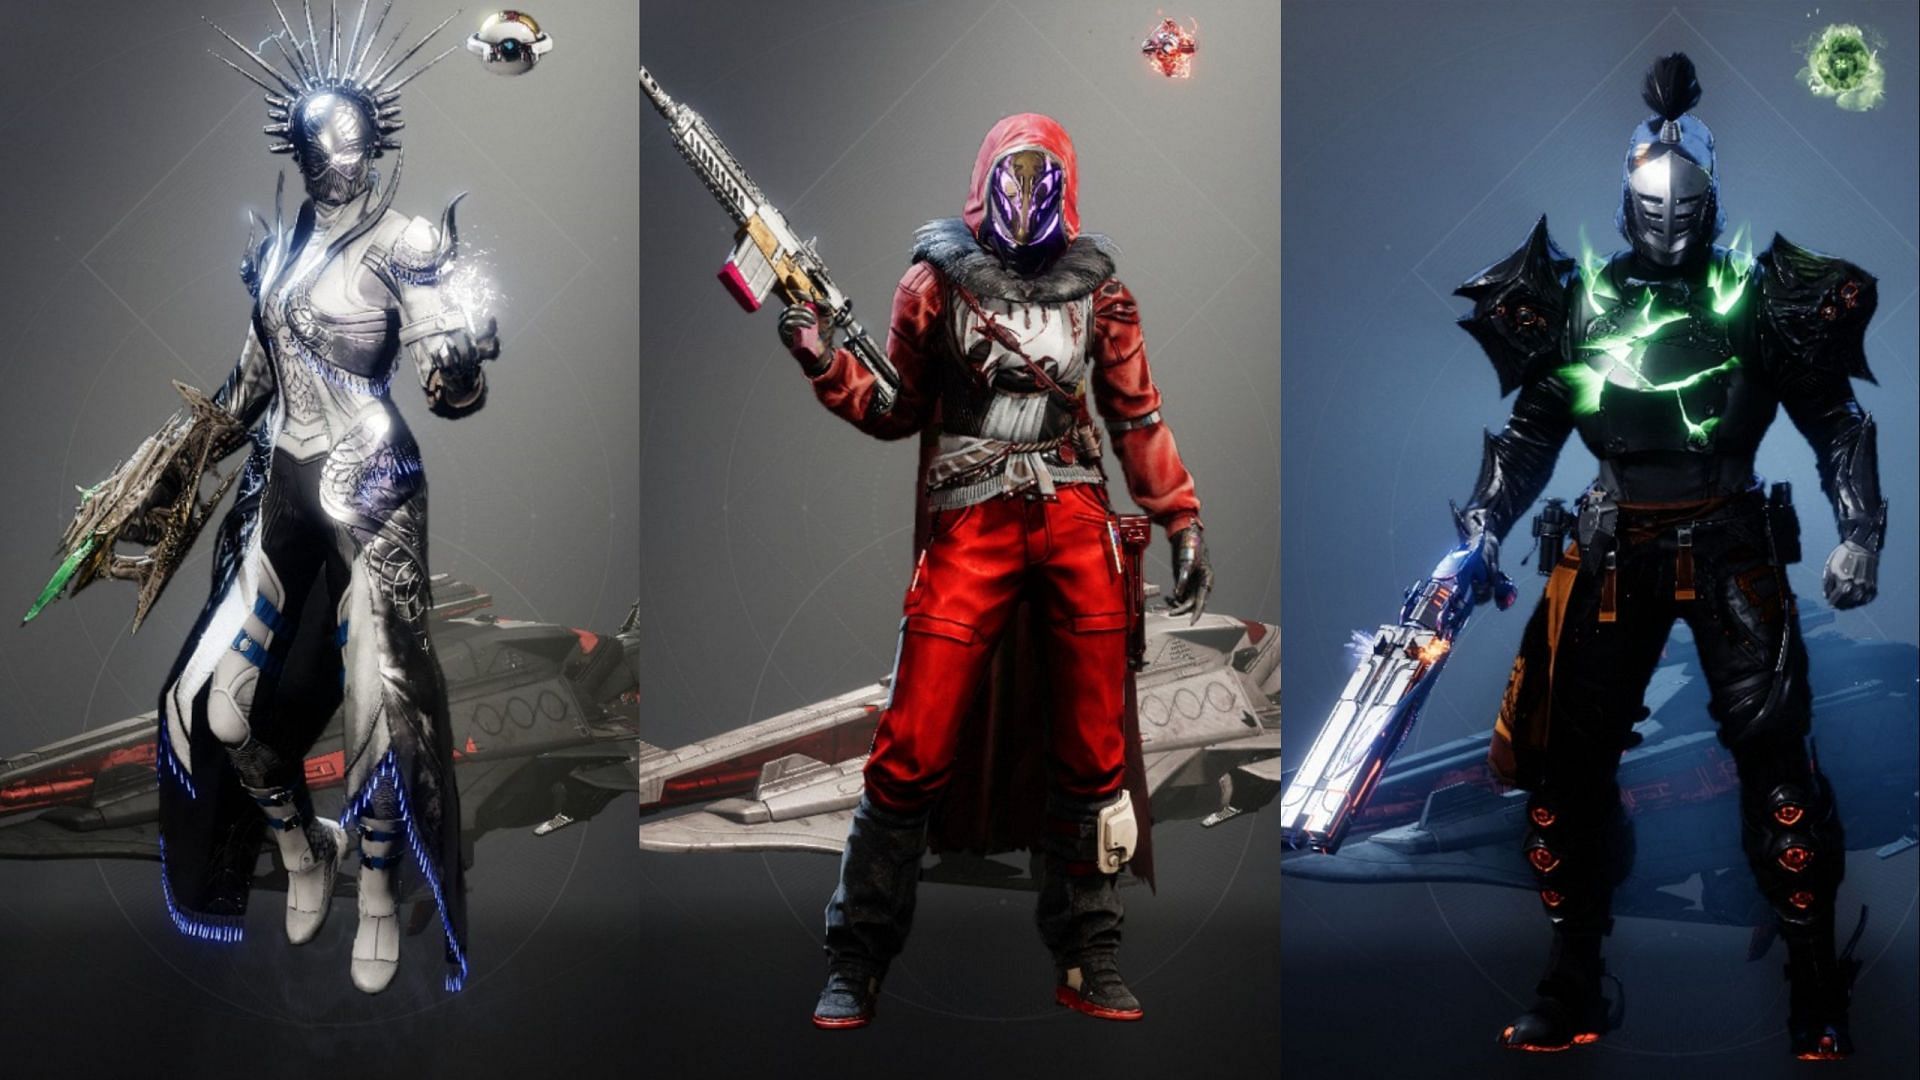
Solar Warlock, Void Hunter, and other powerful builds recommended for Destiny 2 Raids and Dungeons
1) Void Hunter (Omnioculus/Gyrfalcon's Hauberk)

Void Hunters are very resourceful when it comes to the endgame. Based on the Exotic gear equipped, they can be either the sneaking mobile trickster while saving their allies from danger or the volatile killing machine that can clear out rooms easily. Both are viable for endgame activities, whether they are normal endgame activities or their Master variants.
Omnioculus is an Exotic chest piece, granting the user a second bomb charge. In the grand scheme of things, this second smoke bomb is just an additional charge to suppress enemies and become invisible. Additionally, any allies within the radius will vanish from the enemy's eyes.
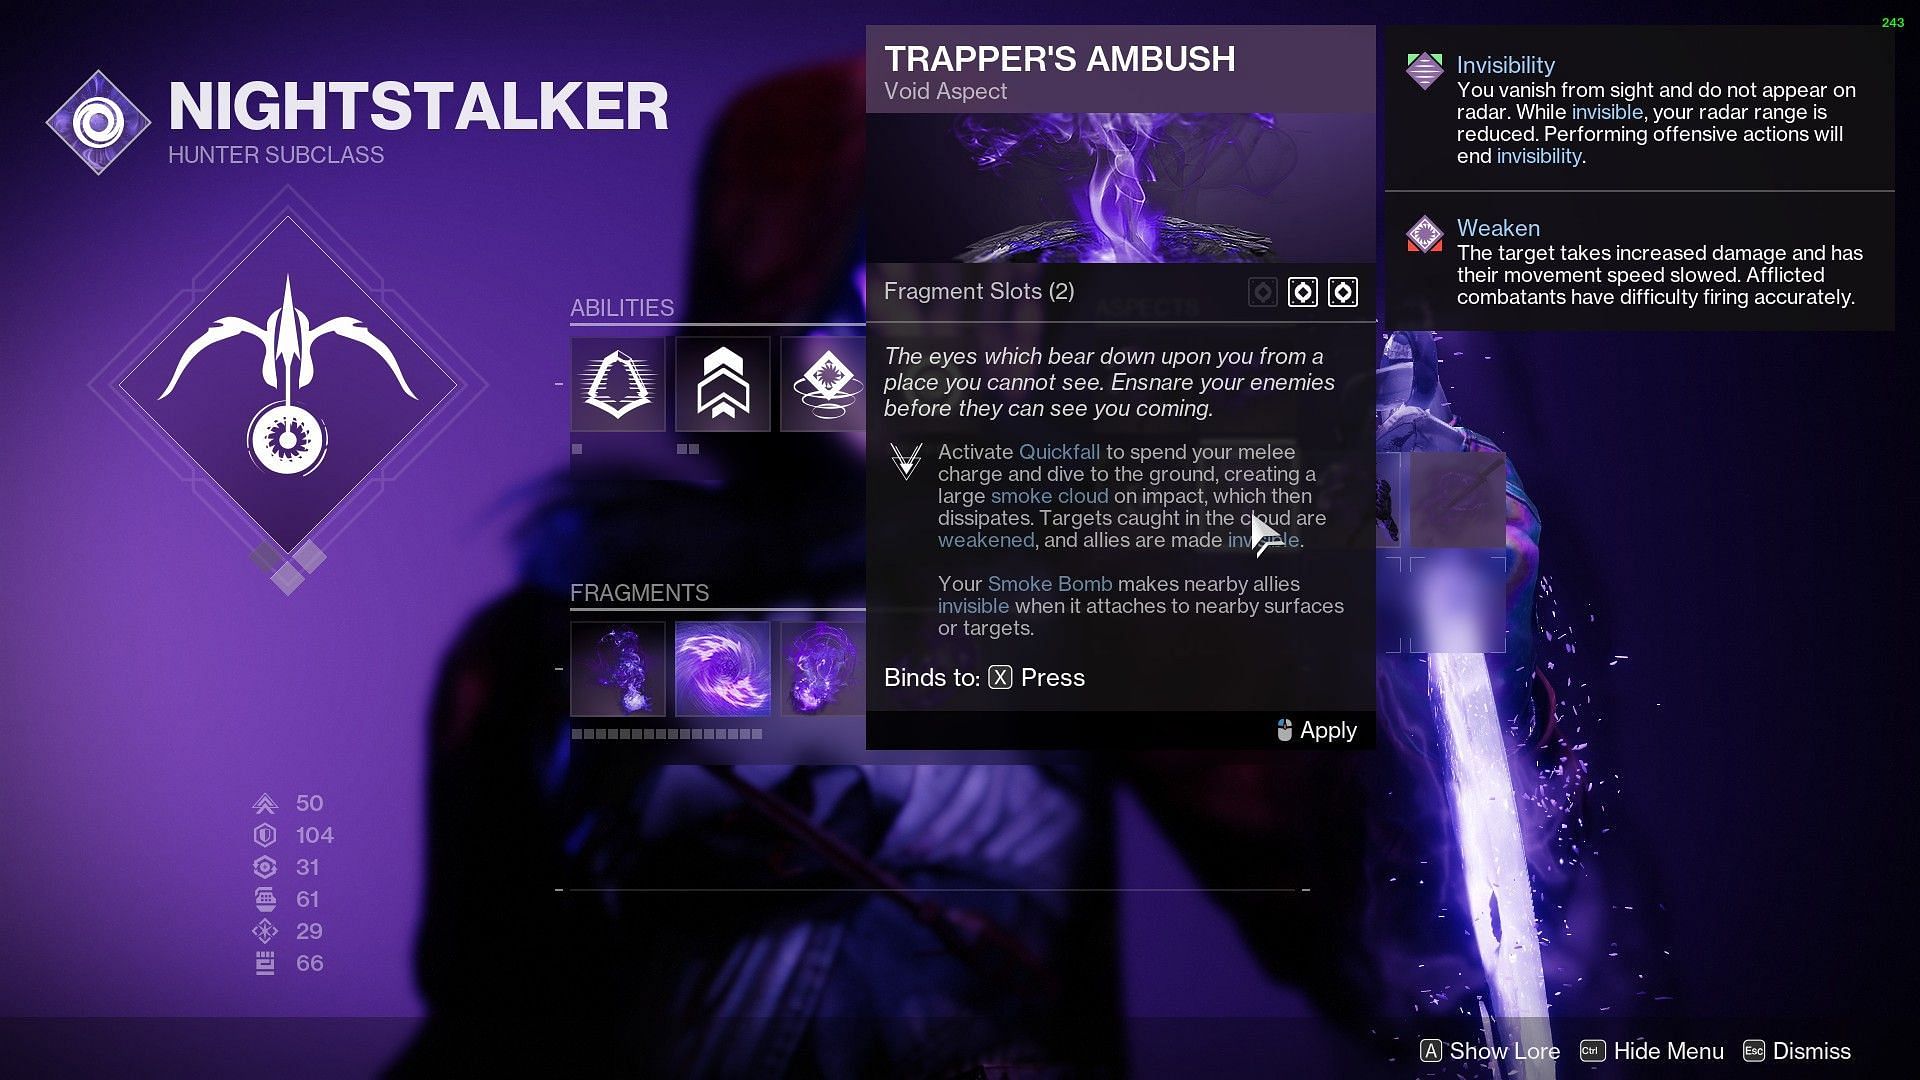
Aspects for the Omnioculus build should always have Trapper's Ambush, with the optional Vanishing Step. Recommended Fragments are Echo of Persistence, Echo of Obscurity, and Echo of Harvest. The fourth Fragment can be anything of your choice as long as it synergizes with the rest of the load-out.
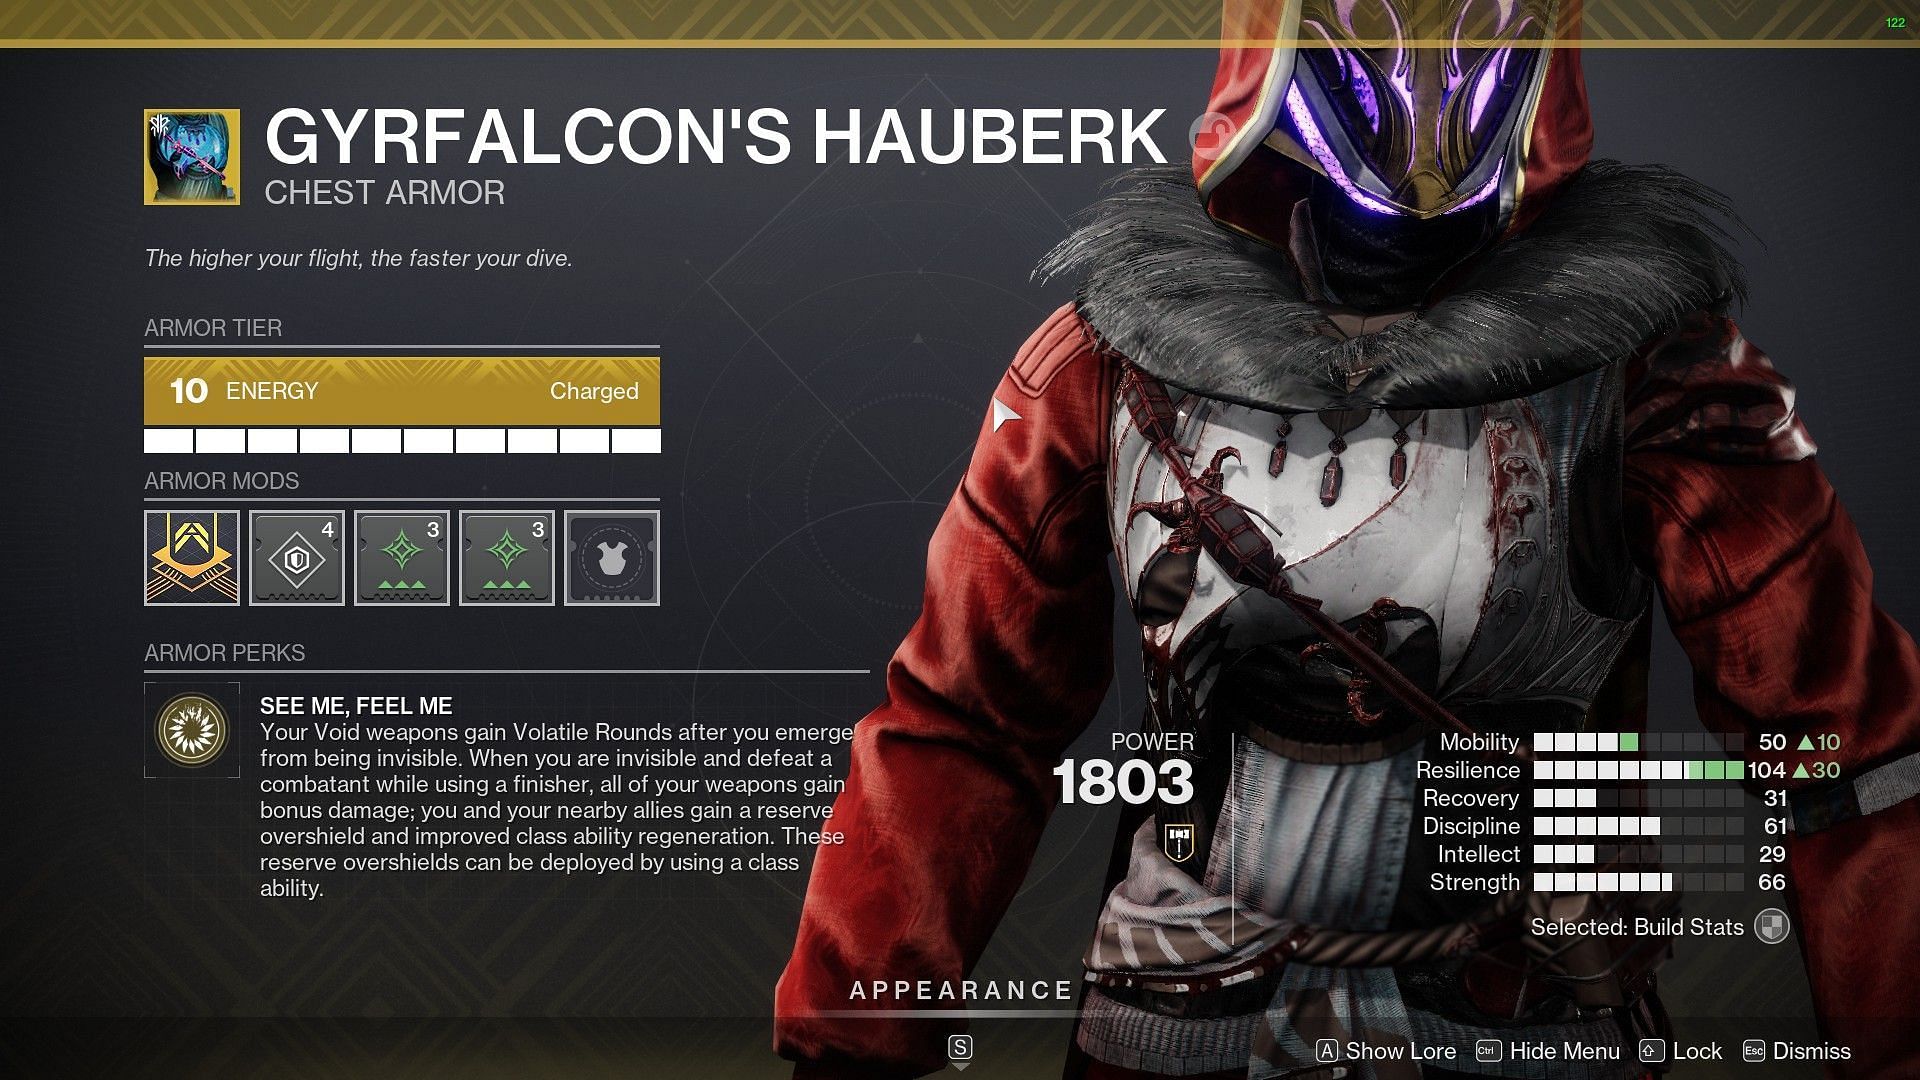
When it comes to Gyrfalcon's Hauberk, the following build will help you vanish from the field while gaining an overshield.
Any Void primary weapon with Repulsor Brace is recommended, as defeating a volatile target under the effects of the Gyrfalcon will grant a shield upon final blows. The Stylish Executioner Aspect is mandatory, as it will allow you to become invisible upon volatile kills.
Fragments can be Echo of Cessation, Echo of Persistence, and Echo of Starvation. Similarly, the fourth Fragment can be anything of your choice.
2) Arc jolt Warlock (Fallen Sunstar)
Arc Warlock and Fallen Sunstar are a match made in heaven for the current sandbox. Its add-clearing potential remains unmatched to this day, depending on a few weapons and perks. The entire loop of the build is tied to Ionic Traces. Collecting them will grant a little of all three ability energies simultaneously.

Weapons that are important to obtain for this build include either an IKELOS SMG with Voltshot or a Forbearance with Chain Reaction.
The former primary can be paired with a Blinding Grenade Launcher, while the latter can have the Osteo Striga as a viable DoT option on elites and bosses.
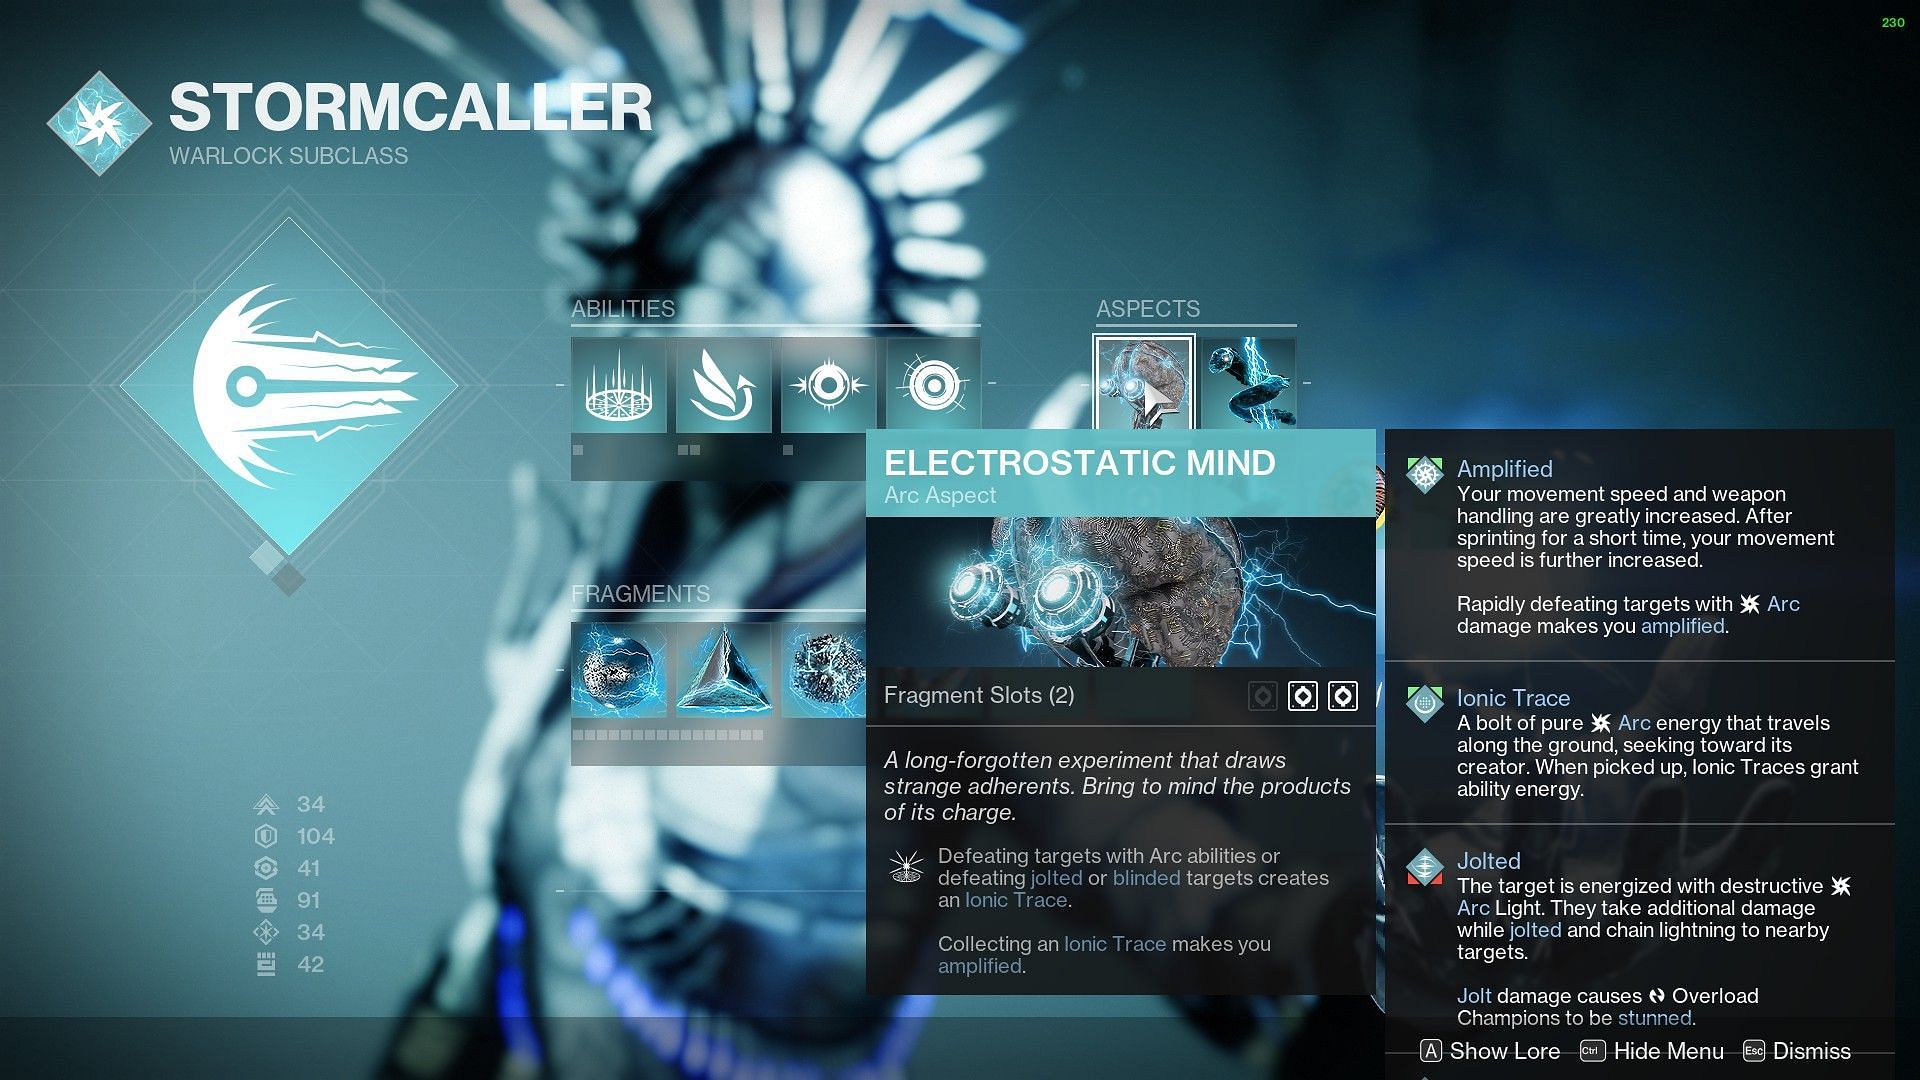
Aspects should be Electrostatic Mind and Arc Soul, while the build can have Fragments such as Spark of Resistance, Spark of Discharge, Spark of Shock, and Spark of Beacons. Any Grenades can work here, but Pulse usually gets picked up due to its lingering effect.
3) Strand suspend Titan (Abeyant Leap)
As the name suggests, this build is meant primarily to keep enemies suspended. While this is meant for higher difficulty, having a Strand Titan with a "suspend upon barricade" is equally reassuring.
The only major requirement for this load-outs is the Abeyant Leap Exotic leg armor, available from completing Lost Sectors. Additionally, suspending targets also grants Woven Mail to the user.
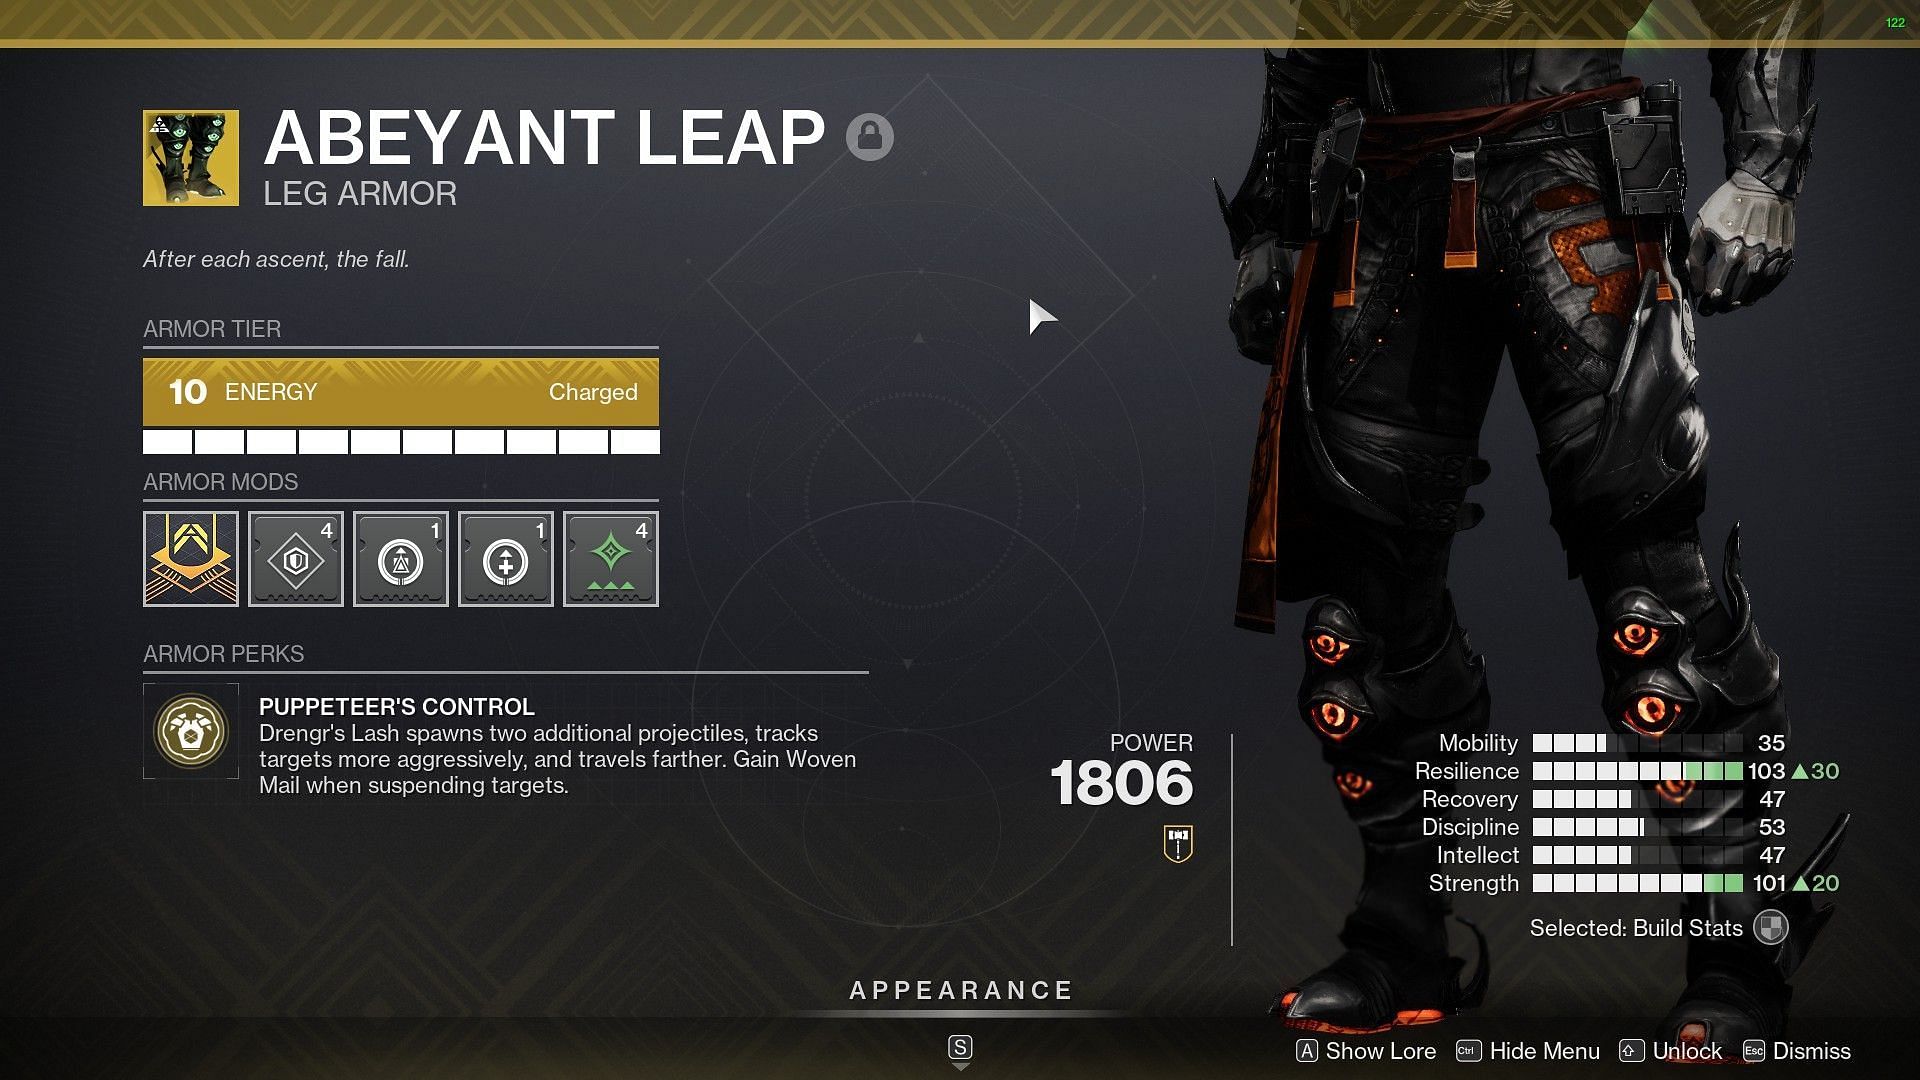
Drengr's Lash is the only Aspect you need, with the rest two being optional. Fragments should include a Thread of Mind, Thread of Transmutation, Thread of Propagation, and Thread of Continuity.
Weapons are necessary here for synergy, so having anything that can shut down Champions other than Unstoppable is recommended.
4) Boss DPS Solar Warlock (Sanguine Alchemy)
The boss DPS load-out for Solar Warlock here isn't what you think. Starfire Protocol doesn't have the right balance between clearing adds and damaging elites.
Hence, the following build will focus solely on damaging bosses with the help Sanguine Alchemy Exotic chest piece. Note that the super ability can still be Well of Radiance, while Grenades can either be Solar or Fusion.
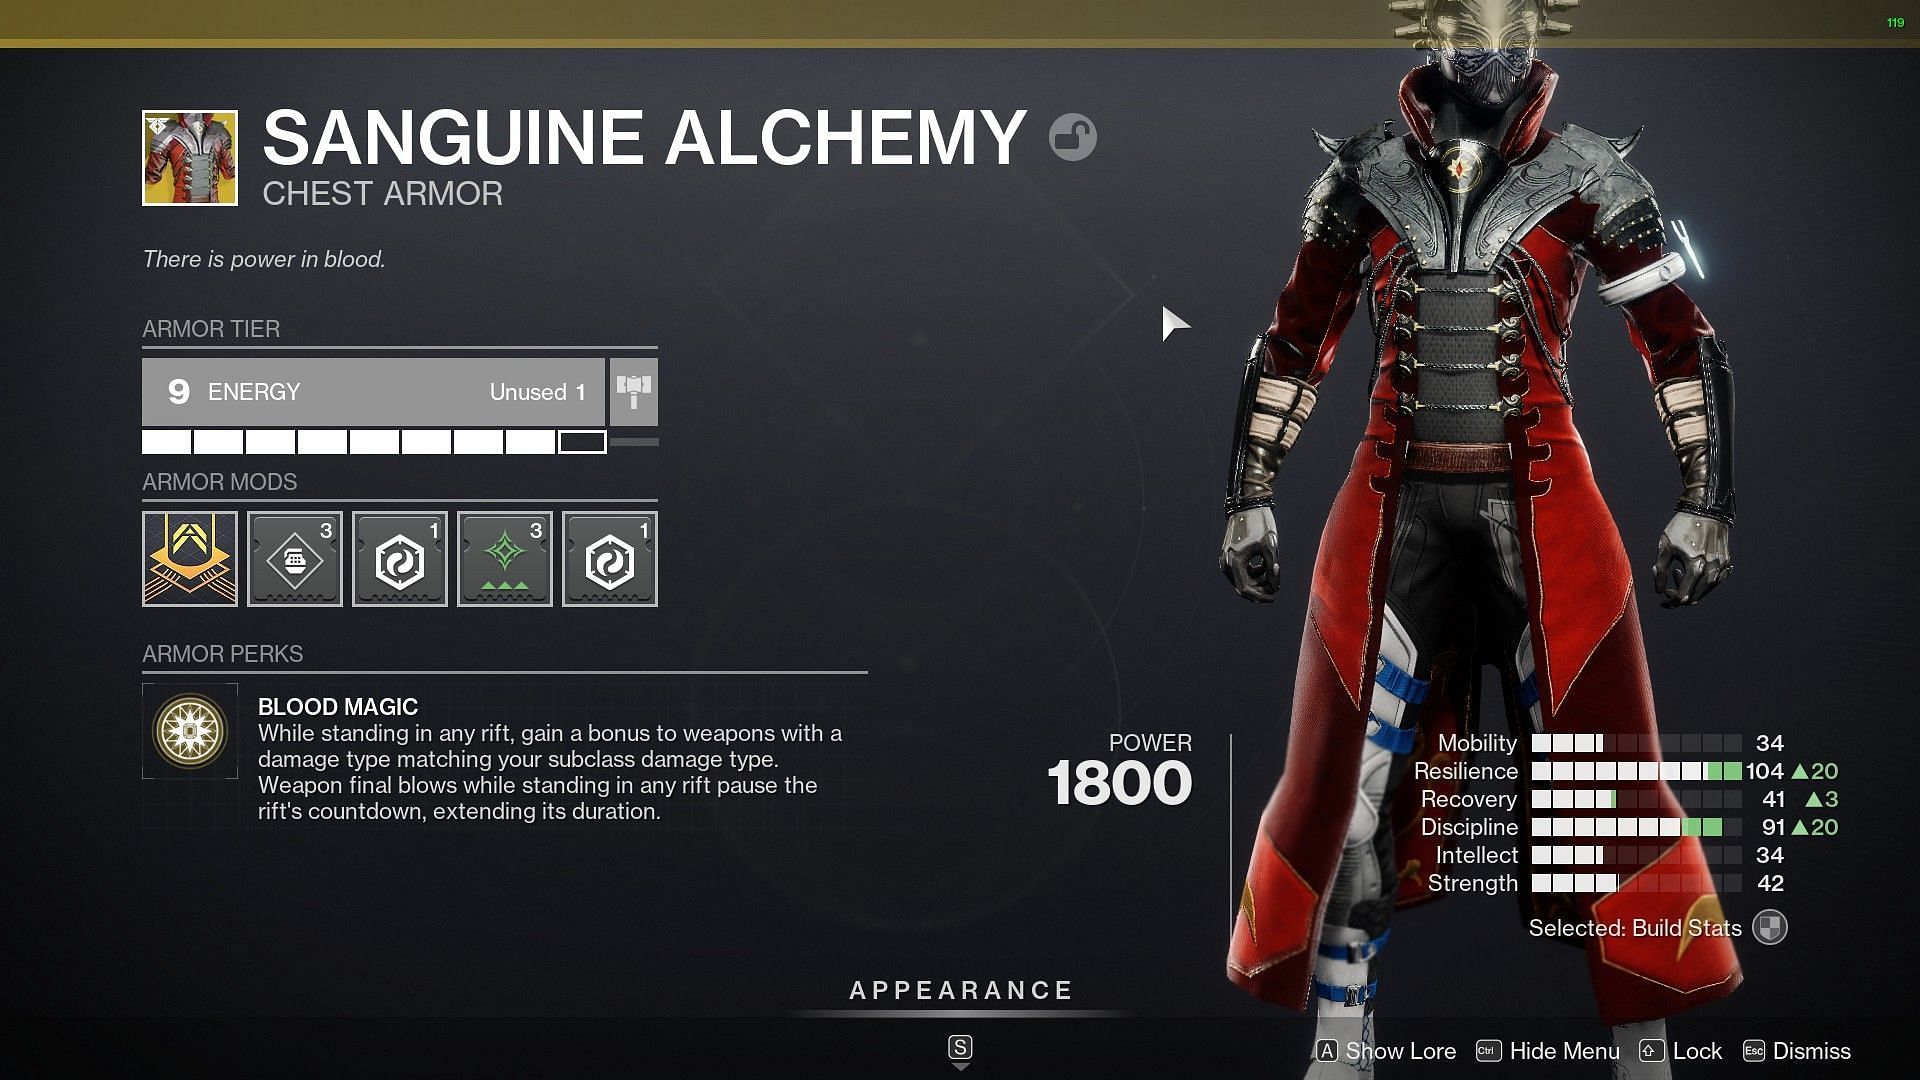
Sanguine Alchemy, however, increases the damage of the weapon consisting of the same element as your subclass.
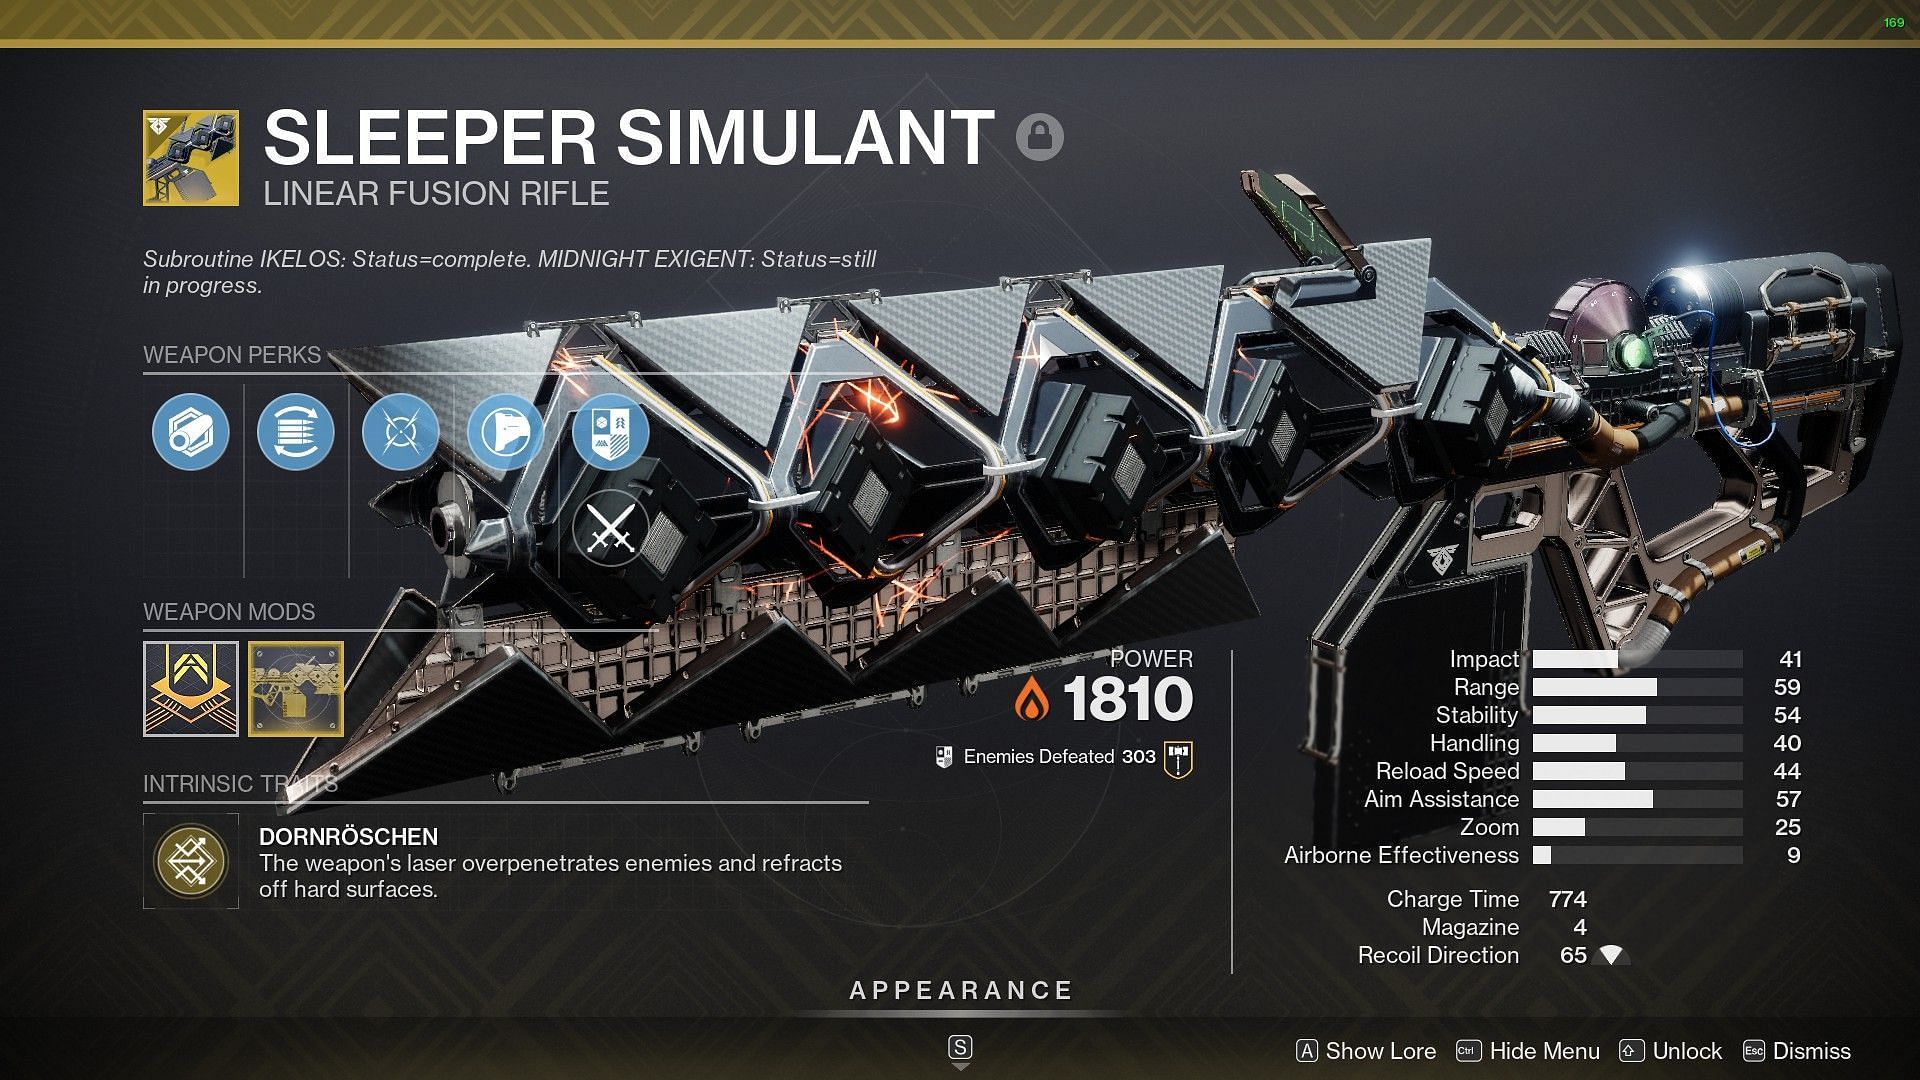
Hence, if you are going to be using Well of Radiance for your team, make sure to pack a power-heavy Solar weapon. Sleeper Simulant is the best option in the heavy slot alongside Cataclysmic.
Since this build can work with every element, the following are the best DPS options with their respective element:
- Arc: Hothead paired with Wolfpack rounds and Stormchaser.
- Void: Royal Entry with Wolfpack Rounds and Taipan.
- Stasis: Winterbite and Roar of the Bear paired with Wolfpack Rounds.
Nothing specific is required in terms of Aspects and Fragments except the ones that can synergize with the weapons you have.
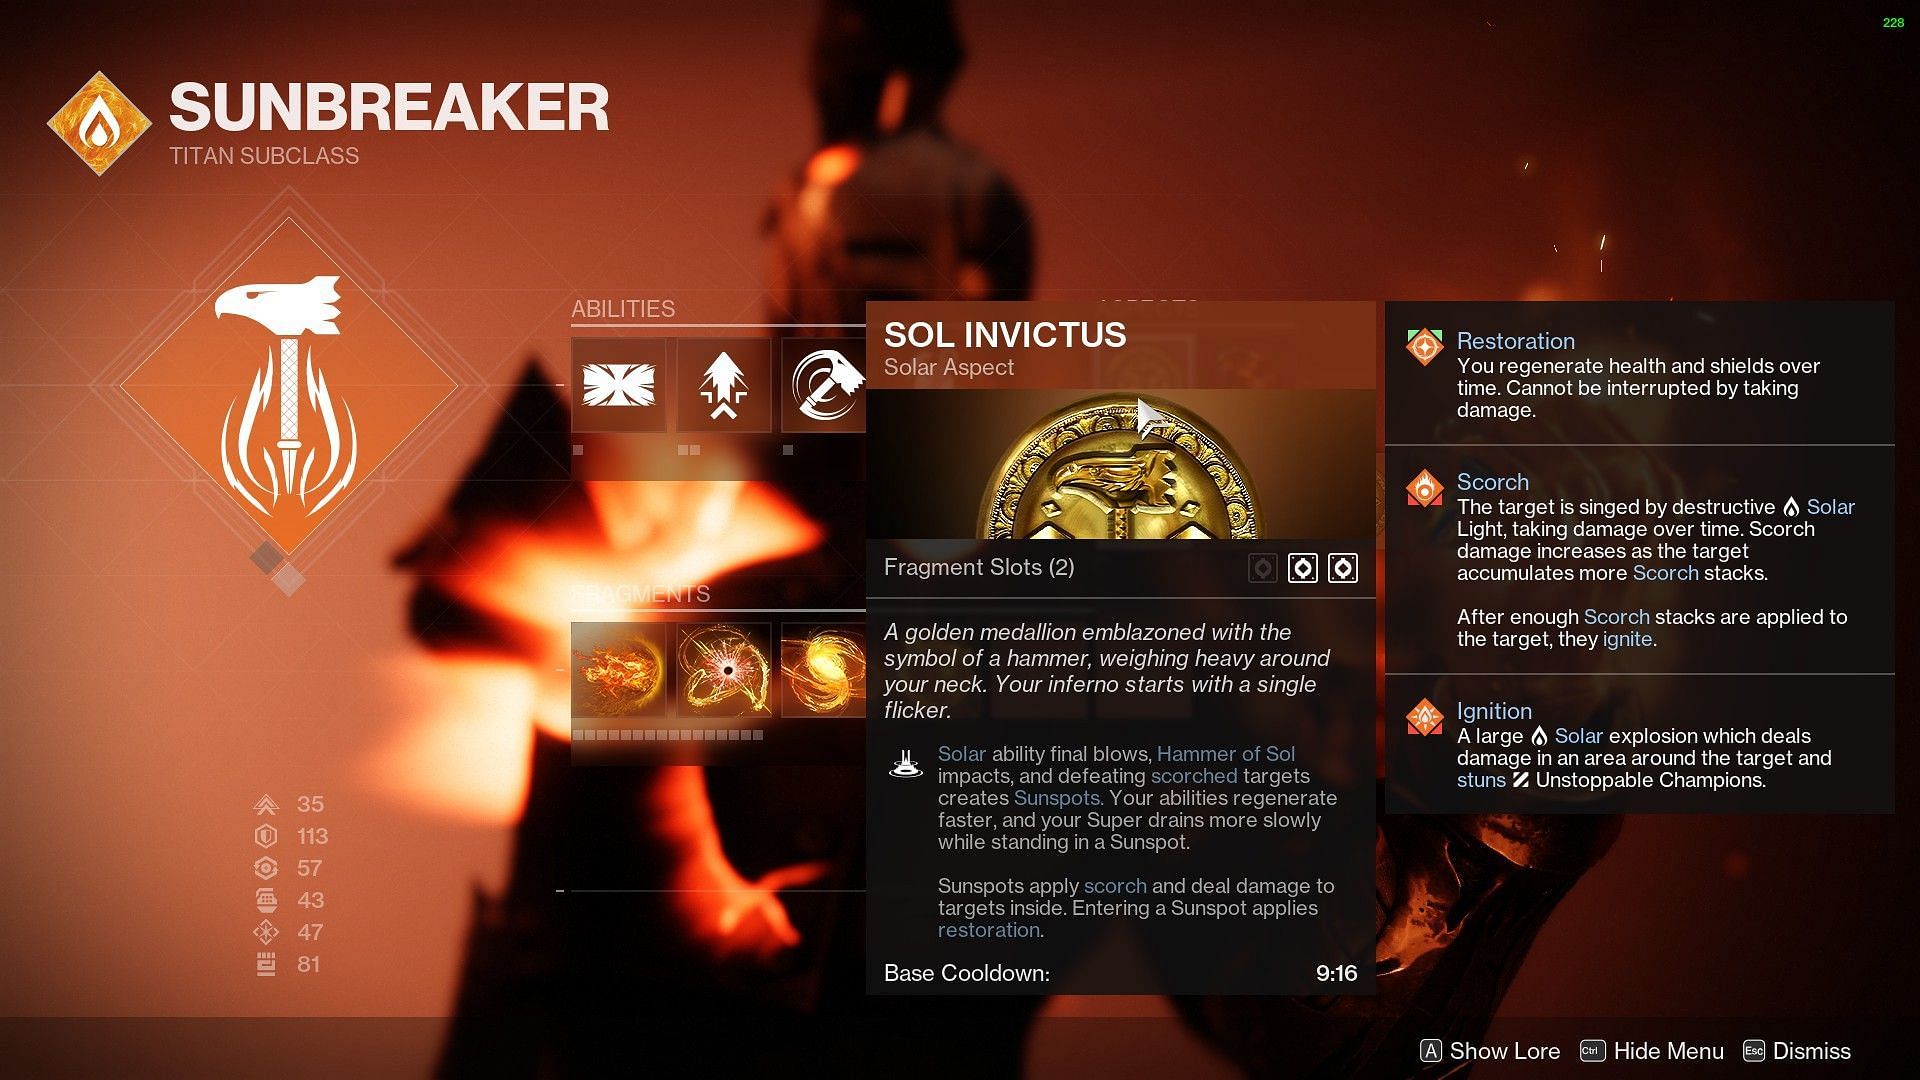
5) God of War Solar Titan (Loreley Splendor Helm)
Loreley Splendor Helm is usually a god mode on a Titan if properly utilized. This Exotic has been the meta ever since its release and has been nerfed a few times as well. However, that did not stop players from using it in the endgame.
Loreley consumes the user's class ability energy when they are critically injured and spawns a sunspot with increased restoration.
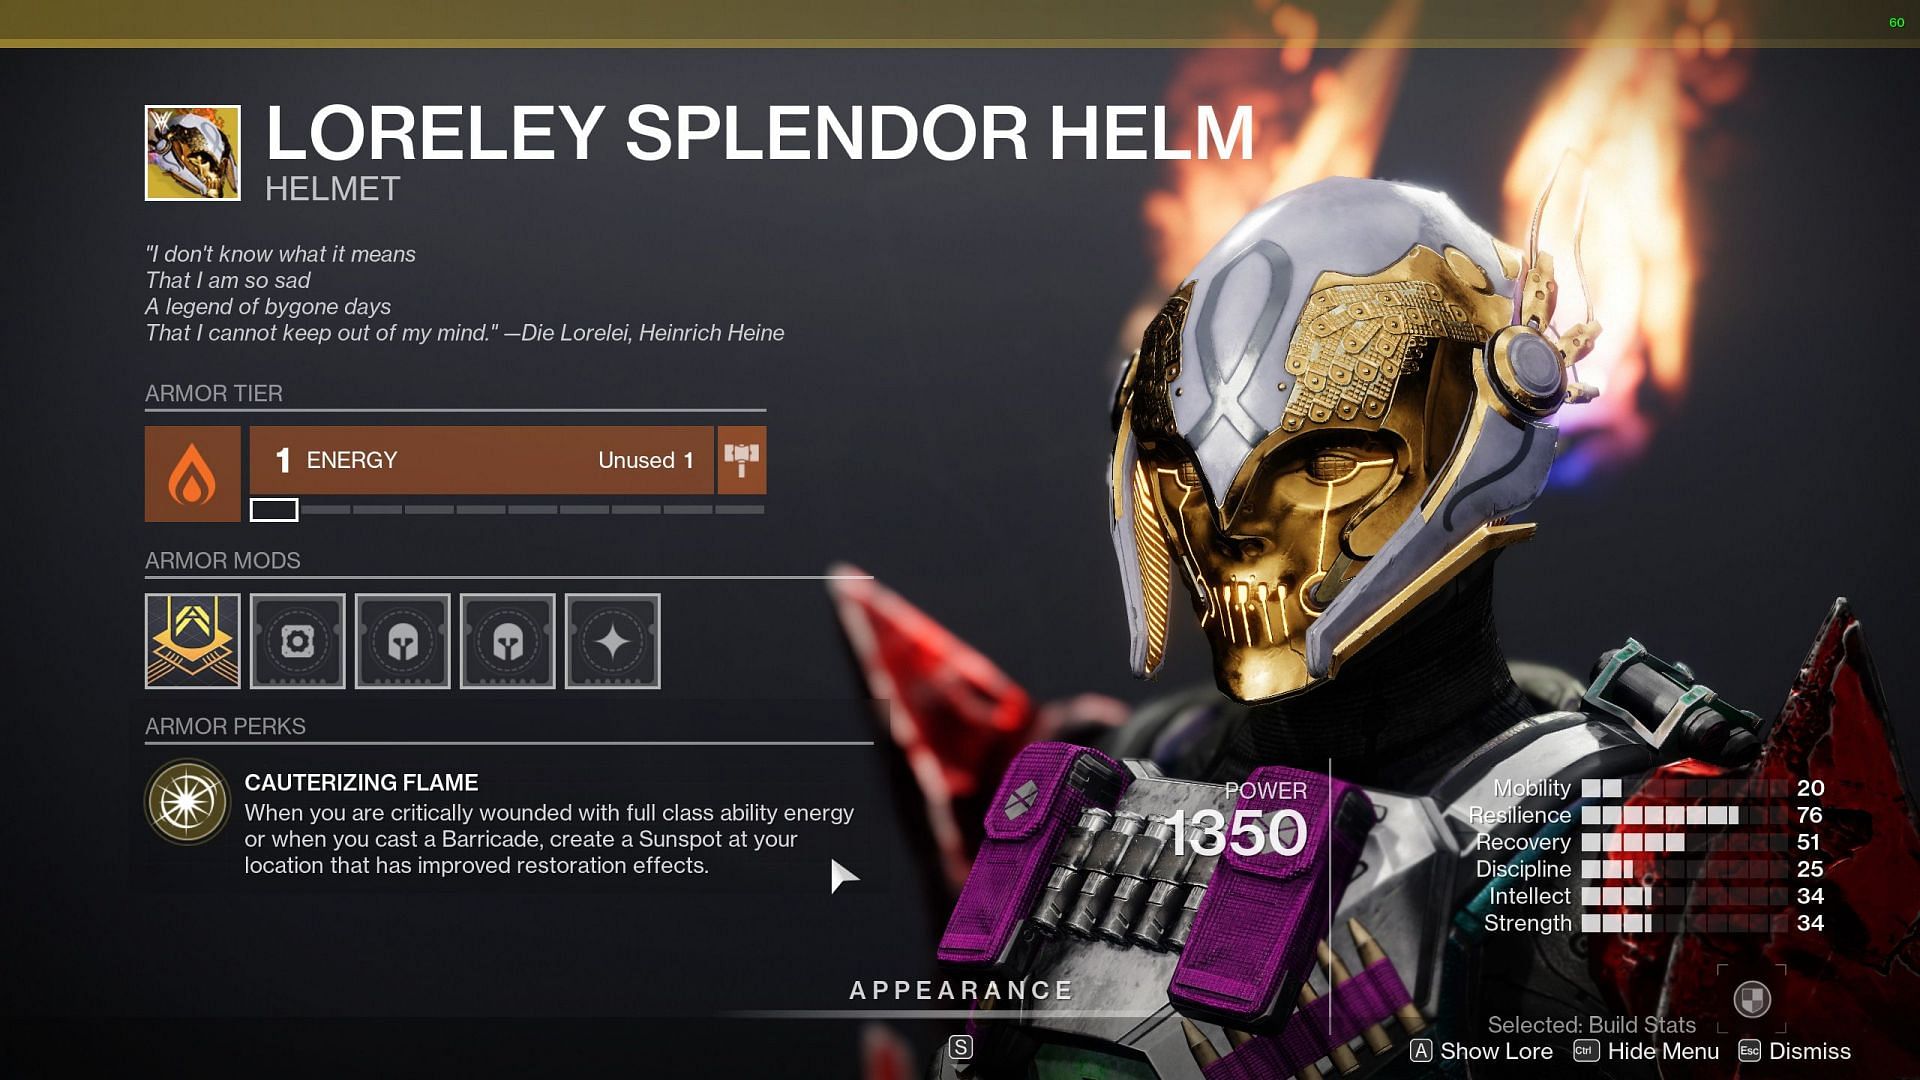
Additionally, you can even get the Sol Invictus buff without the Aspect. However, it is important to equip the Aspect as this particular build follows the throwing hammer build.
Roaring Flames needs to be your second Aspect here, with Ember of Torches, Solace, Mercy, and Searing as Fragments.
The weapons can be a One-Two Punch Shotgun with a Tractor Cannon in the Heavy slot.
