
'%20x='0'%20y='0'%20height='100%25'%20width='100%25'%20%0A%20%20%20%20%20%20%20%20%20%20xlink%3Ahref='data:image/jpg;base64,/9j/2wBDAAYEBQYFBAYGBQYHBwYIChAKCgkJChQODwwQFxQYGBcUFhYaHSUfGhsjHBYWICwgIyYnKSopGR8tMC0oMCUoKSj/2wBDAQcHBwoIChMKChMoGhYaKCgoKCgoKCgoKCgoKCgoKCgoKCgoKCgoKCgoKCgoKCgoKCgoKCgoKCgoKCgoKCgoKCj/wgARCAAGAAoDASIAAhEBAxEB/8QAFgABAQEAAAAAAAAAAAAAAAAAAAUH/8QAFQEBAQAAAAAAAAAAAAAAAAAAAgP/2gAMAwEAAhADEAAAAMZqk1//xAAfEAEAAQMEAwAAAAAAAAAAAAABAgAEBQMRExSTweL/2gAIAQEAAT8A6uQtoSCWgog7TkeqcHbKvK+P6r//xAAWEQADAAAAAAAAAAAAAAAAAAAAASH/2gAIAQIBAT8AcP/EABURAQEAAAAAAAAAAAAAAAAAAAAx/9oACAEDAQE/AK//2Q=='%3E%3C/image%3E%3C/svg%3E)
Borderlands 4’s Means of Ascent mission takes place directly after The Falling Wall, and the difficulty is going to crank up just a bit more. It’s not a lengthy mission, but the fighting is going to get more intense, and that’s not going to slow down as we get to the end of the game. However, this is one of the most emotionally intense sections of BL4, and we won’t be spoiling that here. You can watch it in the video embedded below, but we won’t tell you in writing what’s going down at the end.
Just know that the action, and the drama is really going to heat up at the end of Means of Ascent in Borderlands 4. For that reason, it’s one of my favorite missions in the game, and if you’re struggling, we’re here to get you through it.
Means of Ascent complete walkthrough in Borderlands 4
Mission information
- Starting Location: Carcadia District, Dominion
- Quest Giver: Zadra
- Unlock Requirement: Complete The Falling Wall
- Recommended Level: 35+
- Estimated time to completion: ~40 minutes
Mission objectives
- Go to Ascension Tower
- Go to rail depot, Power up Blast Door Control
- Clear enemies, Clear reinforcements, Place Pylons, Open Rail Door
- Get Ordonite Capacitor, return to Ascension Tower
- Clear enemies, Place Ordonite Capacitor
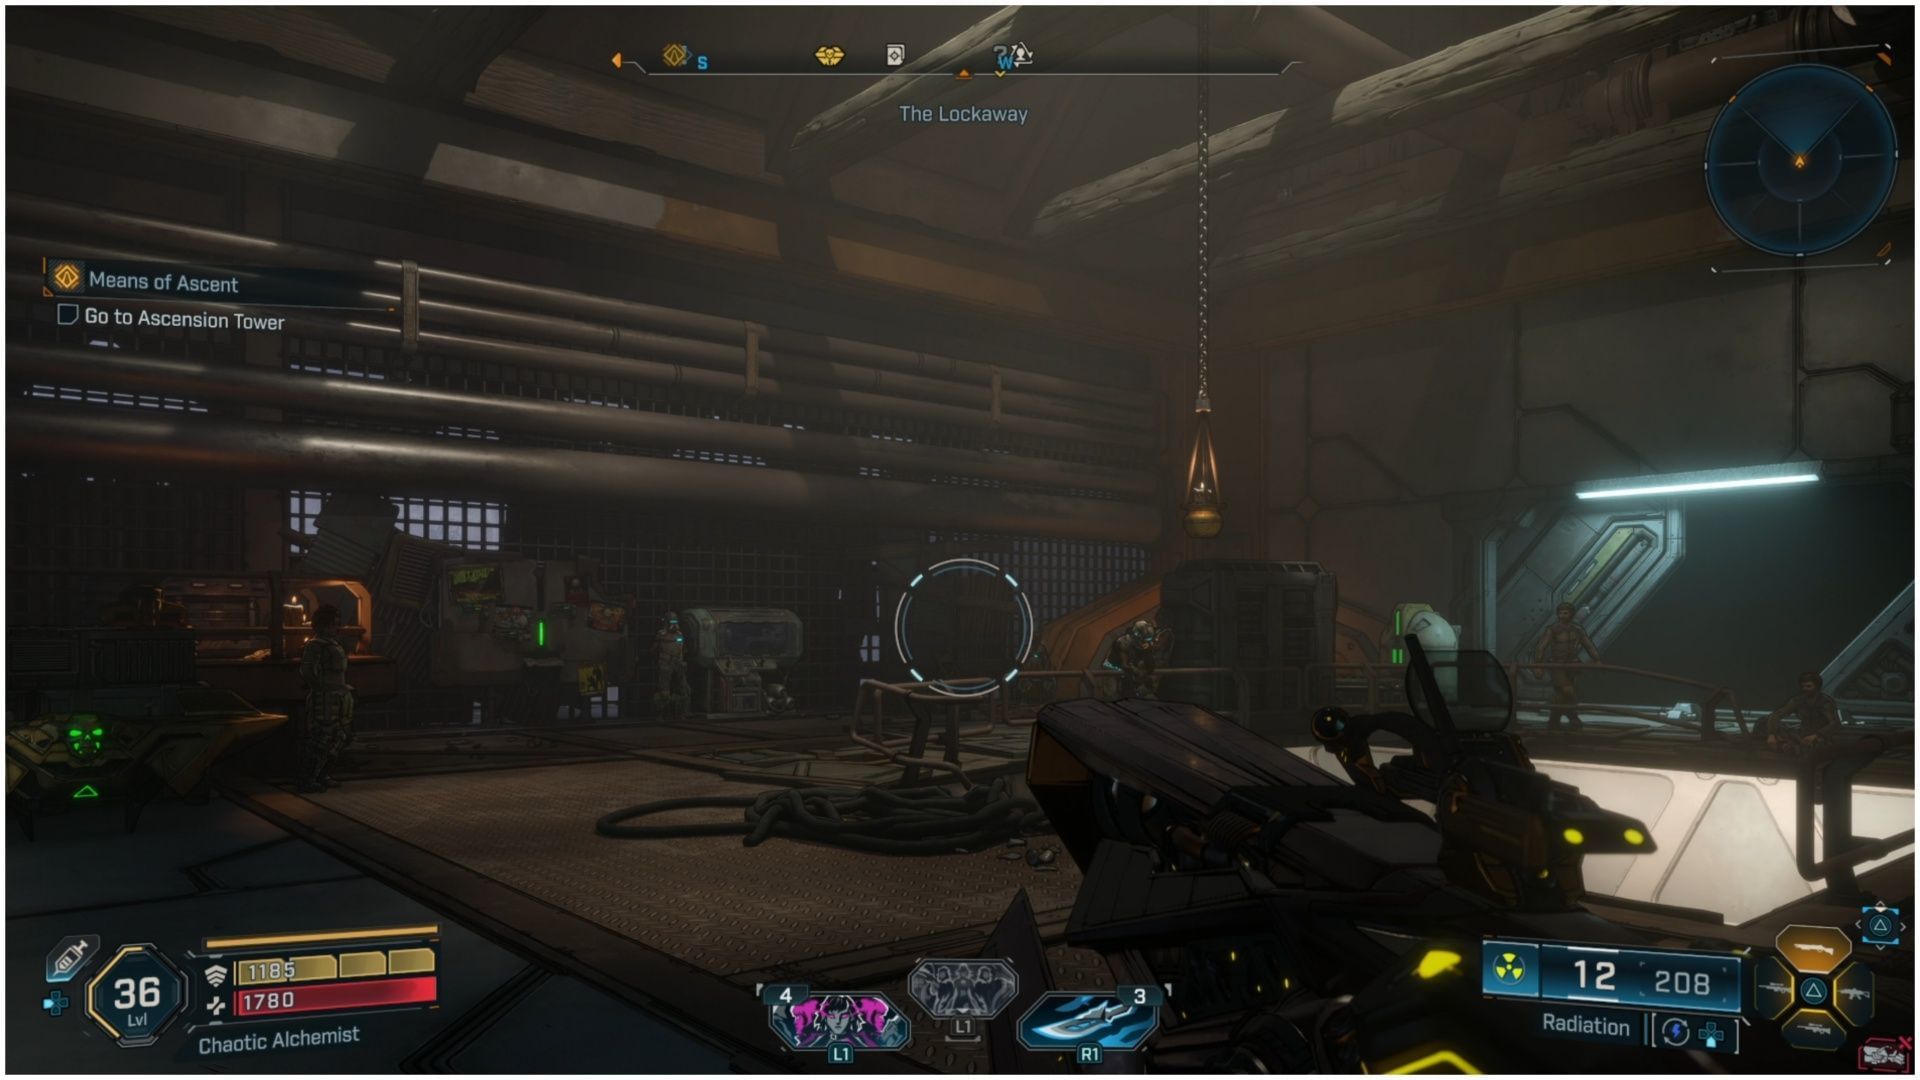
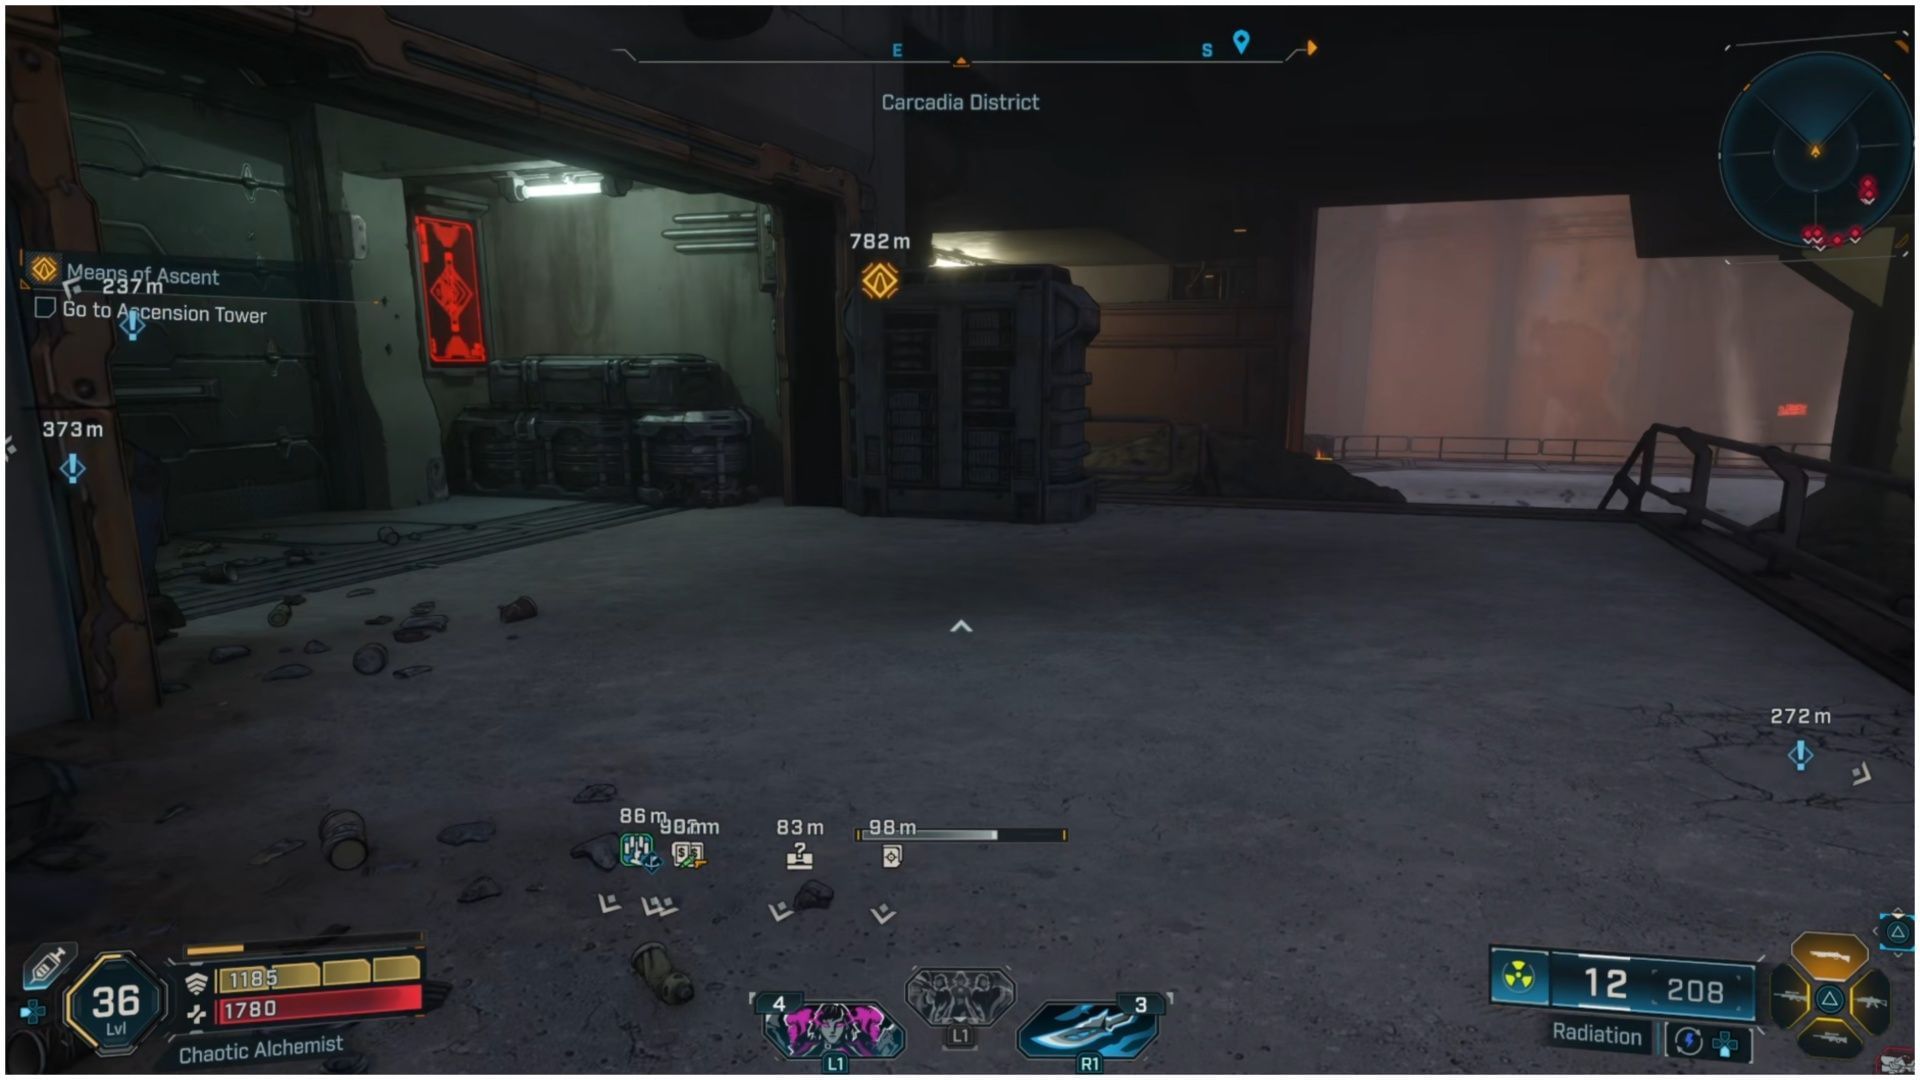
1) Go to Ascension Tower
To start Means of Ascent in Borderlands 4, the first objective is to go to the Ascension Tower. Leave the safehouse you unlocked in this zone (The Lockaway), and use ECHO-4 to light way forward. It’s likely that there will be enemies right outside of the safehouse, so it’s up to you whether you fight them or not.
Before too long, you’ll reach a huge gap, so double jump and glide across, and use the Grapple Point nearby to get up to the next section. There will be Rippers along the path, so fight them or just run past, but I recommend fighting, just for the exp and loot. Never know when a legendary may drop for you.
The ECHO-4 Device will keep you on the path, and it’s not a complex one. Just watch out for Rippers and Manglers as you navigate the Carcadia District. Eventually you’ll have to jump up a series of Grapple Points, but that’s about as challenging as this route gets.
However, there is a safehouse you can unlock along the way in Borderlands 4: The Food Court. There is also an ECHO Log nearby. It’s just sitting on a bench, and will be easy to spot via ECHO-4. The datapad for the safehouse can be found on a pile of trash in the Food Court area. If you want, there’s also a Propaganda Event you can take part in, or you can come back and do it later. There’s also a Burrito to be found here, for the Guac is Extra trophy.
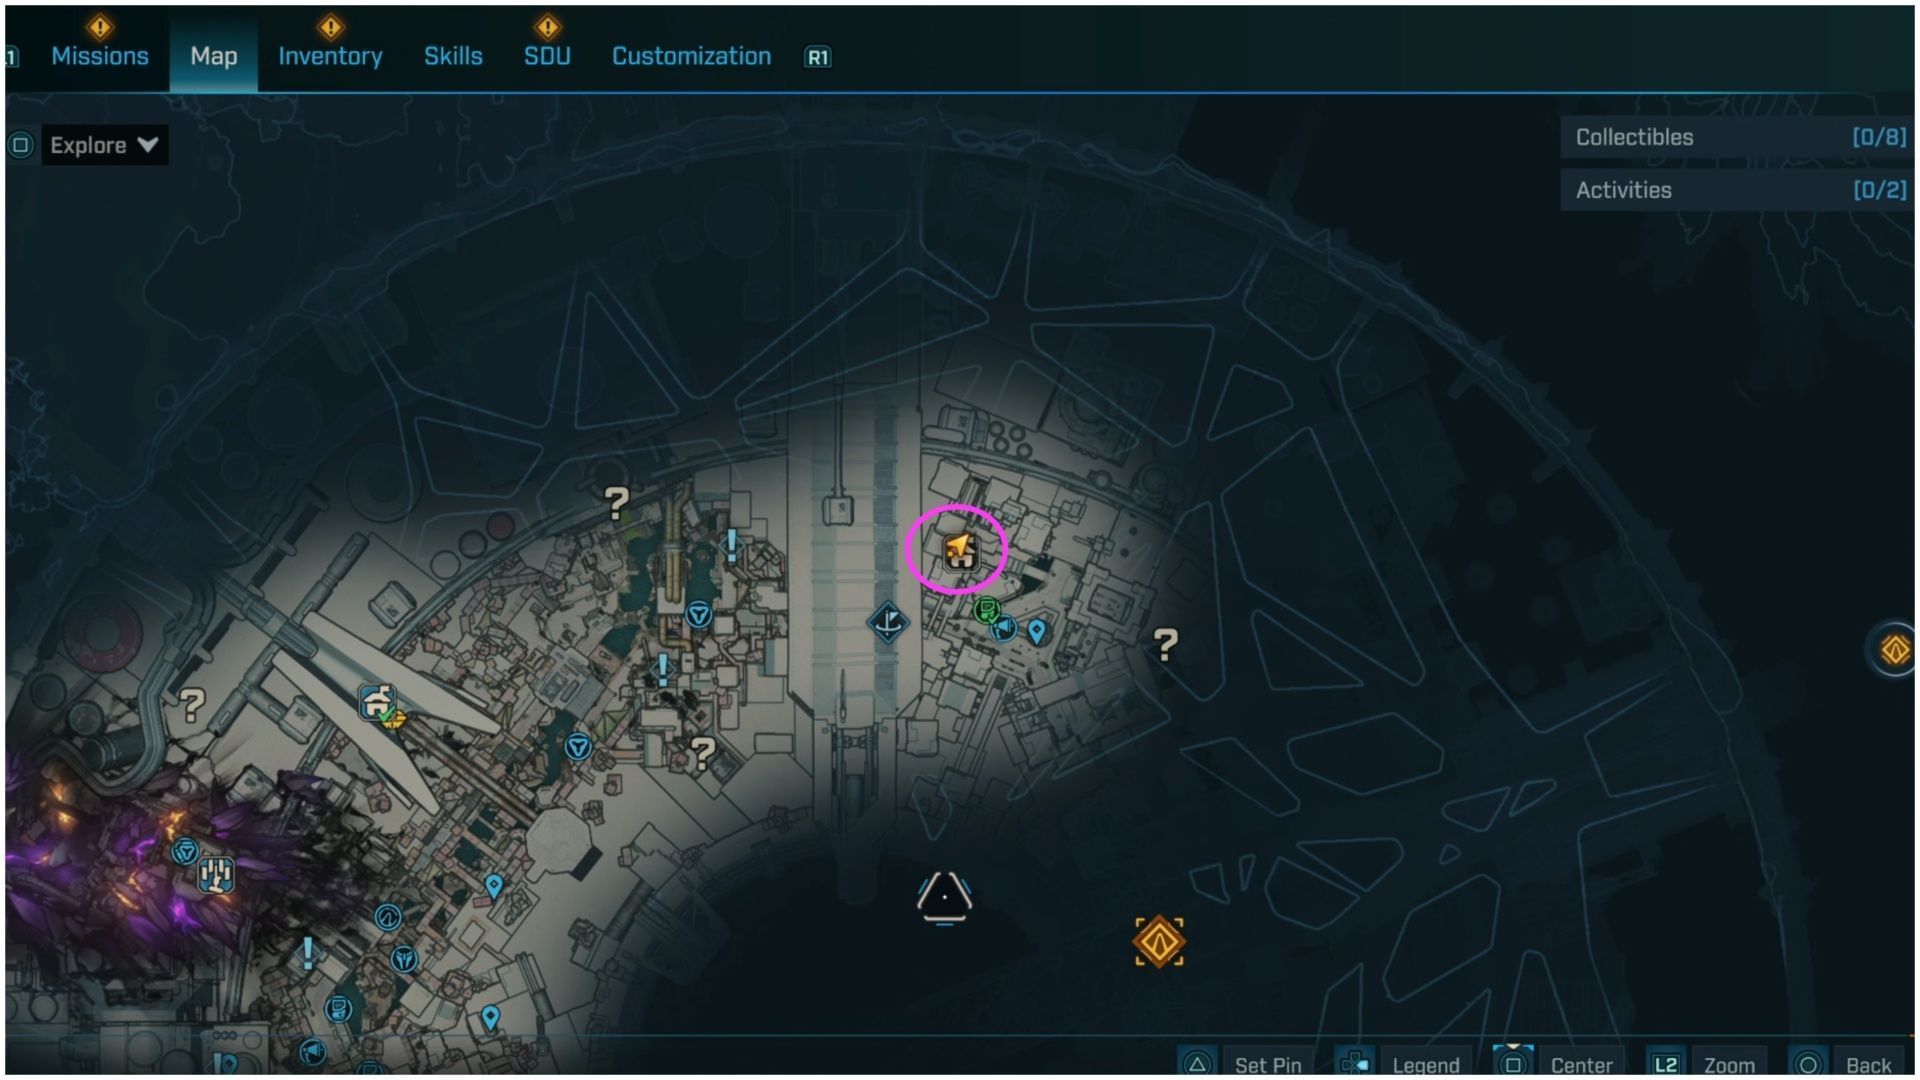
Whenever you’re ready, get back on track and push towards the Ascension Tower. There are plenty of collectibles in this area, so do as much exploring as you feel comfortable with, as you push towards the objective.
Eventually you’ll come to Ascension Plaza, and it’s filled with Order minions. If you try to go too far forward, you’ll be told to Return to Bounds. Listen to the demand and back up. You aren’t ready to go to the Ascension Tower quite yet, thanks to this security system.
2) Go to rail depot, Power up Blast Door Control
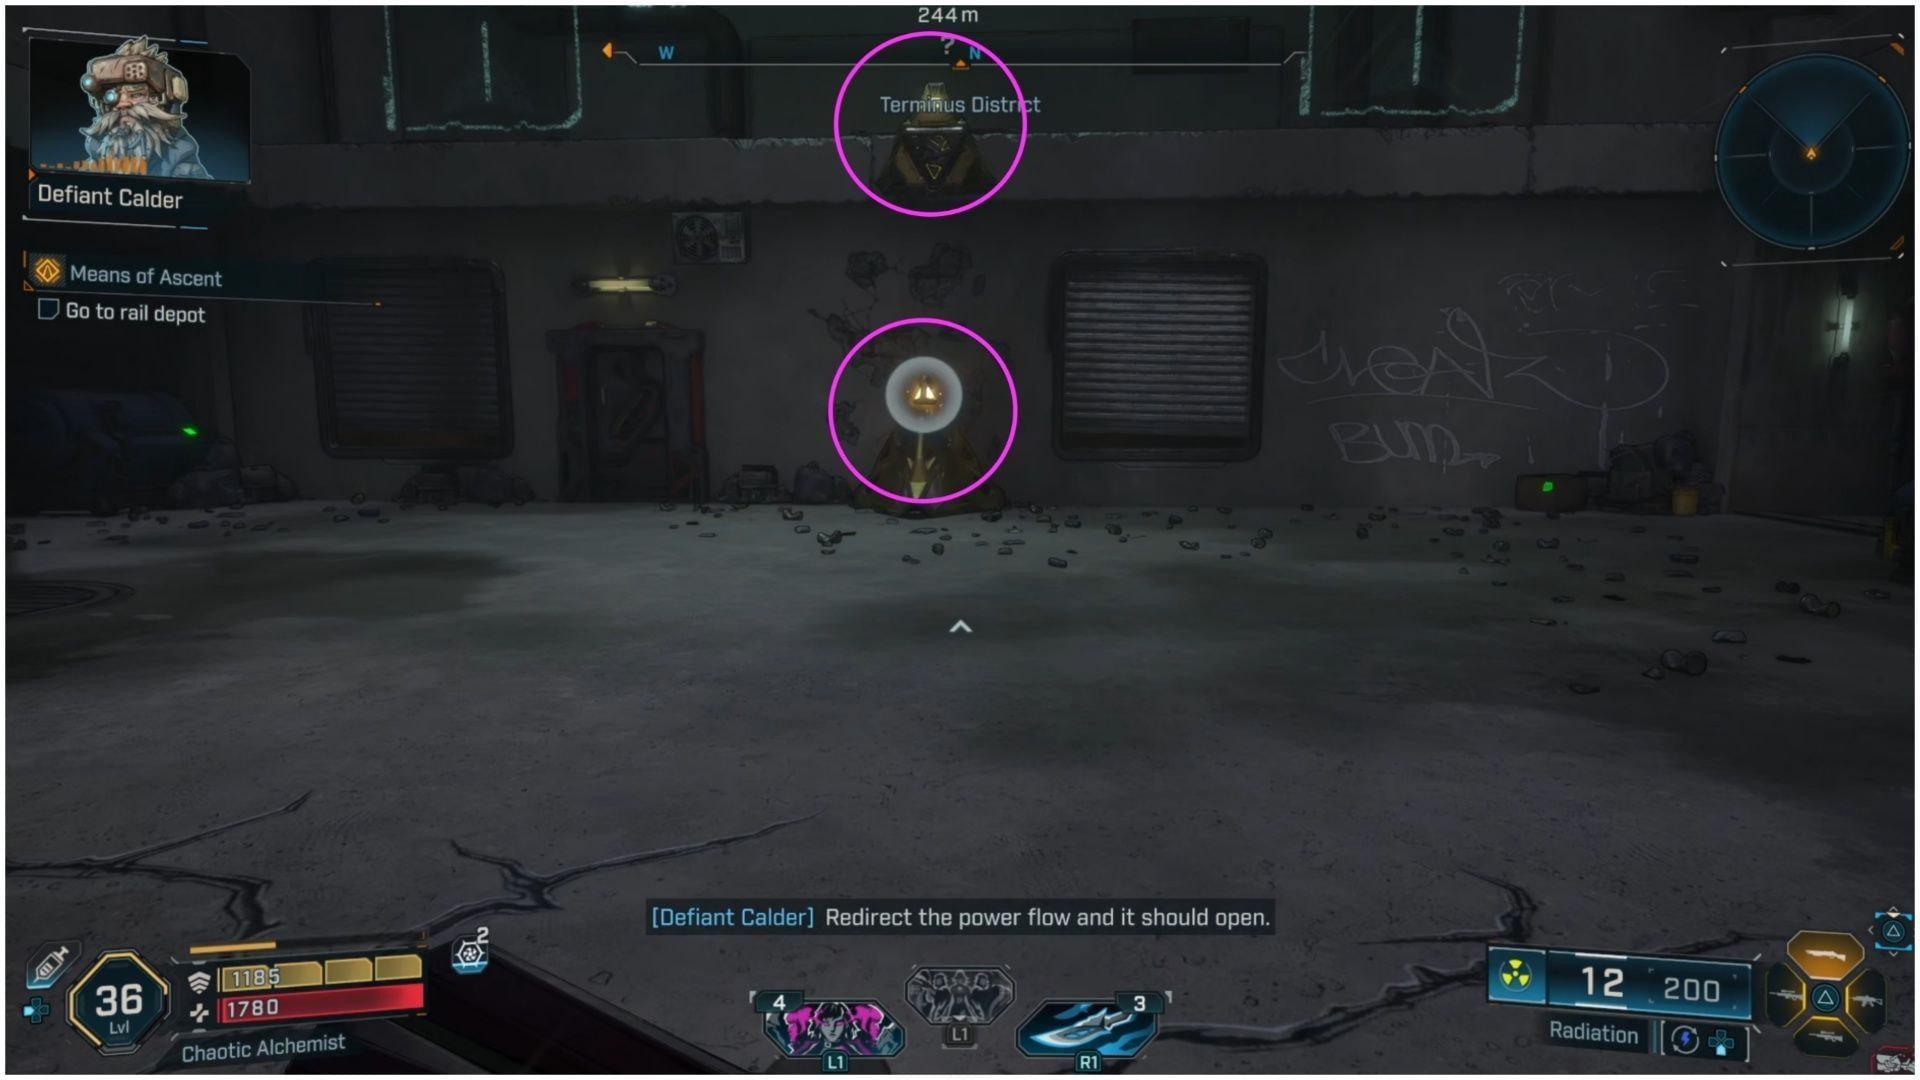
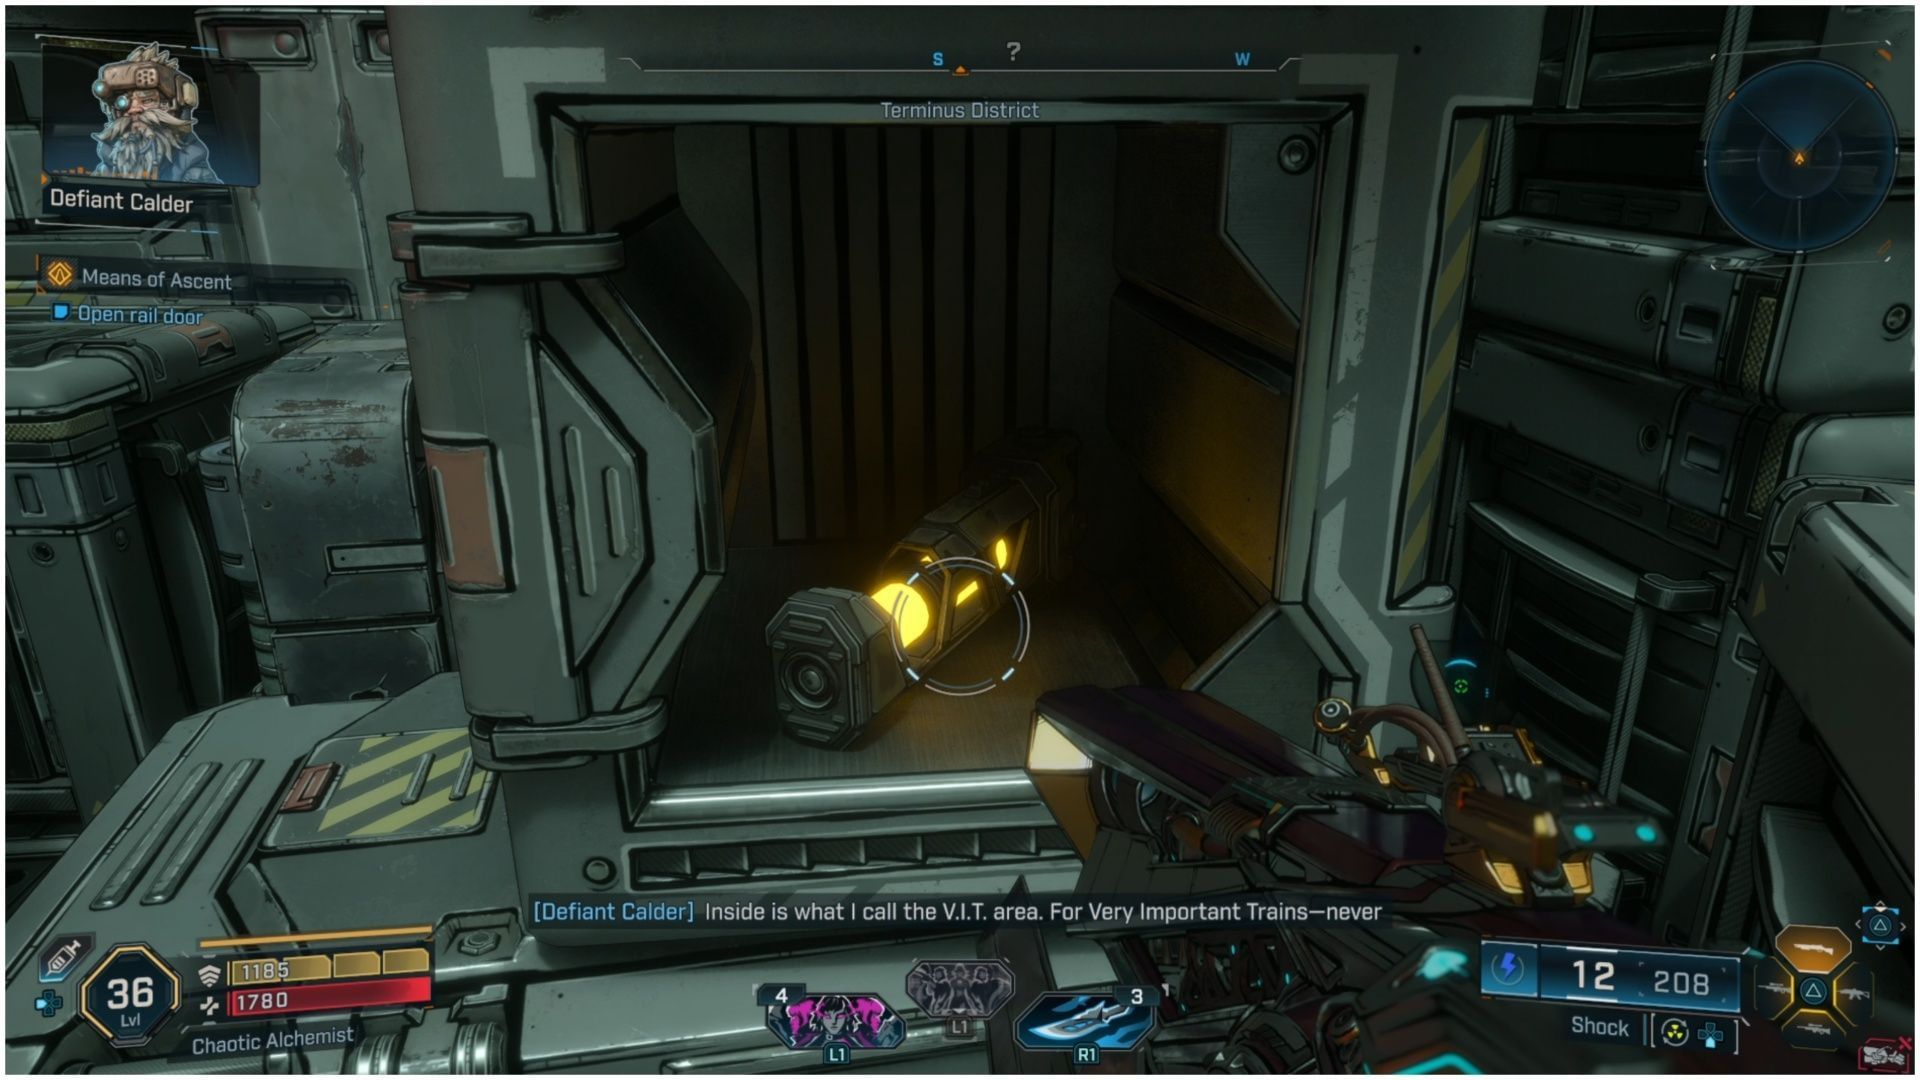
We need some Ordonite, to blast our way through this part of Borderlands 4’s Means of Ascent, and thankfully, Calder knows exactly where to go - that means we’re going to the Rail Depot. It’s not far away, so use the ECHO-4 to guide you there. Before you can go inside, you’ll need to take out the guards, and there’s lots of them.
At the end of the path to the Rail Depot, beat up the guards that stand in your way, you’ll see a door that cannot be opened. If you turn to the left, you’ll see a machine with a glowing triangle you can Grapple to you. The Timekeeper really does like triangles, huh?
Grab this Triangle, and throw it into the triangle receptacle right above the location where you grabbed it. This will open the door for you. This Powered up the Blast Door Control, so you can go inside.
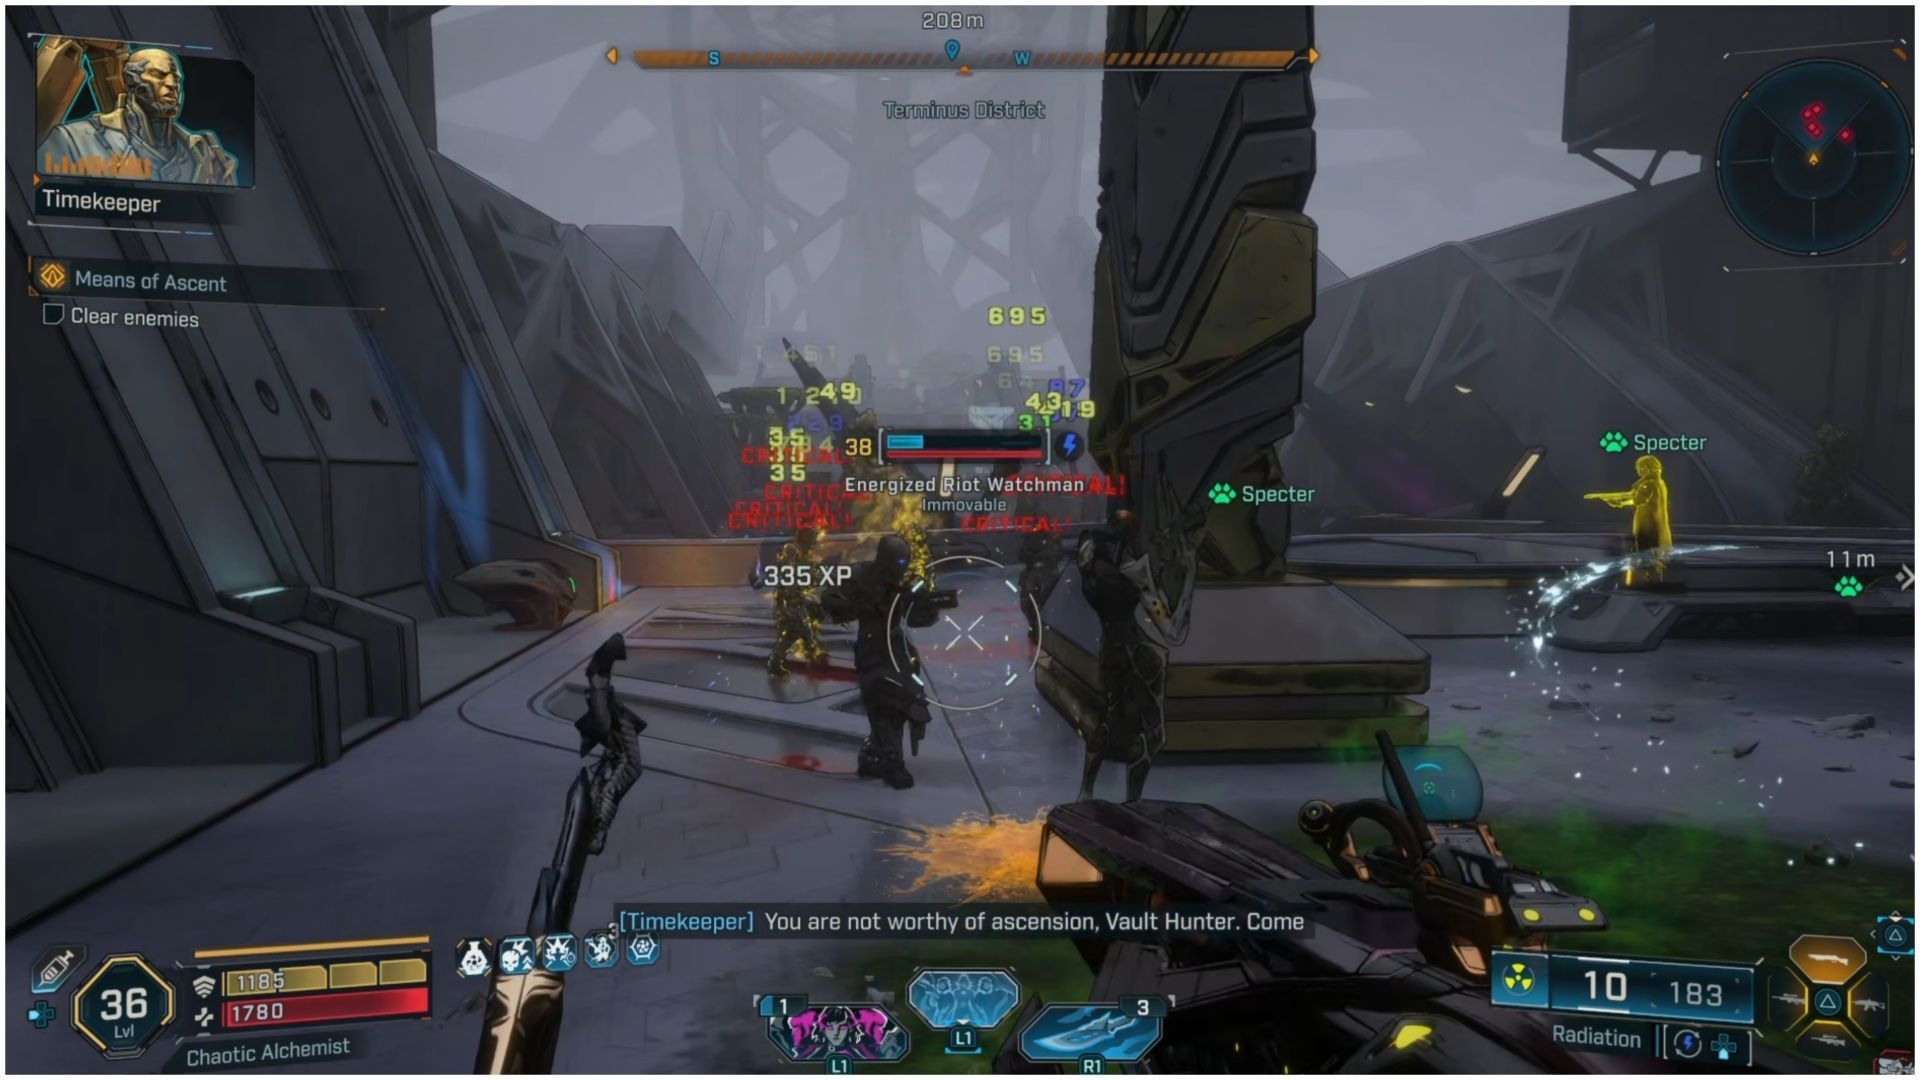
3) Clear enemies, Clear reinforcements, Place Pylons, Open Rail Door
This room in Borderlands 4 is jam-packed with enemies. I was level 36, and they were level 40, so I was wildly under leveled for this fight. As a result, I died several times in this mission, so be prepared for a very frustrating fight. There are several Badasses, and it’s a large room, so you could get shot up without even seeing where it came from.

Before you can start placing Pylons, reinforcements will show up, so treat them exactly like you did the previous group. These are all Order troops, so shock damage is going to be successful in breaking down their shields. I used a Shock/Corrosive gun I got from Moxxi, and it’s been useful ever since.
However, what’s interesting about this from my Borderlands 4 playthrough, is I walked right past the place where you get Pylons from twice. You can see it in the screenshot above. One of the large containers in the main room has a machine you can pull Pylons from.
Once you clear the reinforcements in this part of Borderlands 4's Means of Ascent, come back here, grab a Pylon, and throw one into each of the locations in this room. They’re very easy to spot. Once you’ve put all four Pylons in (there’s no particular order), head up to the nearby console and press the button to open the Rail Door.
4) Get Ordonite Capacitor, return to Ascension Tower
Inside the door that opens up for Borderlands 4’s Means of Ascent, you’ll find a glowing Ordonite Capacitor, so grab it. Then, make your way back to Ascension Tower, where you were earlier. The ECHO-4 device will guide the way. This is a good chance to do any side content, like pick up some of the various side quests in this area, before making your way to the Ascension Tower.
5) Clear enemies, Place Ordonite Capacitor
When you arrive at Ascension Tower again in Borderlands 4, it’s going to be jam-packed full of enemies. There will likely be at least one Badass, and one annoying Bulkhead enemy.
Once you’ve punished all of the Timekeeper’s forces, go place the Ordonite Capacitor quickly, and then get back. A cutscene will then trigger, so watch that and really take in what happens next. After all of that finishes, you’ll get your rewards, and begin Plan Z.
Check out our other Borderlands 4 guides and features
- All Weapon Manufacturers in Borderlands 4
- Who is the villain of Borderlands 4?
- What are Enhancements in Borderlands 4?
- Does Borderlands 4 have co-op and crossplay?
