
'%20x='0'%20y='0'%20height='100%25'%20width='100%25'%20%0A%20%20%20%20%20%20%20%20%20%20xlink%3Ahref='data:image/jpg;base64,/9j/2wBDAAYEBQYFBAYGBQYHBwYIChAKCgkJChQODwwQFxQYGBcUFhYaHSUfGhsjHBYWICwgIyYnKSopGR8tMC0oMCUoKSj/2wBDAQcHBwoIChMKChMoGhYaKCgoKCgoKCgoKCgoKCgoKCgoKCgoKCgoKCgoKCgoKCgoKCgoKCgoKCgoKCgoKCgoKCj/wgARCAAGAAoDASIAAhEBAxEB/8QAFgABAQEAAAAAAAAAAAAAAAAAAAQH/8QAFQEBAQAAAAAAAAAAAAAAAAAAAwT/2gAMAwEAAhADEAAAAM8jJW//xAAdEAACAQUBAQAAAAAAAAAAAAACAwEABBESQSJy/9oACAEBAAE/ALRaGukBBkG0fUkW2e9orC32nKAz9TX/xAAYEQACAwAAAAAAAAAAAAAAAAAAAQIhIv/aAAgBAgEBPwCeXR//xAAXEQADAQAAAAAAAAAAAAAAAAAAASEC/9oACAEDAQE/AM1U/9k='%3E%3C/image%3E%3C/svg%3E)
Borderlands 4’s A Lot to Process mission unlocks two options: Wrath of the Ripper Queen and Shadow of the Mountain. It doesn’t matter which choice you make; Shadow of the Mountain takes you to Terminus Range, and Wrath of the Ripper Queen takes you to Carcadia Burn instead. Personally, I did Shadow of the Mountain first, because that’s how you unlock the Auger Mine optional content.
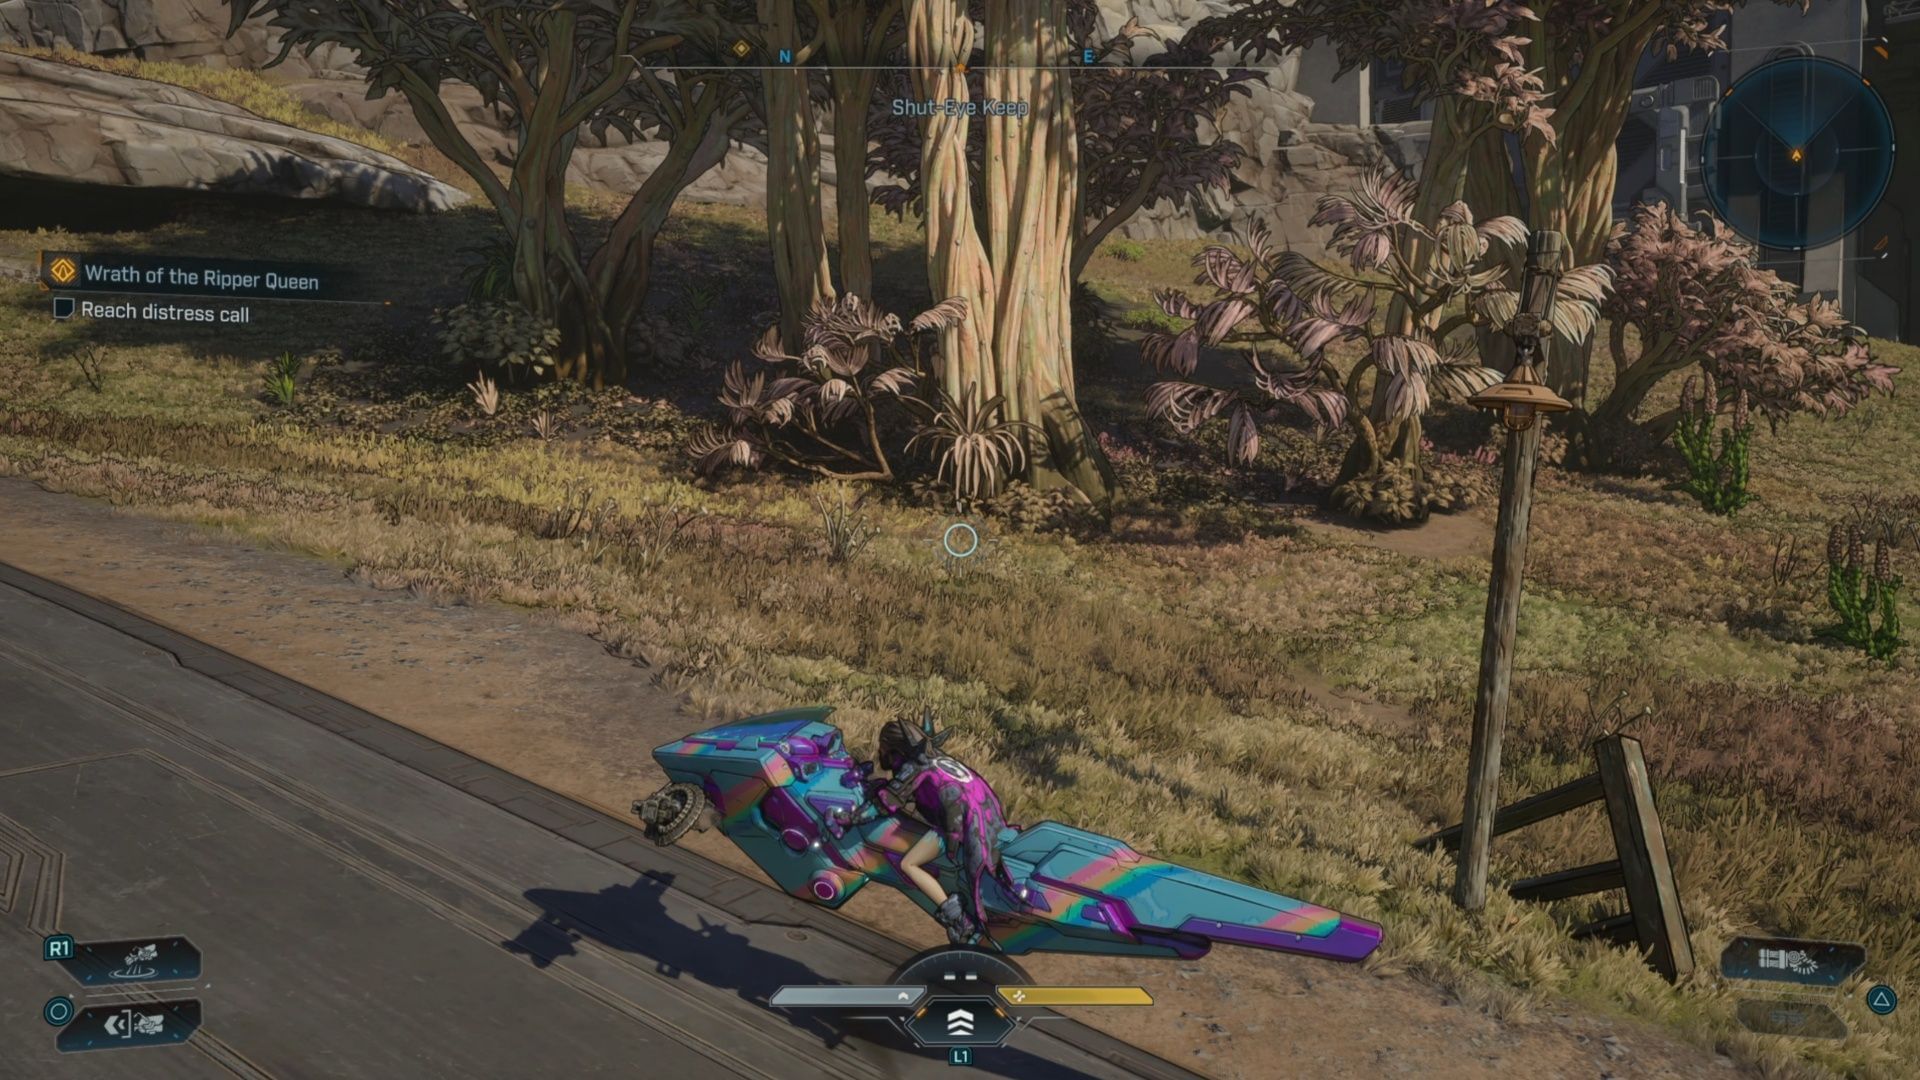
When you’re ready, start following the quest objective for Wrath of the Ripper Queen, which will take you northwest out of Fadefield, and into Carcadia Burn in Borderlands 4. It won’t take too long, and will set up some truly fantastic missions in the future. Here’s what you need to know about Wrath of the Ripper Queen in BL4.
Complete Wrath of the Ripper Queen walkthrough for Borderlands 4
Mission information
- Recommended level: 10-15
- Quest Giver: Zandra
- Quest Location: Zandra’s Hideout, Fadefields
- Time to beat on average: ~30 minutes
- Requirements: Complete A Lot to Process (Main Story)
Mission objectives
- Reach Carcadia Burn, reach distress call, eliminate Rippers
- Meet Quent, Follow Quent, Eliminate reinforcements
- Follow Quent, Talk to Quent (Optional Objective: Talk to survivors), Extend Bridge
- Reach Carcadia outskirts, Meet Quent at catapults, Take explosives, place explosives
- Take cover!, Wait for it…, Follow Quent to bar
- Kill Rippers outside bar, Follow Quent, reach Bartender
1) Reach Carcadia Burn, reach distress call, eliminate Rippers
The first step is to simply get to Carcadia Burn in Borderlands 4, to kick off the events of Wrath of the Ripper Queen. You’ll hear from Quent, who desperately needs help. It’s an incredibly long drive to the Distress Call if you haven’t explored this area yet, so get on your vehicle, and start driving.

There are plenty of optional objectives on the way, too. There’s at least one Crawler at the start of Carcadia Burn, and one safe house in the form of Makeshift Chalet. While Crawlers can wait, it’s always my top priority to get any safe house I see along the path.
There’s also a Silo on the path as well, so you may as well stop when you see it, to get another fast travel location. When you get to Crumblehall, Quent will speak up again, worried about a crew of Rippers. That’s your cue to get violent and Eliminate the Rippers.
It’s not a huge group, but they do have what may be a new enemy type for you: Meatheads. They’re huge, slow, but powerful. There’s also likely to be at least one Badass; in our case it was a Badass ‘Melic Psycho. You can then talk to Quent to move the story of Wrath of the Ripper Queen along in Borderlands 4.
2) Meet Quent, Follow Quent, Eliminate reinforcements

The fact that Quent is a part of a supper club that also defends Carcadia Burn might be the most Borderlands 4 sentence I’ve read in the whole game. After you meet Quent, you will Follow Quent, and you’ll face off against another crew of Rippers and Psychos. This is when you learn Quent actually can fight, but he doesn’t like to.
Electric weapons and grenades are great here, because several Rippers come running through the water, so give them a good zap. You’ll also start seeing Meathead variants, like Fissionheads, which have radiation damage.
The Reinforcements are just a small pack of Rippers. If you played through Shadow of the Mountain already, these groups will no doubt feel incredibly weak. This is also when we learn that the good guys have the Ripper Queen’s bolt, and she’s going to do anything she can to get it back.
3) Follow Quent, Talk to Quent (Optional Objective: Talk to survivors), Extend Bridge

Before long, you’ll resume following Quent in Borderlands 4’s Wrath of the Ripper Queen mission. Upon arriving in their fortifications, you’ll learn the Ripper Queen used to be General Callis. Before moving on, you also get the optional objective of Talk to survivors, so you may as well head to your right and speak to them.
You’ll also learn there’s another Vault Hunter in the area, and Levaine and them have a very fascinating past. In order to move forward, you need to Extend the Bridge nearby, so you can further negotiate with Levaine.
The bridge controls aren’t far away. Make your way to the top of the platform, pull the switch, and of course, the controls don’t work. In exchange for helping take down the catapults sieging Carcadia, we’re going to get Callis’ bolt. So, new plan!
4) Reach Carcadia outskirts, Meet Quent at catapults, Take explosives, place explosives

Since we can’t extend the bridge, we’re going to head to the Carcadia outskirts. Just follow the quest marker across the Ruined Sumplands. This will take you to The Rustspires, which is an outpost overrun with Rippers. They’ll jump you from behind as well, with at least one Badass Psycho.
Now this is a more intense pack, with quite a few varieties of Psycho to assault you. Vex made this pretty easy, thanks to her swarm of Specters that can all open fire at once. Defeat them all, claim their loot, and ride through the village to the next quest objective marker.
You’ll find Quent again in the Wonecewas Townhouse area, where you can talk to Quent, and receive some explosives. There’s a Catapult ahead, guarded by Rippers. Take out the Rippers, and then you can place the explosives on the Catapult.
You’re also going to run into a Phalanx, which is likely to be a new enemy type for you. It’s also a Vile Enemy, so you need to break the crystals, and orbs, in order to even harm it. Phalanx enemies are very aggressive and have an axe-based jumping strike. If you completed the Vile Lictor fight, you’ve seen these before.
5) Take cover!, Wait for it…, Follow Quent to bar

After you place the explosives, run to the next quest objective and Take cover!. It’s going to take a few moments, and we should hear an earthshattering ka-boom for this step of Borderlands 4’s Wrath of the Ripper Queen. Unfortunately, after you Wait for it…, nothing happens. The explosives are just too old to do anything.
So instead, we’re going to convince Levaine that we need the help of the Vault Hunter Zane. That means we’re going to Moxxi’s Bottom’s Up! bar. You may still have a few more Rippers to deal with, so take those out, and follow Quent to the bar.
6) Kill Rippers outside bar, Follow Quent, reach Bartender

When you get there, the bar is beset by Rippers, and instead of Zane doing the fighting, it’s going to be up to you to kill the Rippers. It’s a pretty large pack, but at least you aren’t alone. Take cover and deal with the Rippers for this part of the Borderlands 4 Wrath of the Ripper Queen mission.
You’re also likely going to run into another Vile Enemy, a Vile Zerker, who can throw axes at you. Just break its crystals, and then break it. From there, follow Quent and reach the Bartender.
Once you’ve seen the cutscene, Wrath of the Ripper Queen ends, and Siege and Destroy begins. You’ll receive some XP, Cash, Eridium, a Pistol, and the Gnarly Gnashing Gear Vault Hunter Style.
Check out our other Borderlands 4 guides and features
- All Weapon Manufacturers in Borderlands 4
- Who is the villain of Borderlands 4?
- What are Enhancements in Borderlands 4?
- Does Borderlands 4 have co-op and crossplay?
