
'%20x='0'%20y='0'%20height='100%25'%20width='100%25'%20%0A%20%20%20%20%20%20%20%20%20%20xlink%3Ahref='data:image/jpg;base64,/9j/2wBDAAYEBQYFBAYGBQYHBwYIChAKCgkJChQODwwQFxQYGBcUFhYaHSUfGhsjHBYWICwgIyYnKSopGR8tMC0oMCUoKSj/2wBDAQcHBwoIChMKChMoGhYaKCgoKCgoKCgoKCgoKCgoKCgoKCgoKCgoKCgoKCgoKCgoKCgoKCgoKCgoKCgoKCgoKCj/wgARCAAGAAoDASIAAhEBAxEB/8QAFgABAQEAAAAAAAAAAAAAAAAAAAQH/8QAFQEBAQAAAAAAAAAAAAAAAAAAAQL/2gAMAwEAAhADEAAAAMFhKP/EAB4QAQACAQQDAAAAAAAAAAAAAAECAwAEBQYREkKh/9oACAEBAAE/AKeRajqDaNsYgEWSHzLd0tbZvjA7X1M//8QAFREBAQAAAAAAAAAAAAAAAAAAABH/2gAIAQIBAT8Aj//EABQRAQAAAAAAAAAAAAAAAAAAAAD/2gAIAQMBAT8Af//Z'%3E%3C/image%3E%3C/svg%3E)
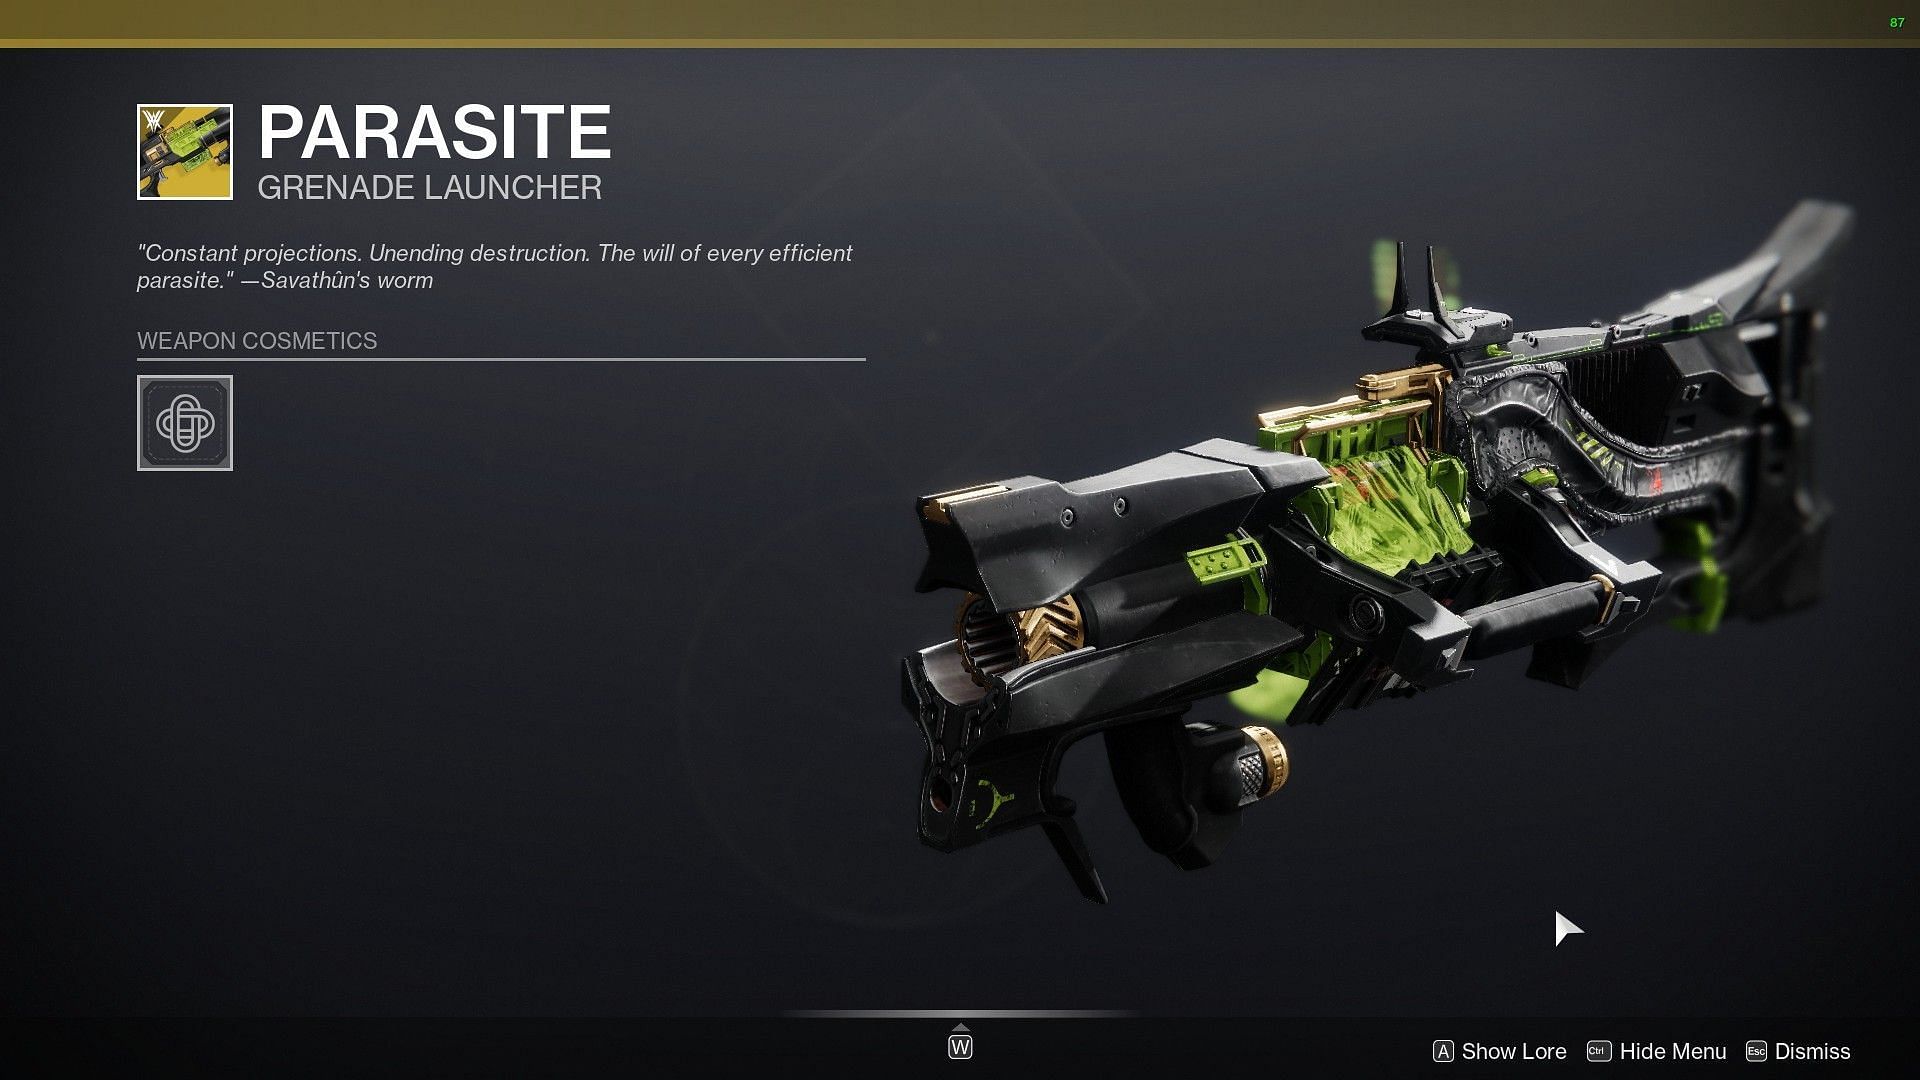
The Parasite Heavy Grenade Launcher came with Destiny 2 The Witch Queen, now up for grabs. The weapon can be acquired from Ikora after finishing The Witch Queen campaign. However, the nature of the campaign's difficulty won't be necessary here, so go at your own pace and complete the campaign.
However, finishing the quest in Legendary difficulty will earn you additional gear pieces, and materials. After completion, talk to Ikora at the Enclave and pick up the quest title, "Of Queens and Worms," which consists of 17 steps scattered across new locations and strikes.
Parasite Grenade Launcher and how to get it in Destiny 2 The Witch Queen
1) Of Queens and Worms
Once you're done with the primary campaign, talk to Ikora to get the exotic quest bound to the Grenade Launcher. This will ask you to interact with a small table at the end of the crafting relic.
Looking for Crossword hints & solutions? Check out latest NYT Mini Crossword Answers, LA Times Crossword Answers, and Atlantic Crossword Answers
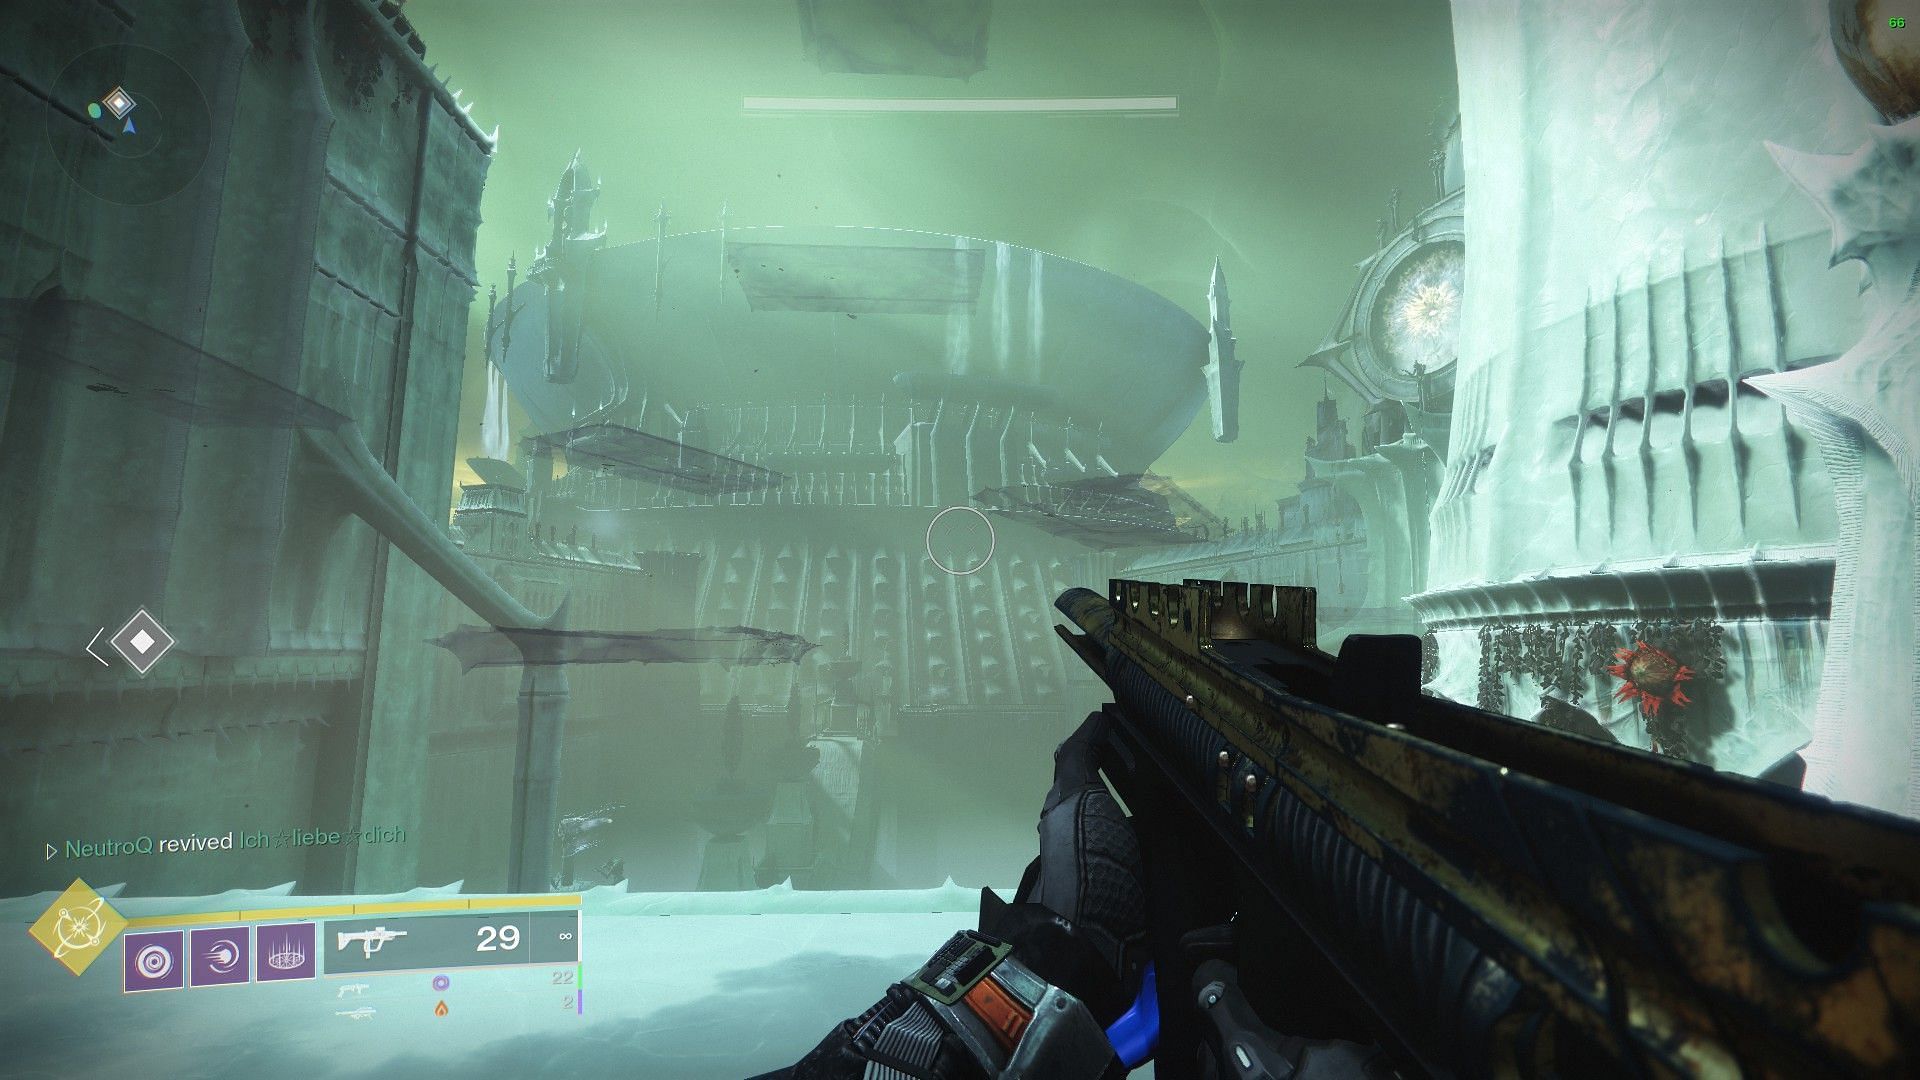
Once a cutscene is triggered with Mara Sov, another step will involve completing one of the newest strikes.
2) Birthplace of the Vile
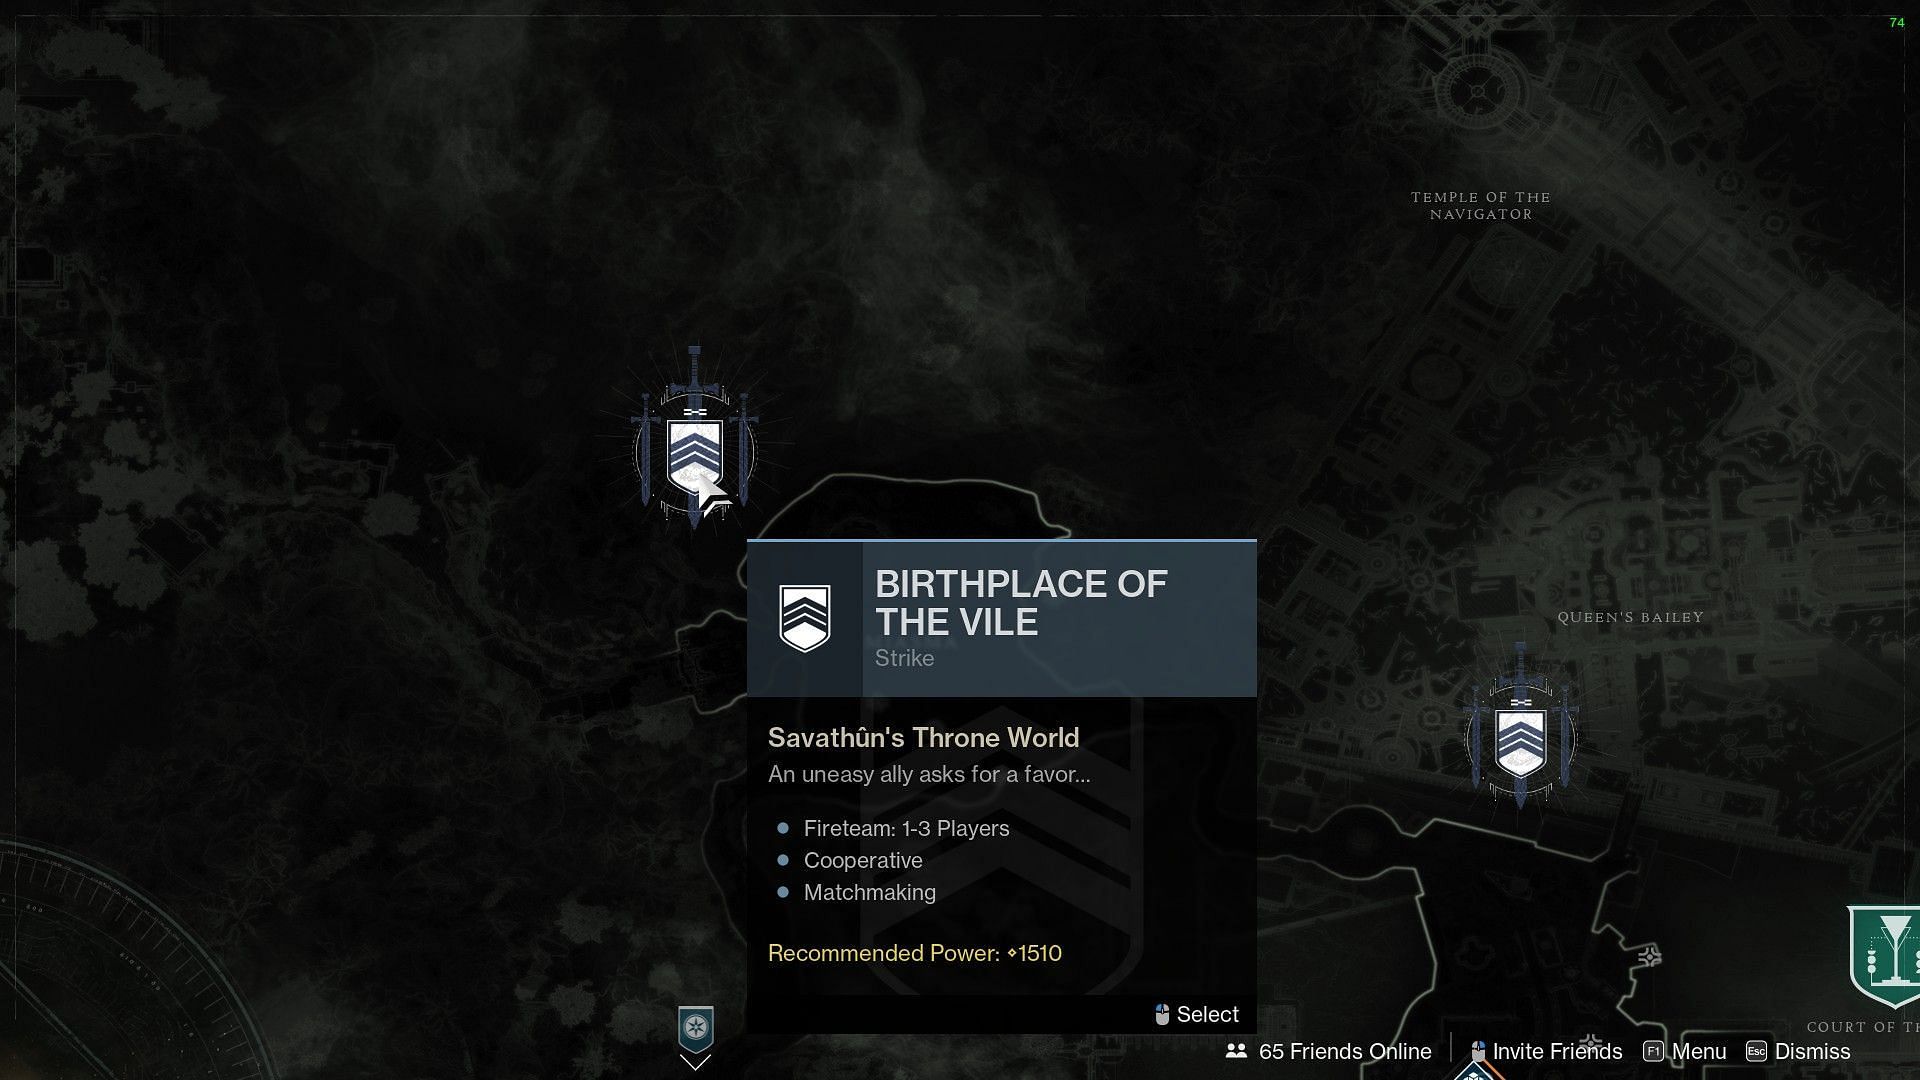
The Birthplace of the Vile is the newest strike added as a separate node within the Throne World. However, the main step comes after the final chest of this mission. Using a nearby deepsight, follow the nearest waypoint to interact with a similar table nearby.
3) Talk to Fynch, visit Cryptoglyph rune, and defeat Scorns
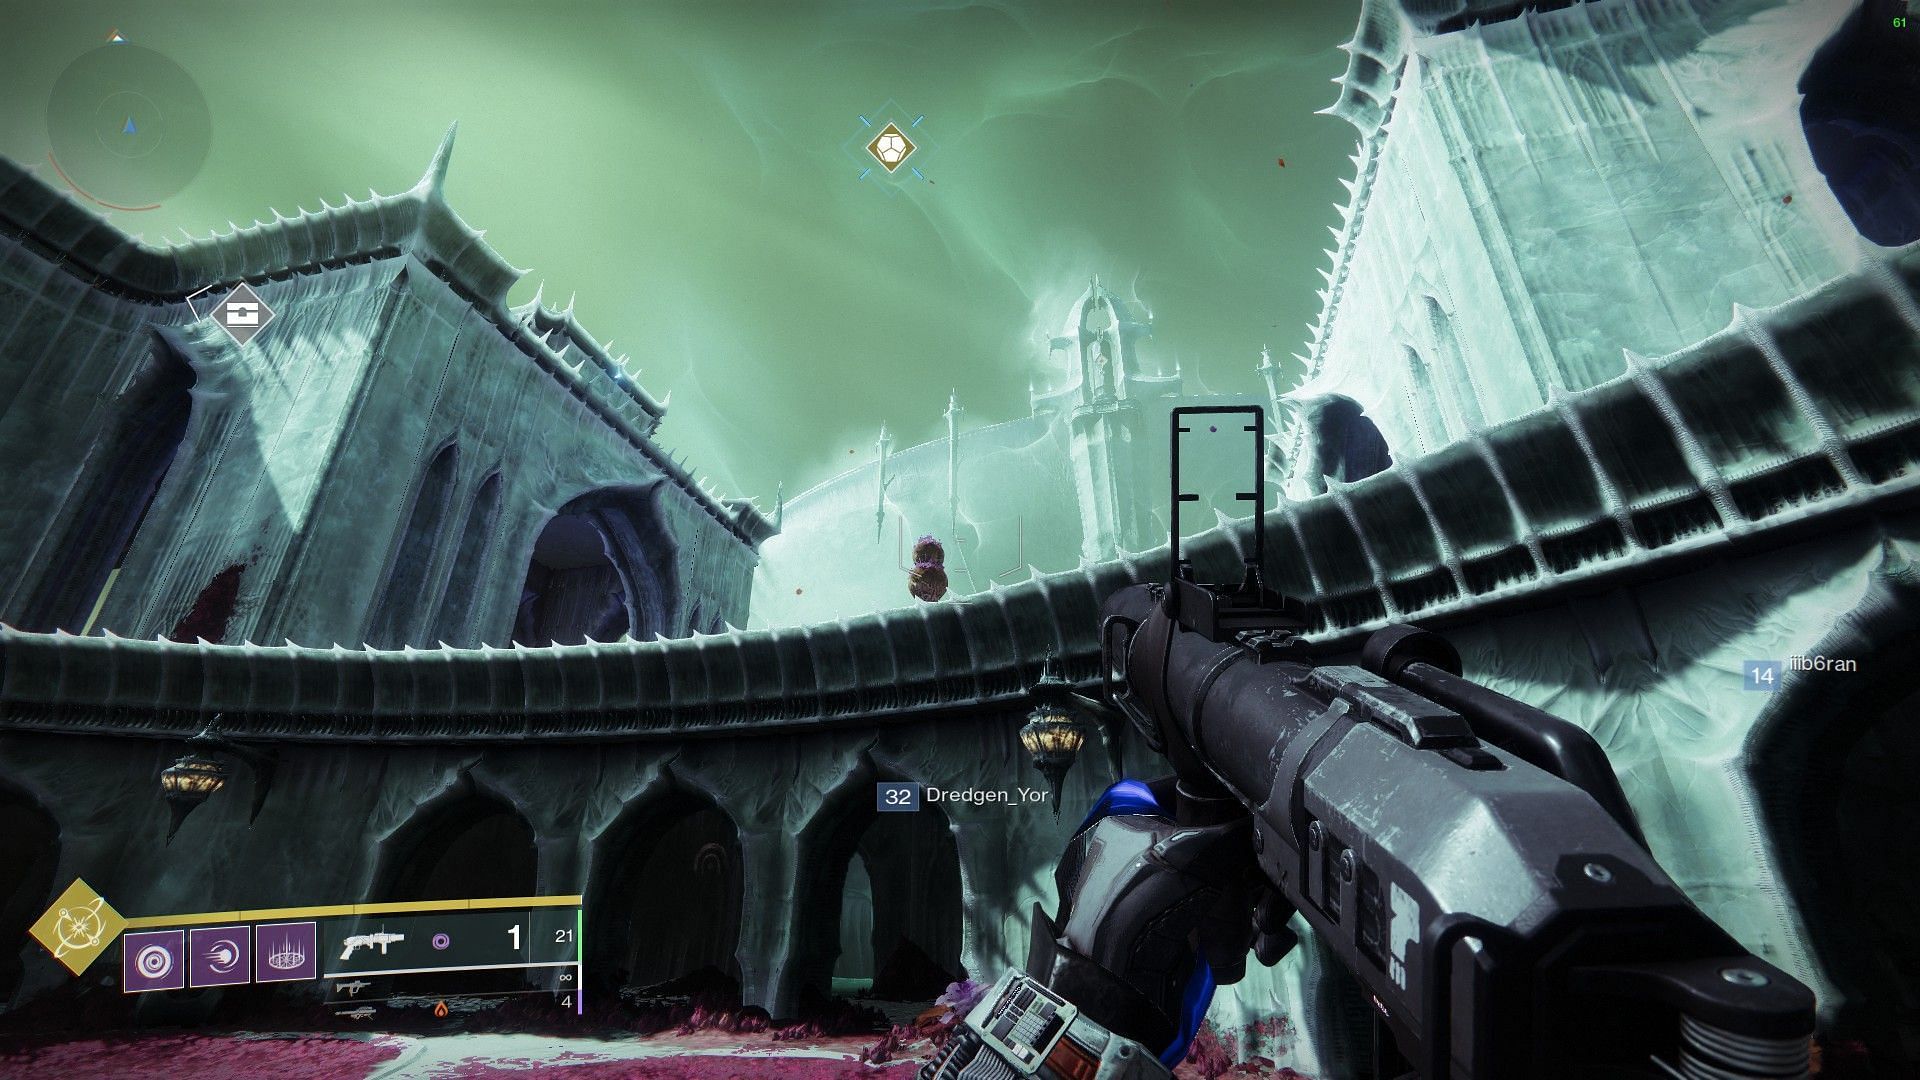
Once you interact with the table within the strike, go back to Fynch to start the next step. This will require everyone to locate the Cryptoglyph Rune within the Temple of the Cunning. The waypoint will lead you inside, where a bunch of Screebs and Scorns will ambush you.
Once they are defeated, the next step will ask you to beat a total of 100 Scorn enemies. The entire vicinity of Quagmire in Throne World hosts a lot of Scorns, from Public events to Open World and Lost Sector.
4) Sepulcher lost sector and patrols
This is a bit tricky, as the waypoint won't help you find the entrance to the lost sector in the Fluorescent Canal. Once you delve deep inside, follow the waypoint and jump directly down past the ledge. The same mechanics as the strike can be applied here to complete the step with a deepsight buff.
For the next step, gather leads by simply completing three patrols on the Fluorescent Canal.
5) Queen's Bailey and Miasma Lost Sector
This is similar to Step 3, where you will again need to follow the waypoint, defeat enemies, and trigger the next step by standing on the final mark.

The lost sector, known as Metamorphosis, can be found on the left of the waypoint near the fire lanterns. Once you're done killing the boss, activate the deepsight mechanics, go through the door on the left, and place the Worm on the red table.
6) Cryptoglyph and deepsight cache
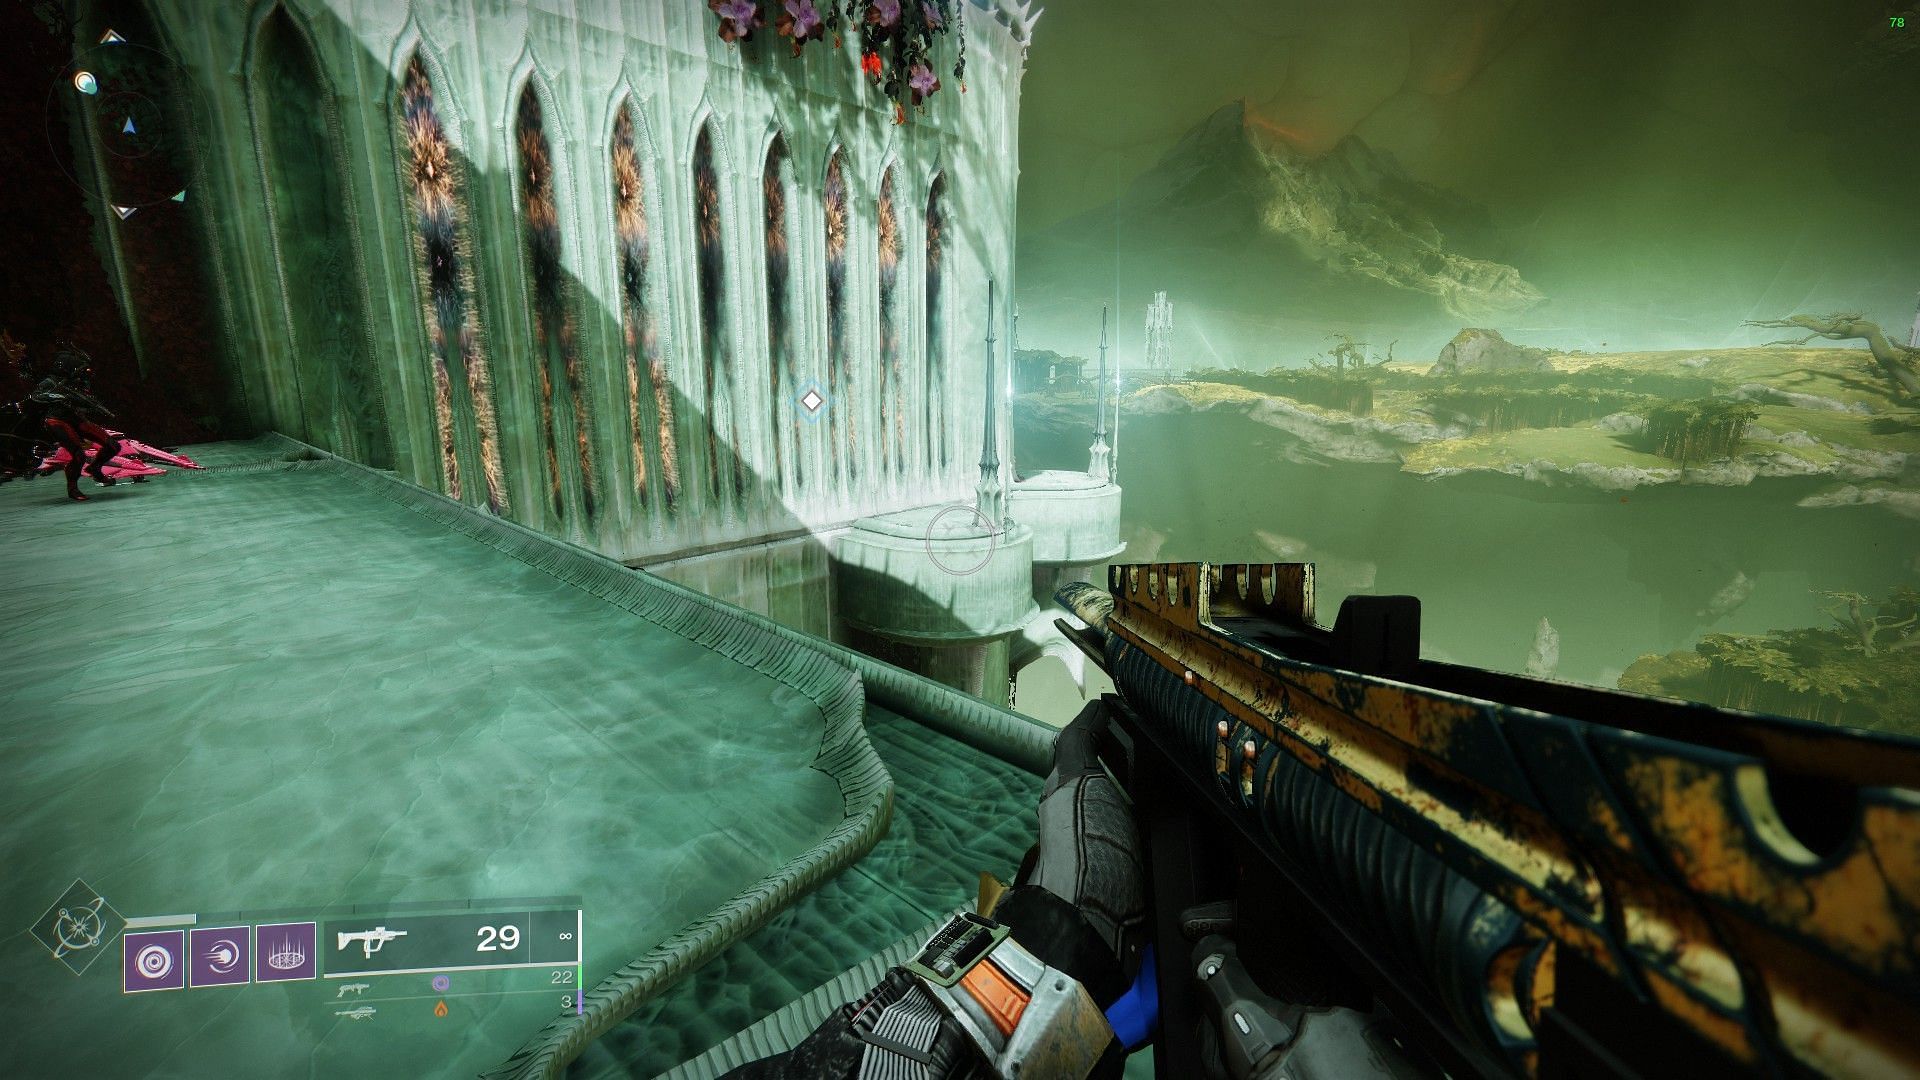
For this Cryptoglyph, head towards the Alluring Curtain and keep following the waypoint until you unlock more jumping puzzles via deepsight. The next step will be unlocked after defeating the Hive Guardian.
To get the cache, trigger another deepsight to summon additional platforms. You can shoot the totems to light up fire on them, thus summoning the cache for the Cryptoglyph Rune.
7) Quagmire lost sector and Exotic quest
Quagmire's Hive and Scorn-infused lost sector might be familiar to you already due to one of the steps asking for Scorn kills. Clear the objective and put the Worm on the table for one last time.
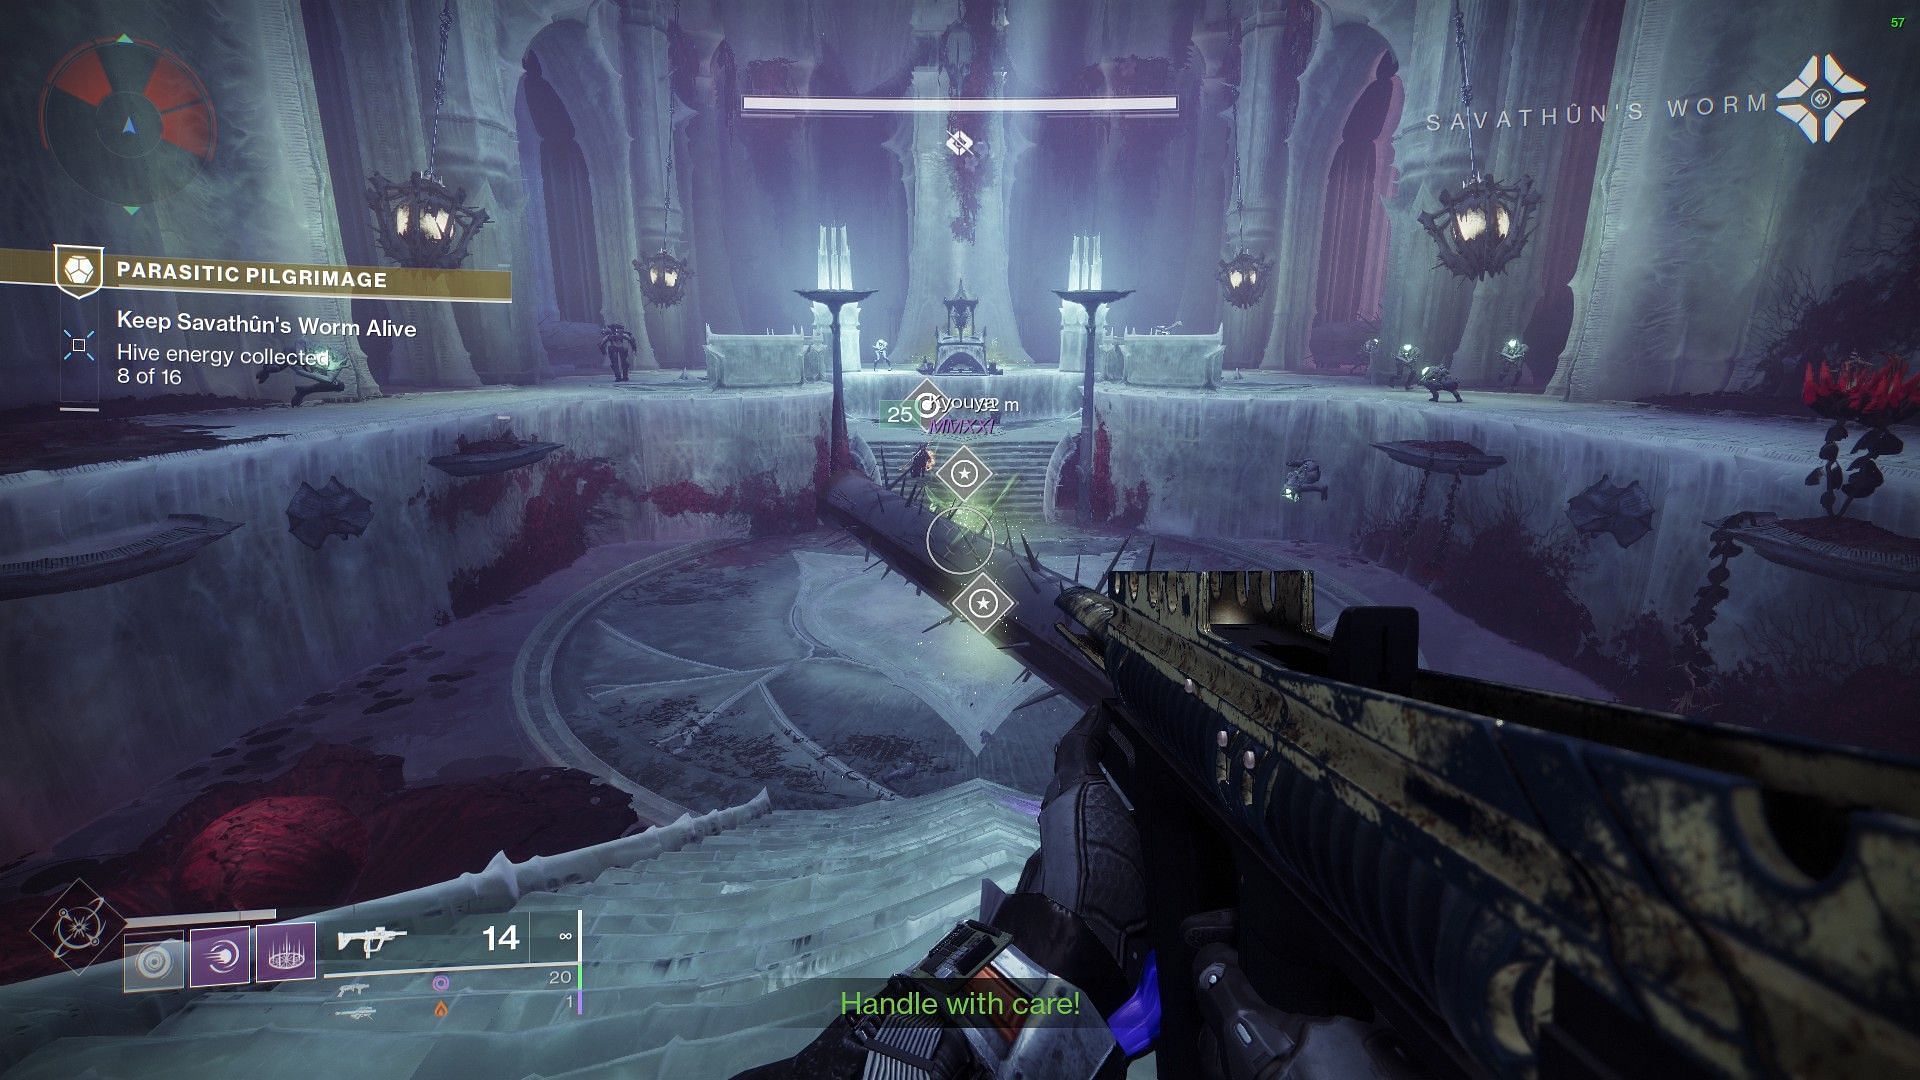
The last step to getting the Parasite Grenade Launcher involves the completion of a separate Exotic quest from the Fluorescent Canal. It's recommended to be done in a party, as most of the quest will ask you to carry the Worm amidst hoards of enemies.
The Parasite will be rewarded to you at the very end after interacting with Mara Sov.
Check out other guides on this game from Sportskeeda:
5 best Rocket Launchers for PvE || Weekly reset || This week at Xur || Destiny 2 Grandmaster Nightfall calendar || Server status || PvP build tier list || PvE build tier list || Everything to expect in 2024 || All Into the Light weapons and perks || All free emblem codes

Are you stuck on today's Wordle? Our Wordle Solver will help you find the answer.