
'%20x='0'%20y='0'%20height='100%25'%20width='100%25'%20%0A%20%20%20%20%20%20%20%20%20%20xlink%3Ahref='data:image/jpg;base64,/9j/2wBDAAYEBQYFBAYGBQYHBwYIChAKCgkJChQODwwQFxQYGBcUFhYaHSUfGhsjHBYWICwgIyYnKSopGR8tMC0oMCUoKSj/2wBDAQcHBwoIChMKChMoGhYaKCgoKCgoKCgoKCgoKCgoKCgoKCgoKCgoKCgoKCgoKCgoKCgoKCgoKCgoKCgoKCgoKCj/wgARCAAGAAoDASIAAhEBAxEB/8QAFgABAQEAAAAAAAAAAAAAAAAAAAQG/8QAFQEBAQAAAAAAAAAAAAAAAAAAAQL/2gAMAwEAAhADEAAAAM5KM//EAB8QAAAFBQEBAAAAAAAAAAAAAAECAwQFAAYREkETFP/aAAgBAQABPwCccmirZQGWdrvGjlMrb5CJl0Ao4Ho8xRoe2Nh84dXTmXRq/8QAFhEAAwAAAAAAAAAAAAAAAAAAAAEh/9oACAECAQE/AHT/xAAXEQEAAwAAAAAAAAAAAAAAAAACAAEy/9oACAEDAQE/AErGZ//Z'%3E%3C/image%3E%3C/svg%3E)
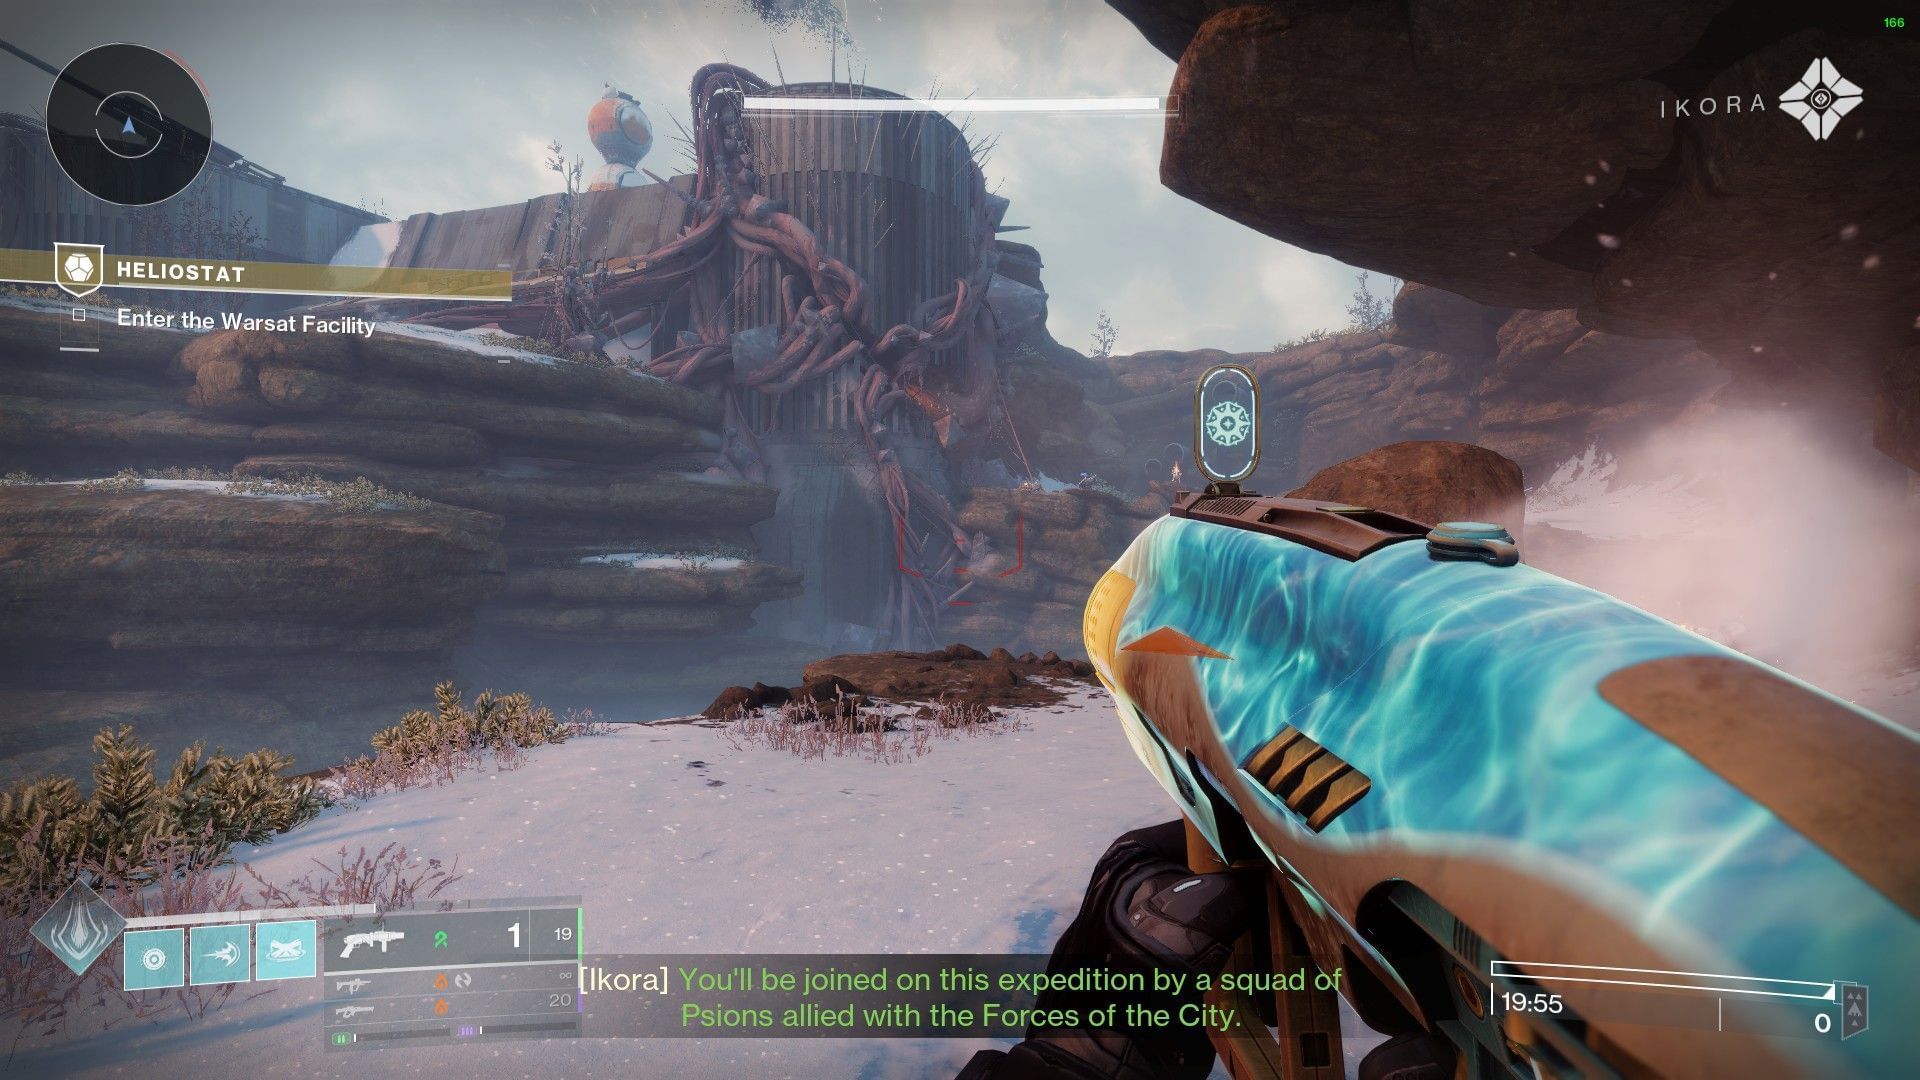
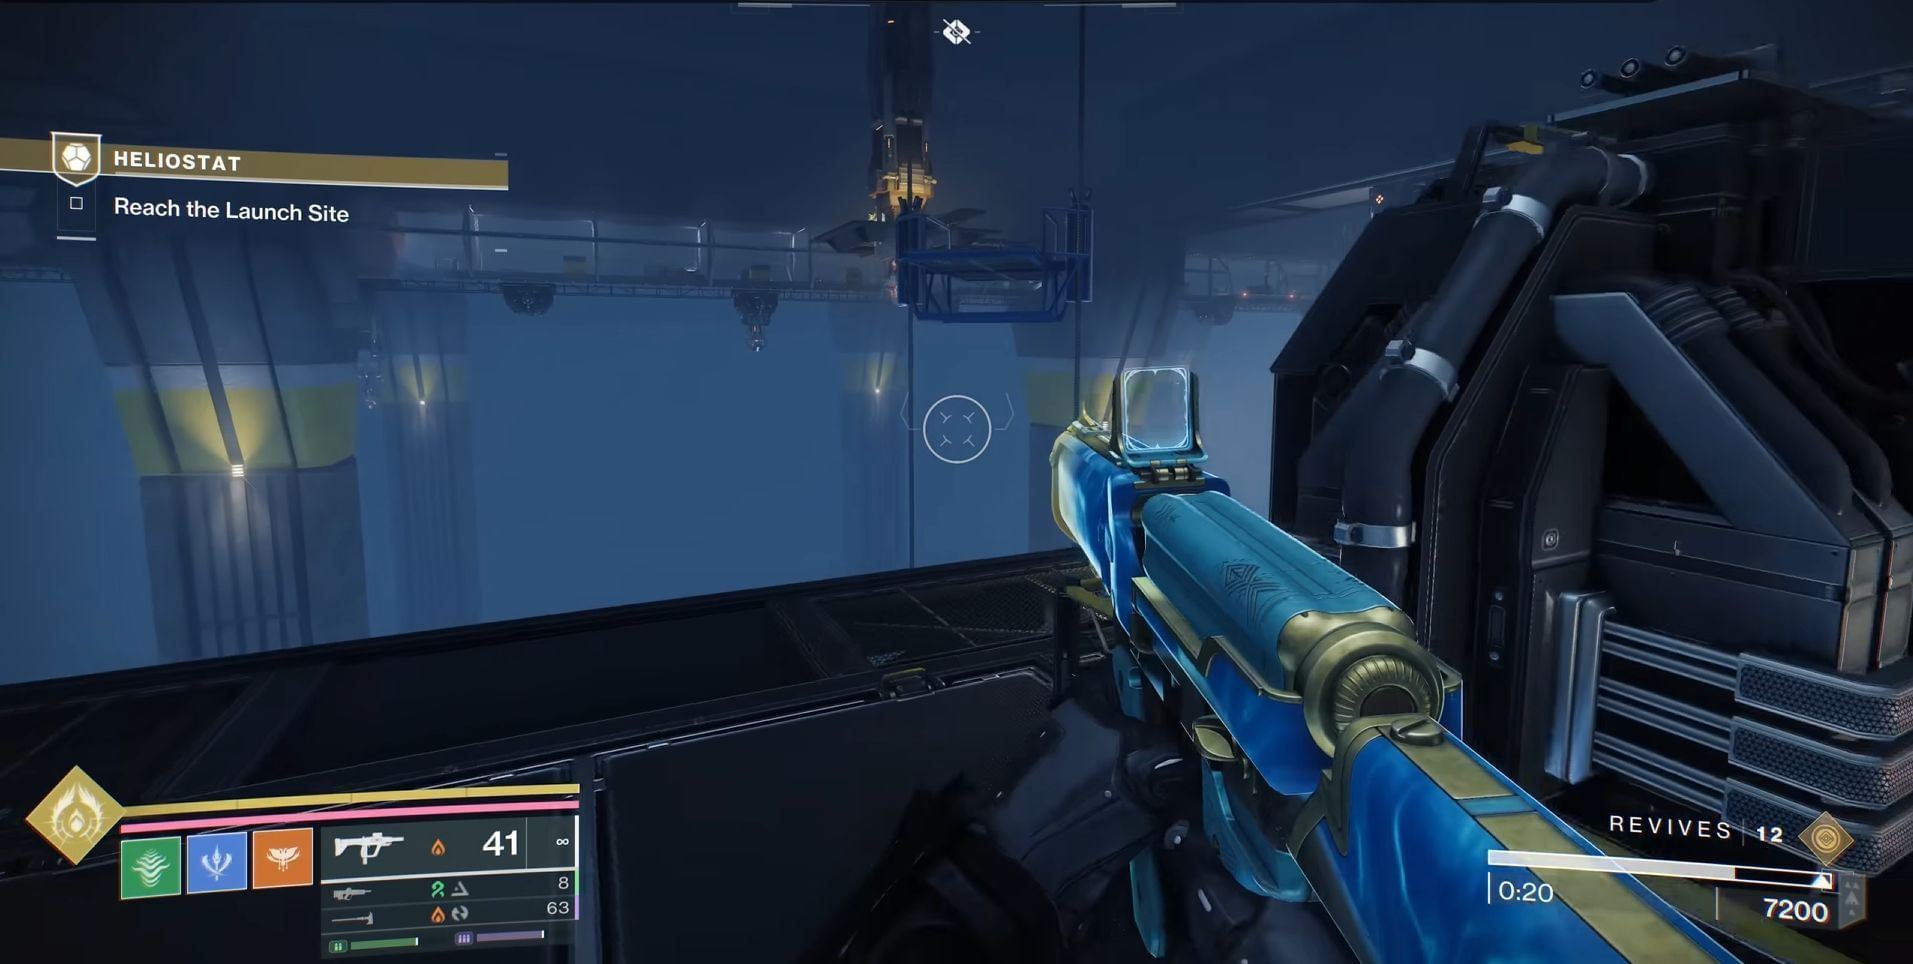
The new Exotic weapon in Destiny 2, Wolfsbane, comes with unique visuals and animations. While the in-game description reads as "Sword," the weapon acts like a two-handed Axe, similar to the ones the Iron Lords wield, and almost resembles the attack animations of the Solar Scythe relic. Players can get the weapon by completing the new Heliostat Exotic mission from the Pinnacle Ops.
This article goes over unlocking three different Intrinsic perks of the weapon, requiring players to destroy three sets of Vex nodes for each perk. Note that you must get Wolfsbane first and complete the mission once before attempting the following steps.
The reason for that is that you have to destroy the Vex nodes using the Wolfsbane weapon.
Vex node locations for the Wolfsbane Exotic Sword in Destiny 2
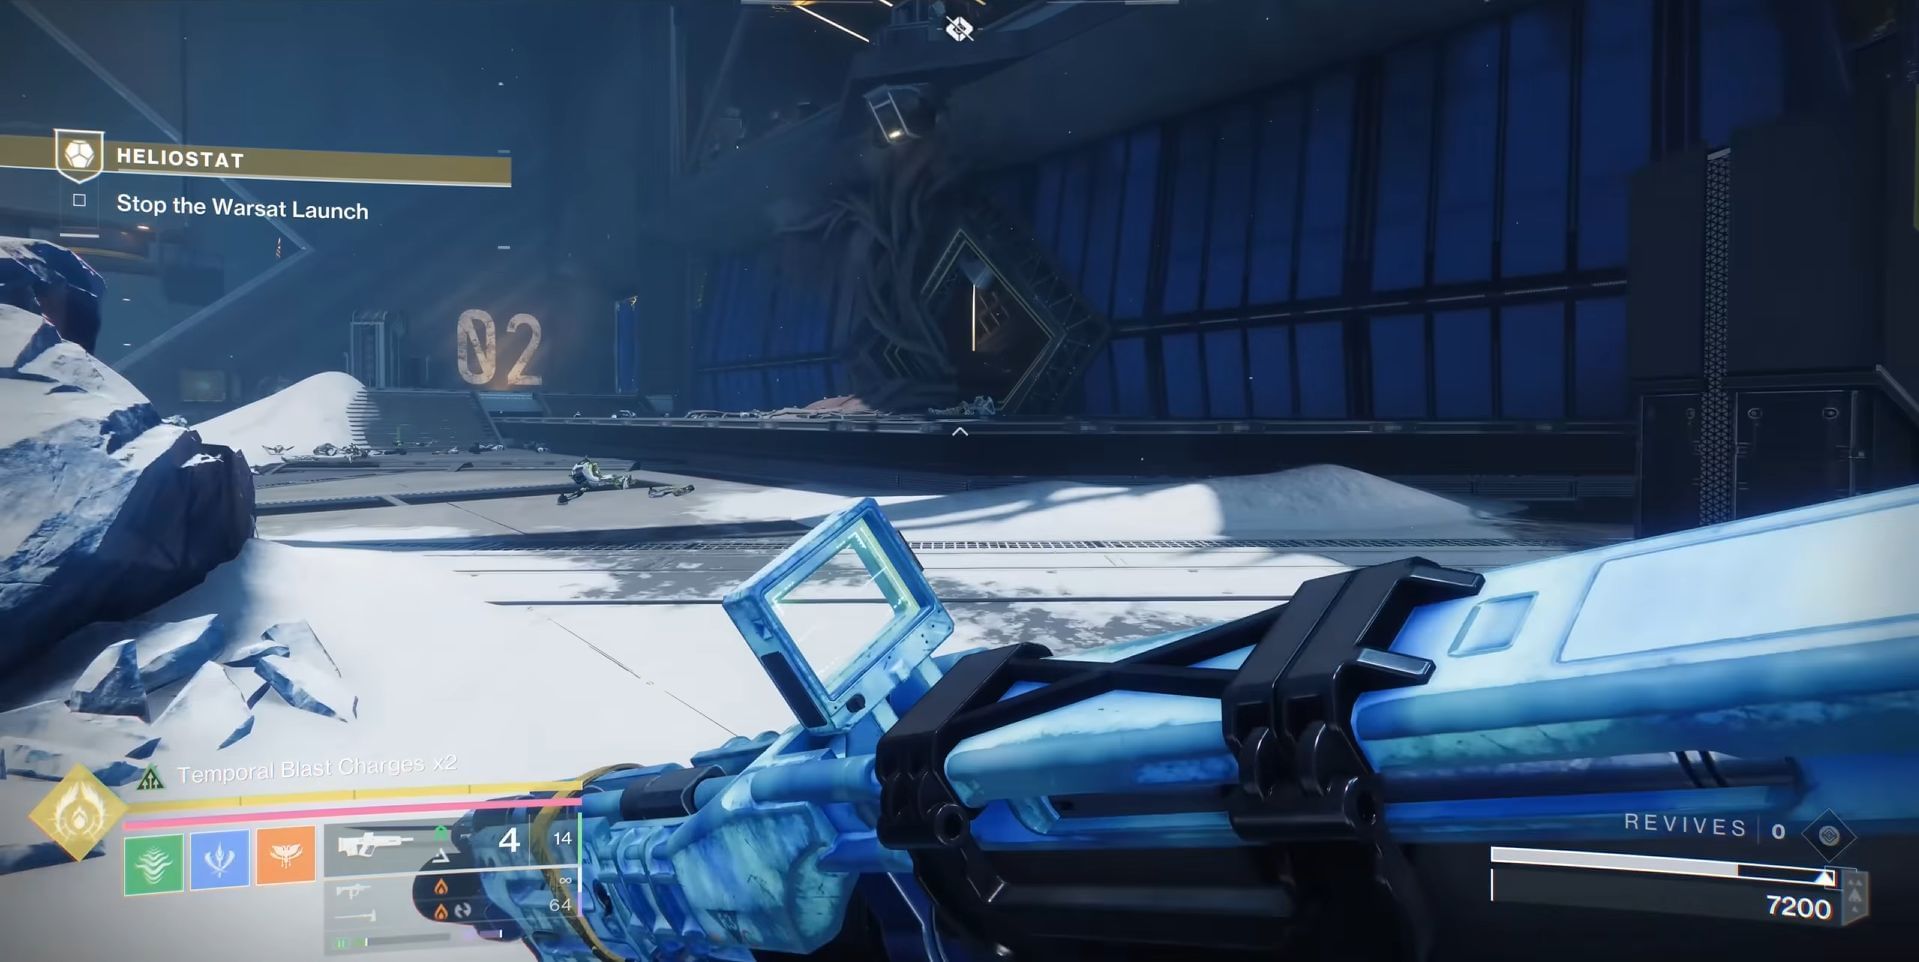
Location 1:
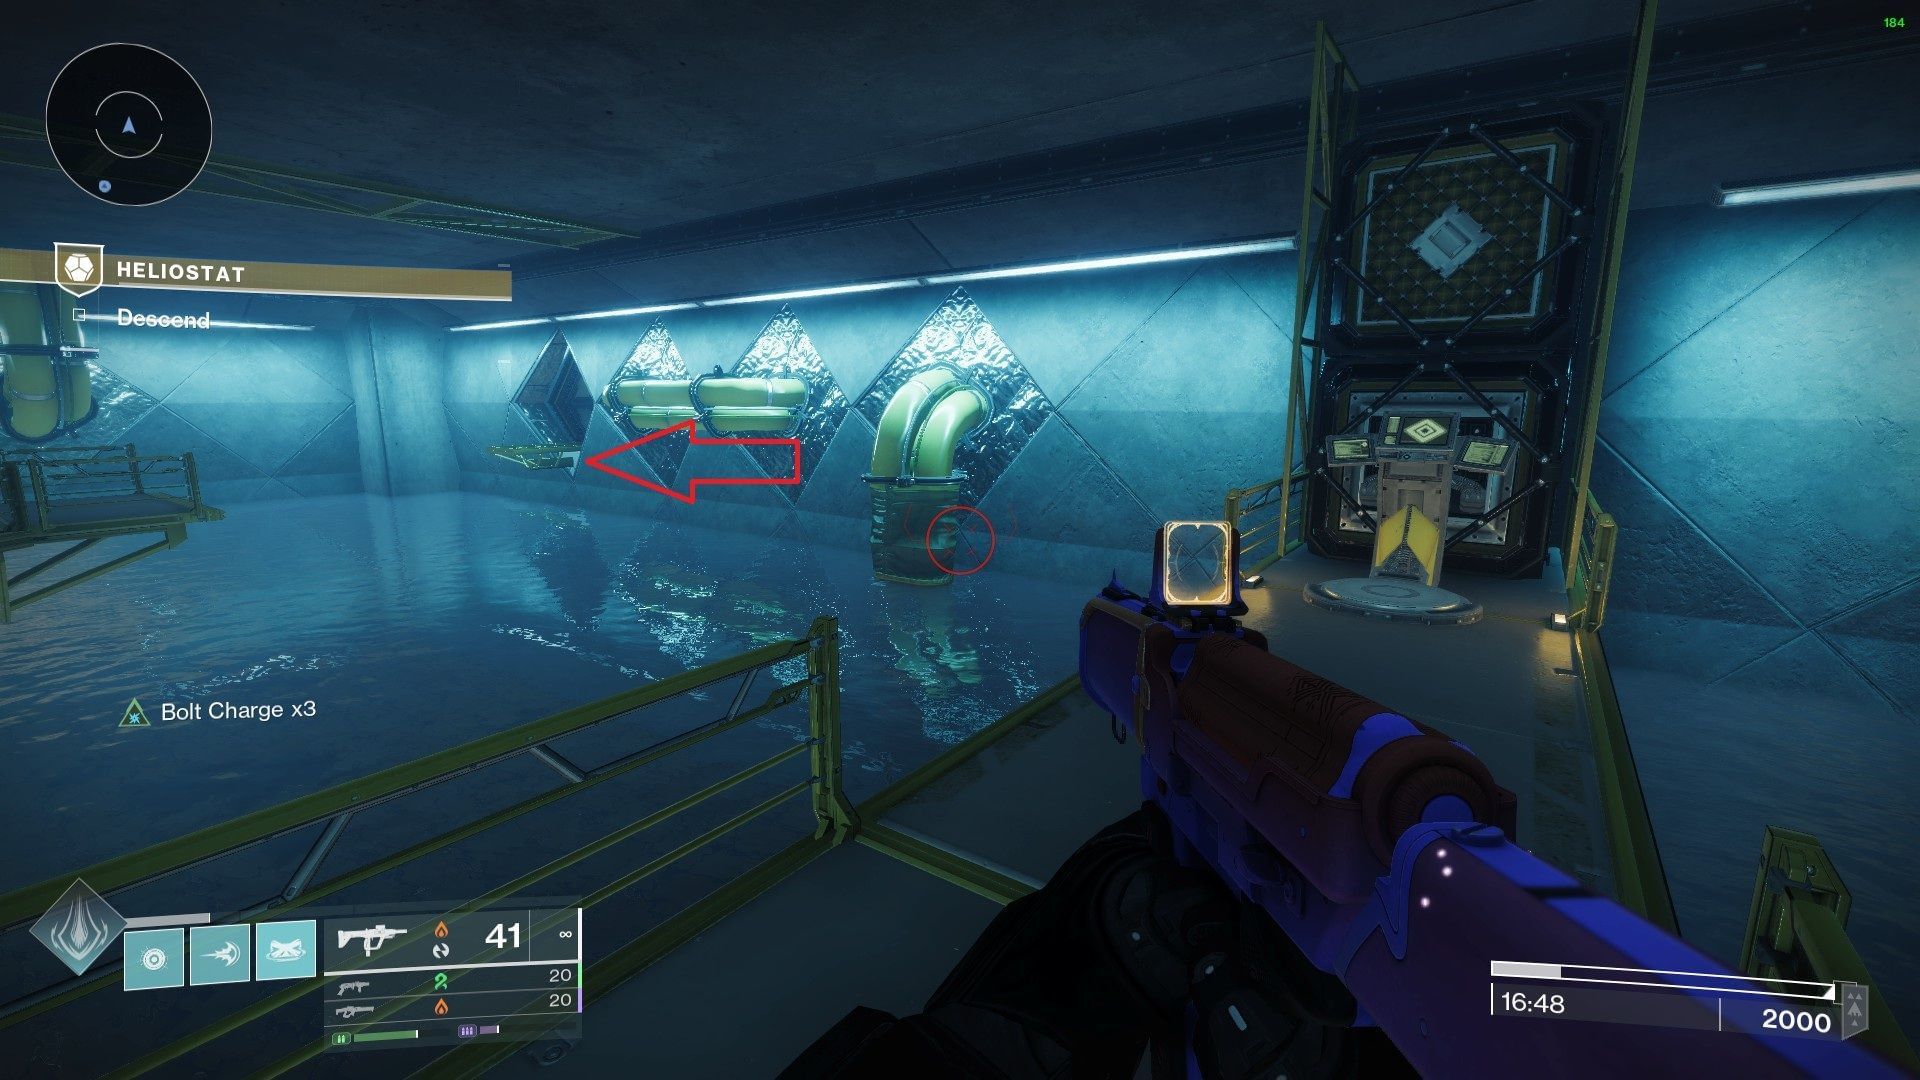
Drop down after the first encounter, inside the water room. Here, look for the node inside a small section, just to the left of the main console.
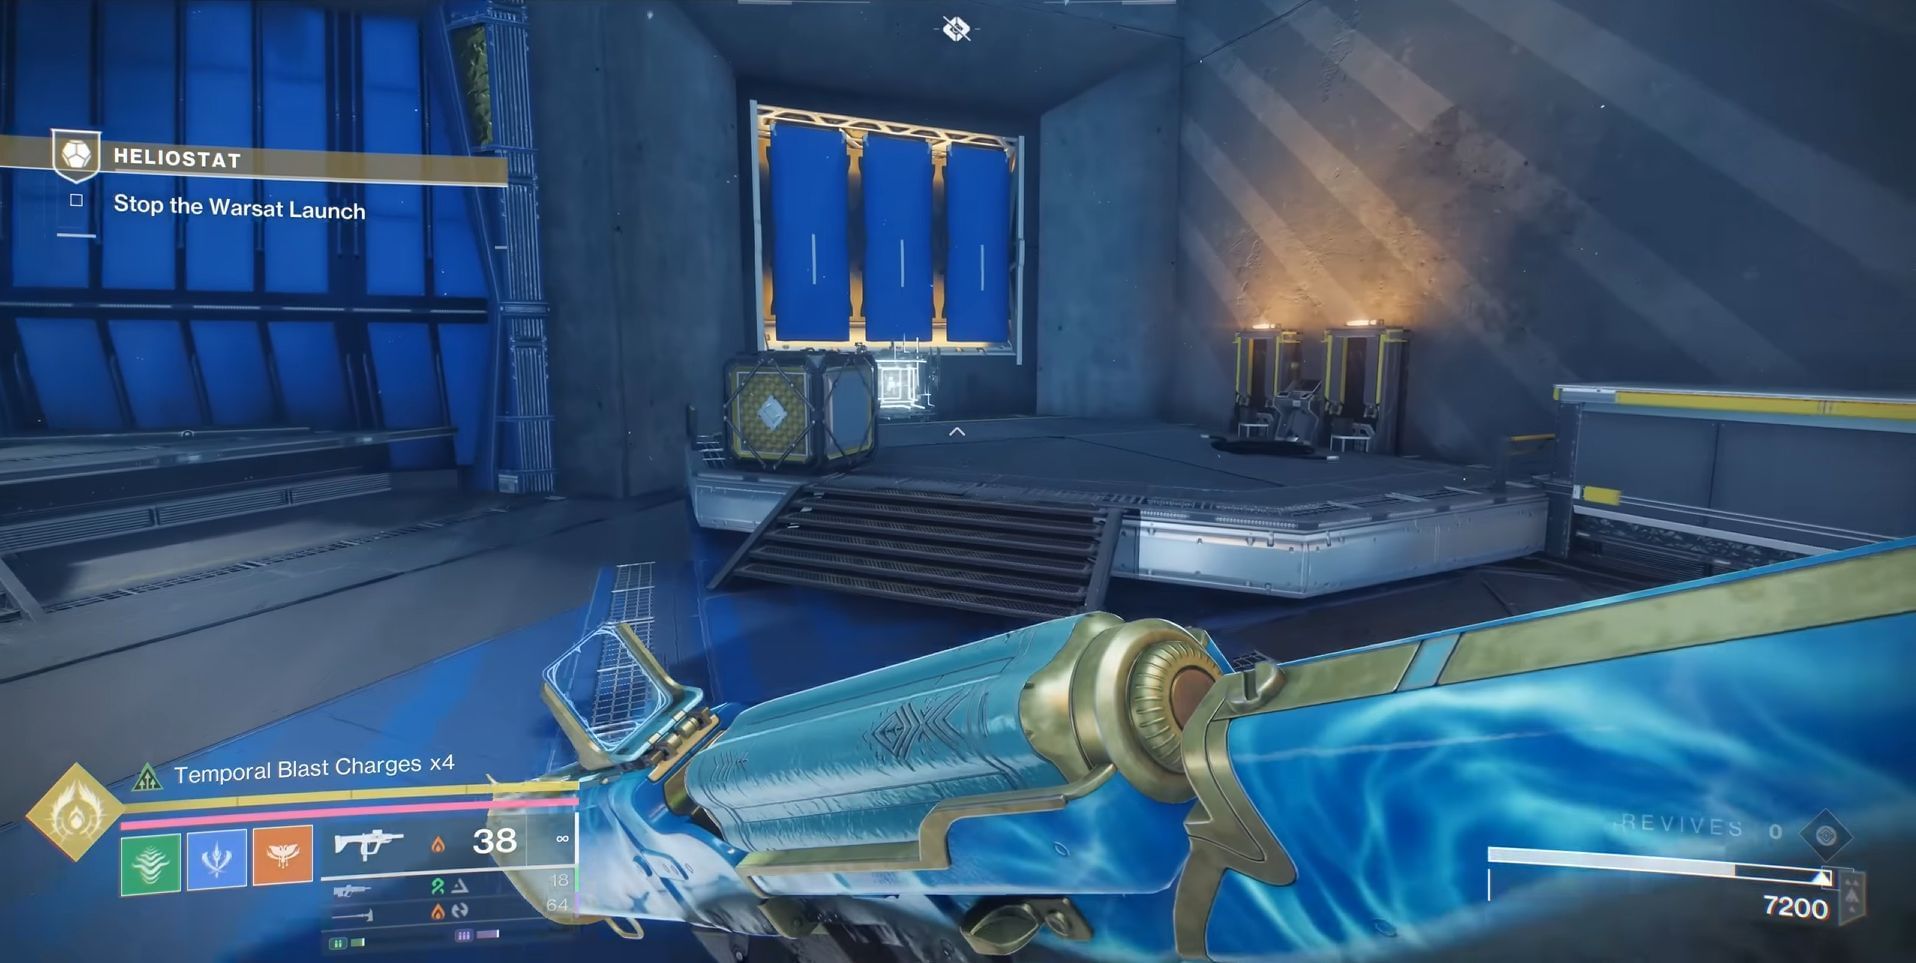
Location #2:
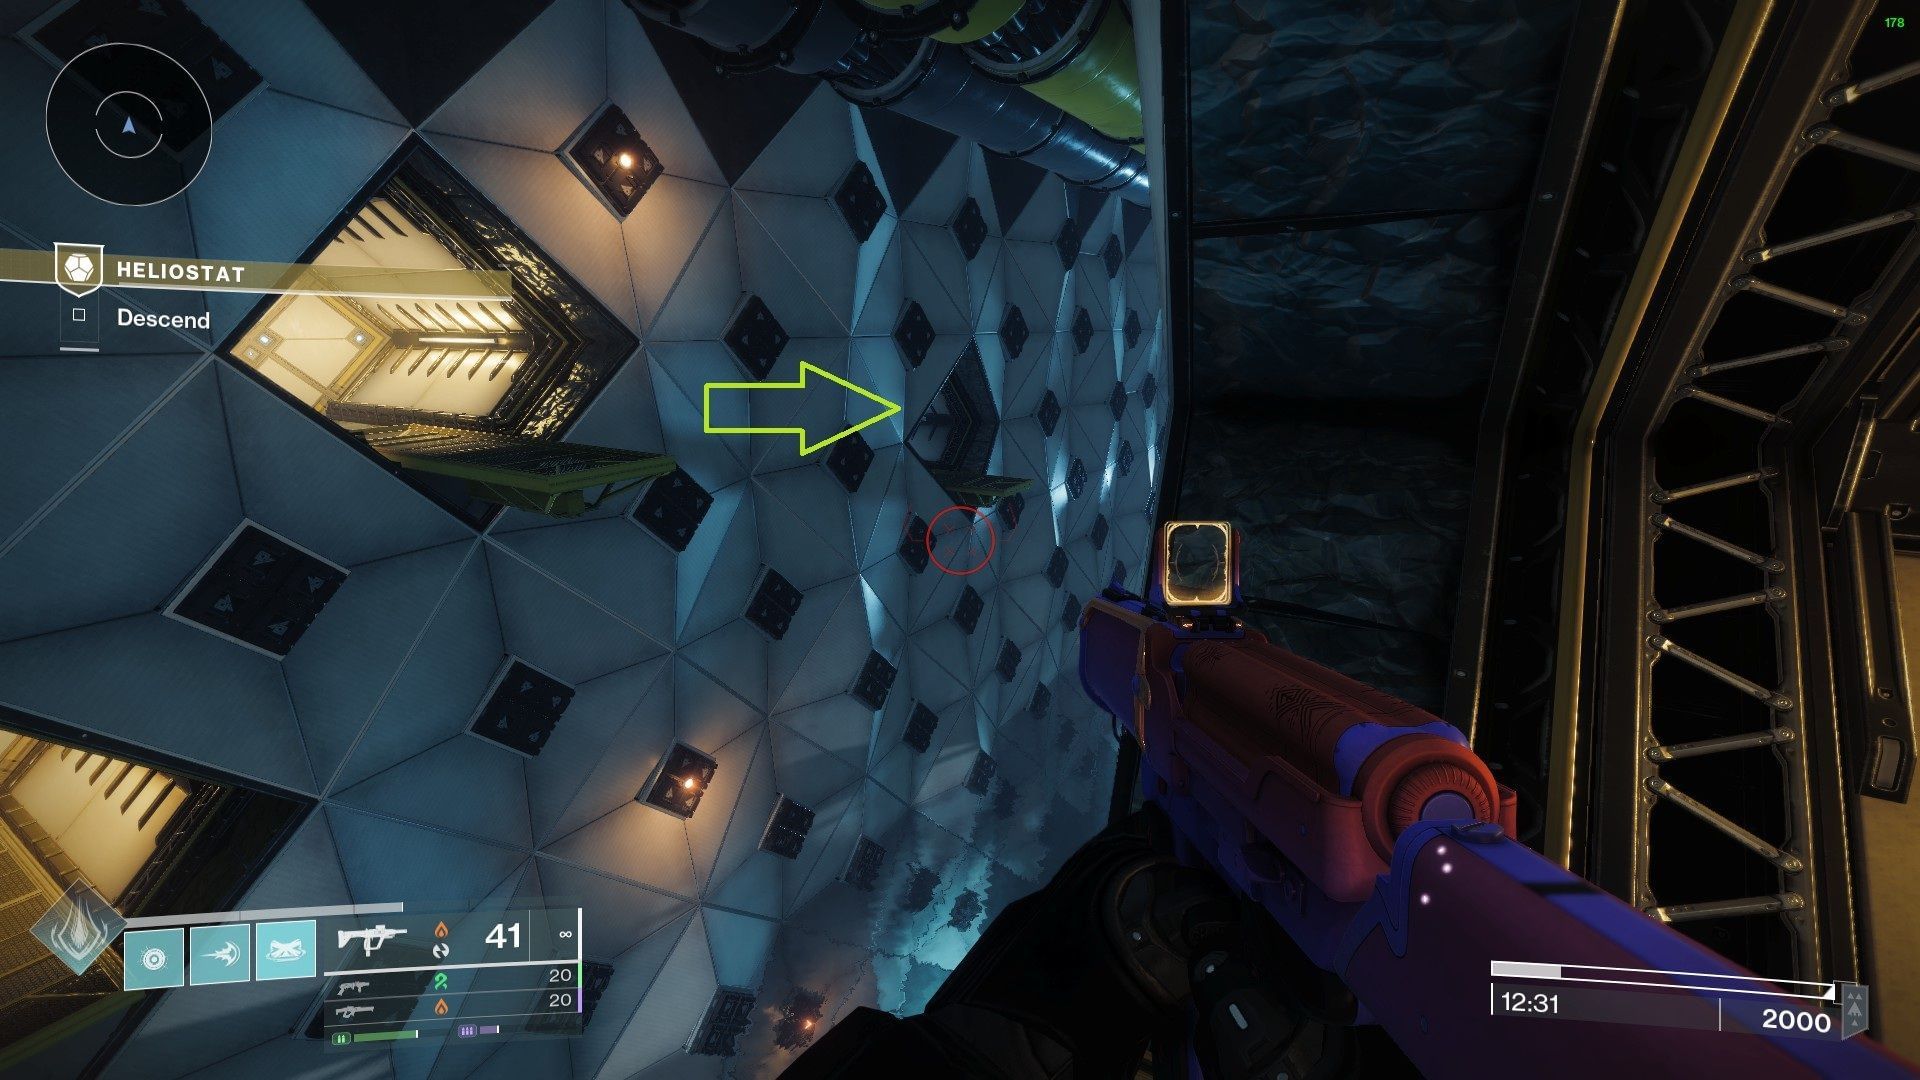
In the white hallway after the water room, look for a small section on the left, just off the entrance platform. You can also jump to the opposite platform from the entrance and get a clear view of the small section from there, as shown in the image above.
Location #3:
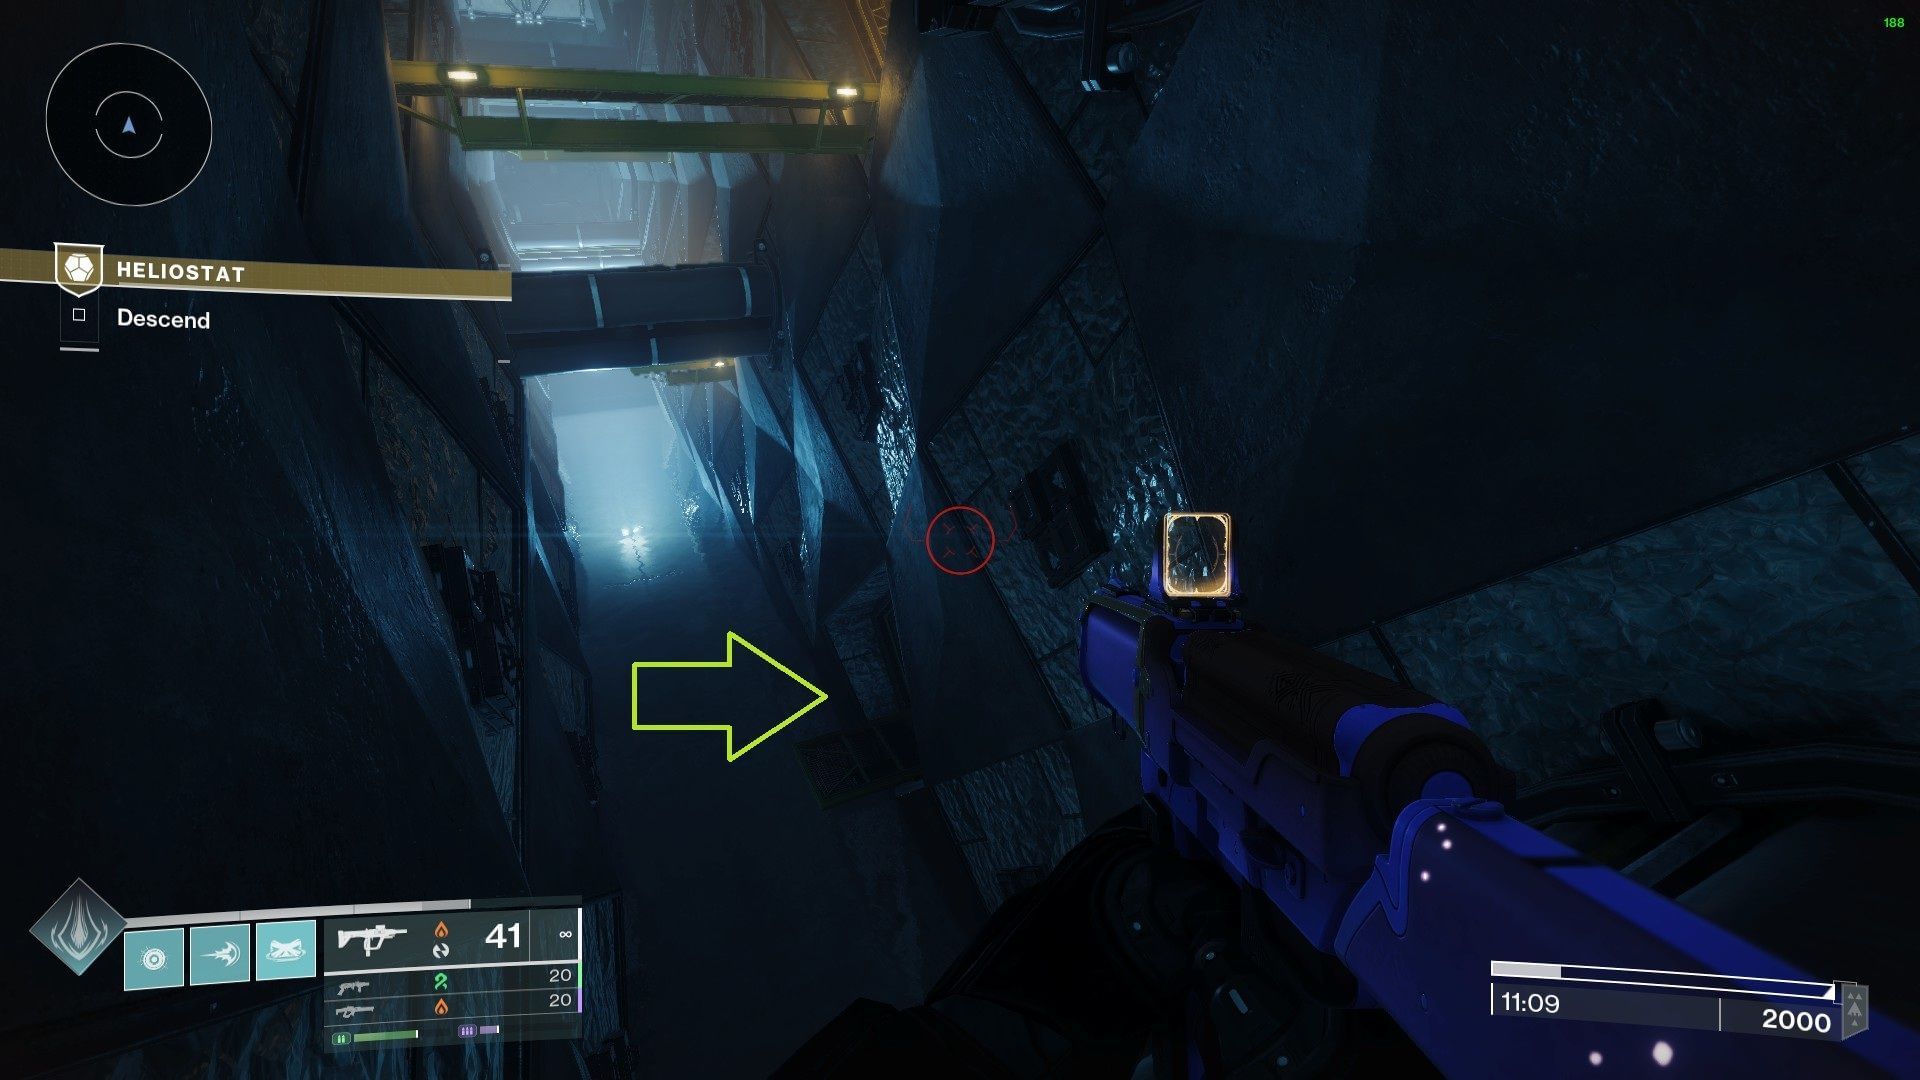
From the second node's location, jump on the section on your top-right, which will lead you to another dark, narrow hallway with water. After entering, locate the small section with the node directly below the entrance platform.
Location #4, 5, and 6:
The next three Vex nodes can all be found within the huge jumping puzzle, which resembles the Spire of the Watcher Dungeon area. This section can be found after the second main encounter.
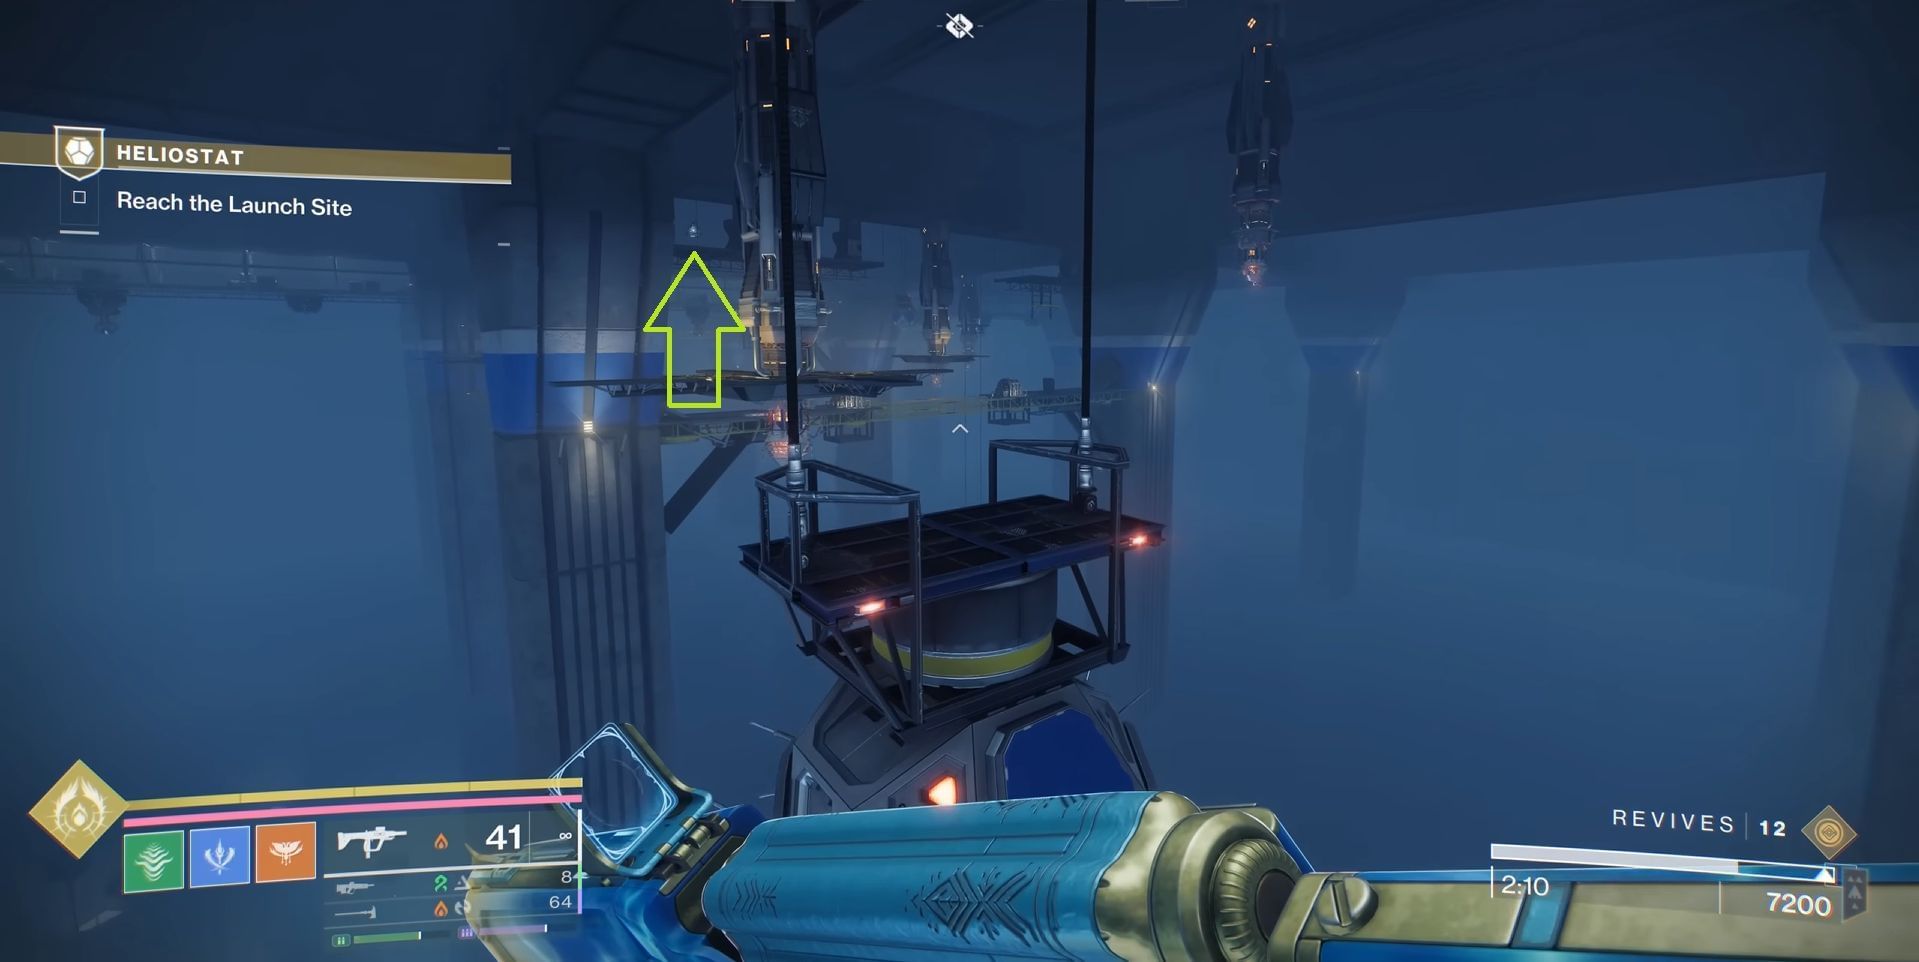
The first node can be found lying on top of a normal platform while you are traversing. Take the first elevator up, take a small right, and you will see the first node at a distance on top of a platform.
Jump all the way down and head for the opposite direction, where you will find another elevator in the middle of the water.
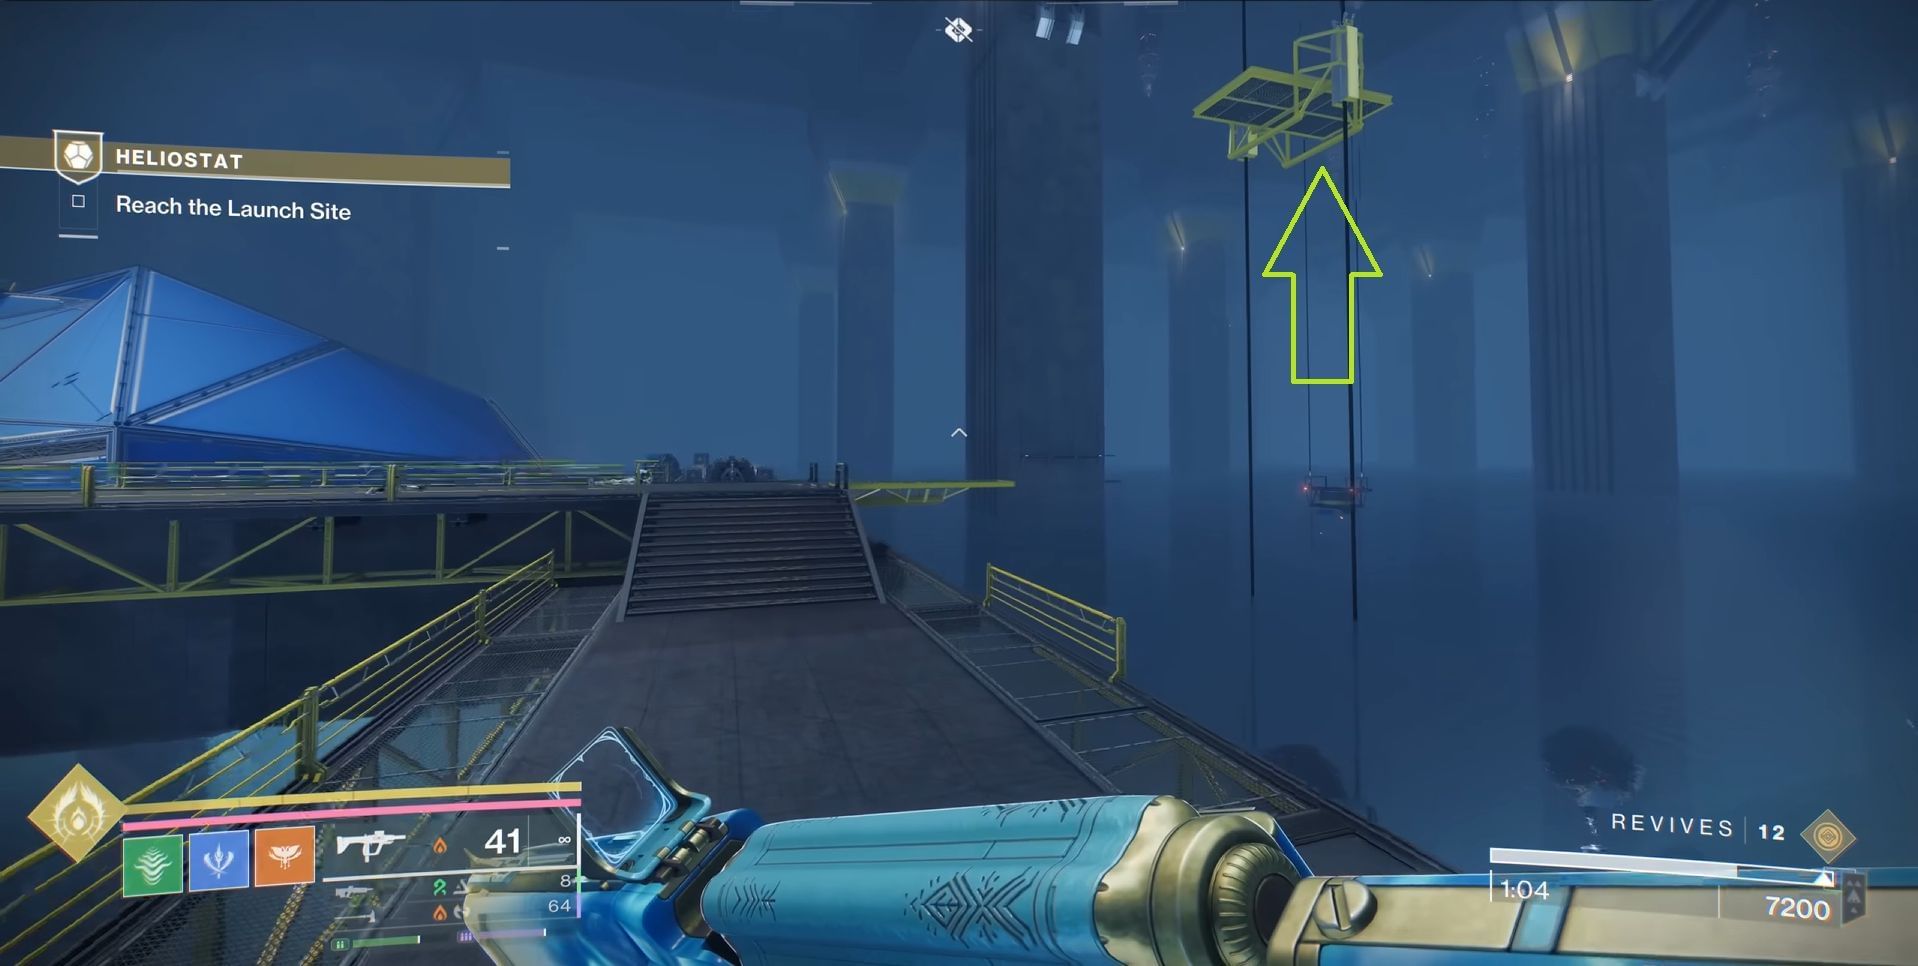
Take it to go up, and the node will be located on top of a Warmind Radiator platform in front of you.
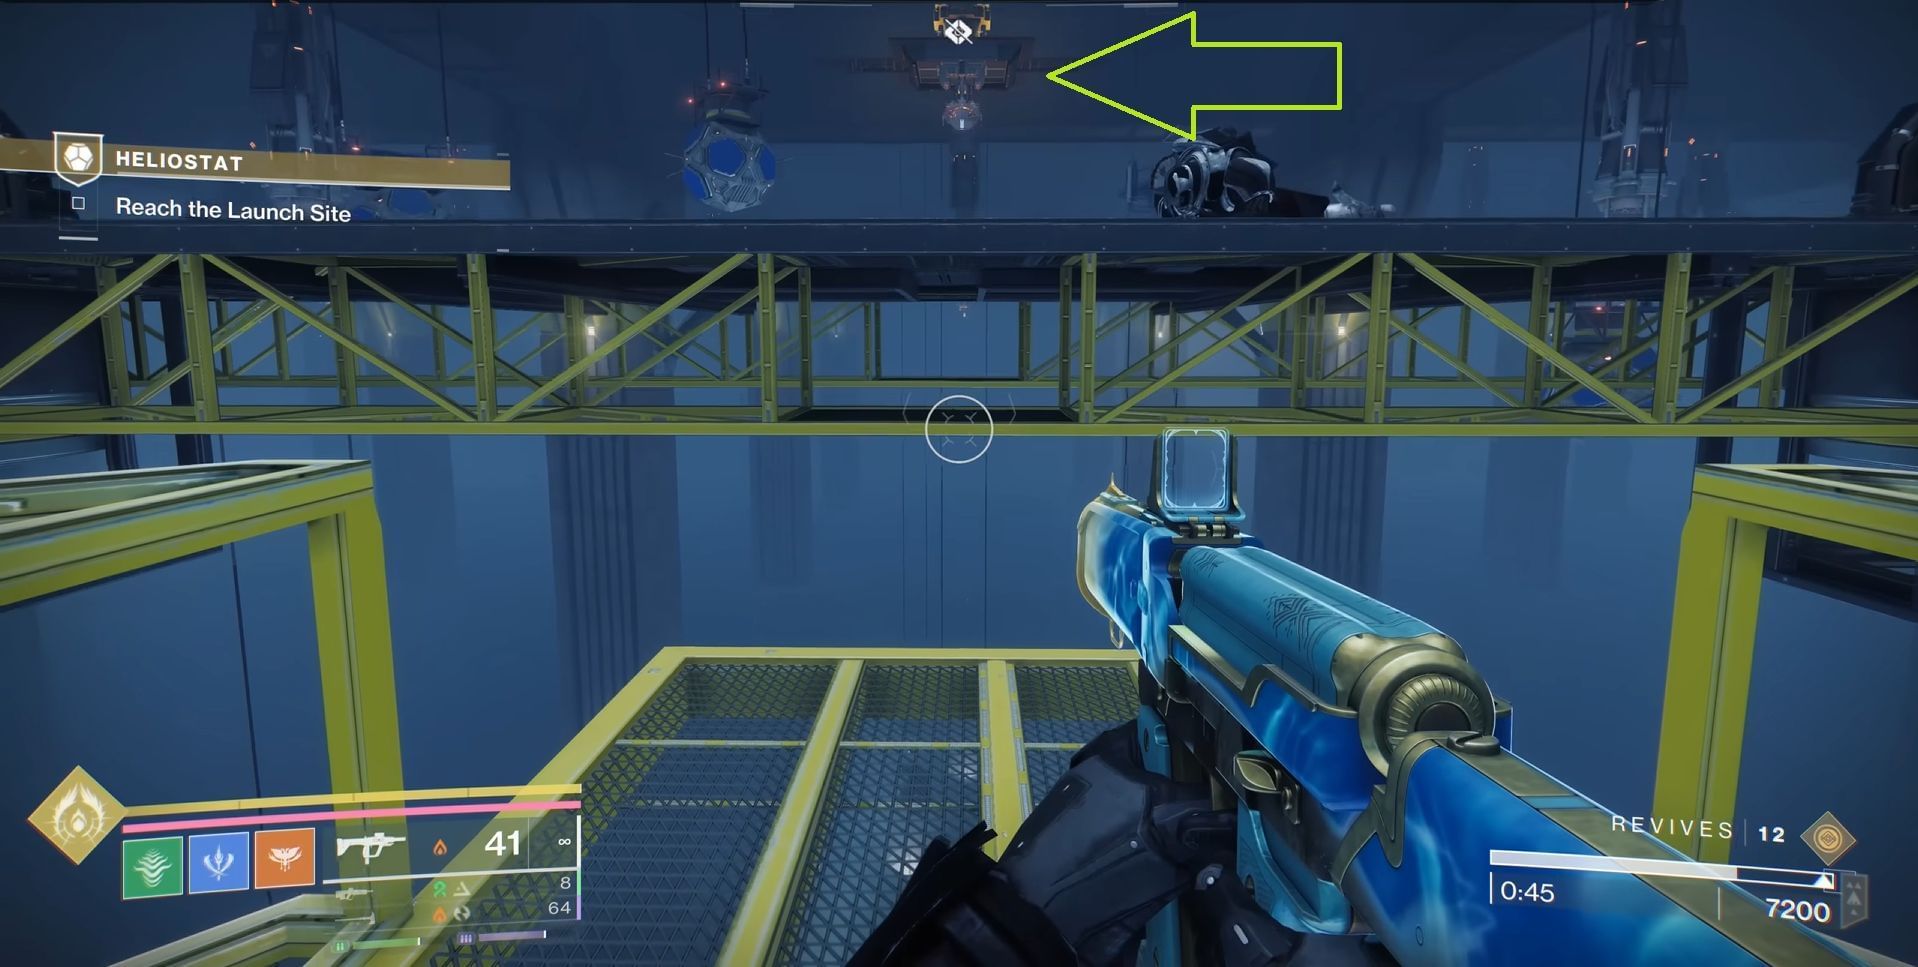
For the final node, take a left from the second node, on the main platform in the middle. Keep going on the opposite side, where there will be another Warmind platform.
Destroy the node using the weapon and proceed to the next section.
Location #7:
The last three nodes can be found within the final boss arena. In one of the side rooms on the right, enter and go up the stairs. Take the first right after climbing up the stairs, and the node will be located on top of a console, stuck to a wall on the right.
Location #8:
Go back down the stairs into the main arena, and head straight by taking a small right. Head for the back corner of the arena, and you will find a node sitting behind a couple of boxes.
Location #9:
Go to the final side room through the entrance in front of the eighth node. You will find the last node located on your extreme left after entering the room.
Check out our Destiny 2 guides:
- Edge of Fate Destiny 2 power cap guide.
- Can you complete The Edge of Fate campaign solo?
- Imminence god roll guide
- Easiest way to get the Queenbreaker Catalyst
- Do you need to play past expansions for The Edge of Fate?
- How big is The Edge of Fate update?
- How many campaign missions are in The Edge of Fate?
- Last Thursday god roll guide
- Giver's Blessing god roll guide
- Epoptes boss encounter guide in The Desert Perpetual
