
'%20x='0'%20y='0'%20height='100%25'%20width='100%25'%20%0A%20%20%20%20%20%20%20%20%20%20xlink%3Ahref='data:image/jpg;base64,/9j/2wBDAAYEBQYFBAYGBQYHBwYIChAKCgkJChQODwwQFxQYGBcUFhYaHSUfGhsjHBYWICwgIyYnKSopGR8tMC0oMCUoKSj/2wBDAQcHBwoIChMKChMoGhYaKCgoKCgoKCgoKCgoKCgoKCgoKCgoKCgoKCgoKCgoKCgoKCgoKCgoKCgoKCgoKCgoKCj/wgARCAAGAAoDASIAAhEBAxEB/8QAFgABAQEAAAAAAAAAAAAAAAAAAAUH/8QAFQEBAQAAAAAAAAAAAAAAAAAAAQL/2gAMAwEAAhADEAAAAMFhFP8A/8QAHhAAAgEEAwEAAAAAAAAAAAAAAQIDAAQFIRESIqH/2gAIAQEAAT8AxWaazSdrbtGkiFGCgDyRwRUr2hkcgzKCToINfa//xAAVEQEBAAAAAAAAAAAAAAAAAAABAP/aAAgBAgEBPwAAv//EABcRAQEBAQAAAAAAAAAAAAAAAAECAAP/2gAIAQMBAT8AvpVALv/Z'%3E%3C/image%3E%3C/svg%3E)
Destiny 2's The Whisper Exotic mission is back with everyone's favorite tilesets, encounters, and the Heavy Sniper Rifle. Players must initiate a special quest this time around and dive inside the depths of IO. To change things up, Bungie did hide a few secrets that need to be solved for an Exotic Ship. Players will also find the normal version of the mission to be 40 minutes long, with the Legend version being 20 minutes.
This article guides you through the basics of the Whisper Exotic mission in 2024, including the encounters, enemies, quickest routes, and more.
How to start the Whisper Exotic mission in Destiny 2 (2024)
To start the Whisper mission, open the Destinations tab, followed by Moon. Spawn on the Sanctuary waypoint and head to Eris Morn. Speak with her and pick up the "Whispers of the Past" mission. Lastly, head inside the "Into the Light" node present in the Destinations tab and launch "The Whisper" mission.
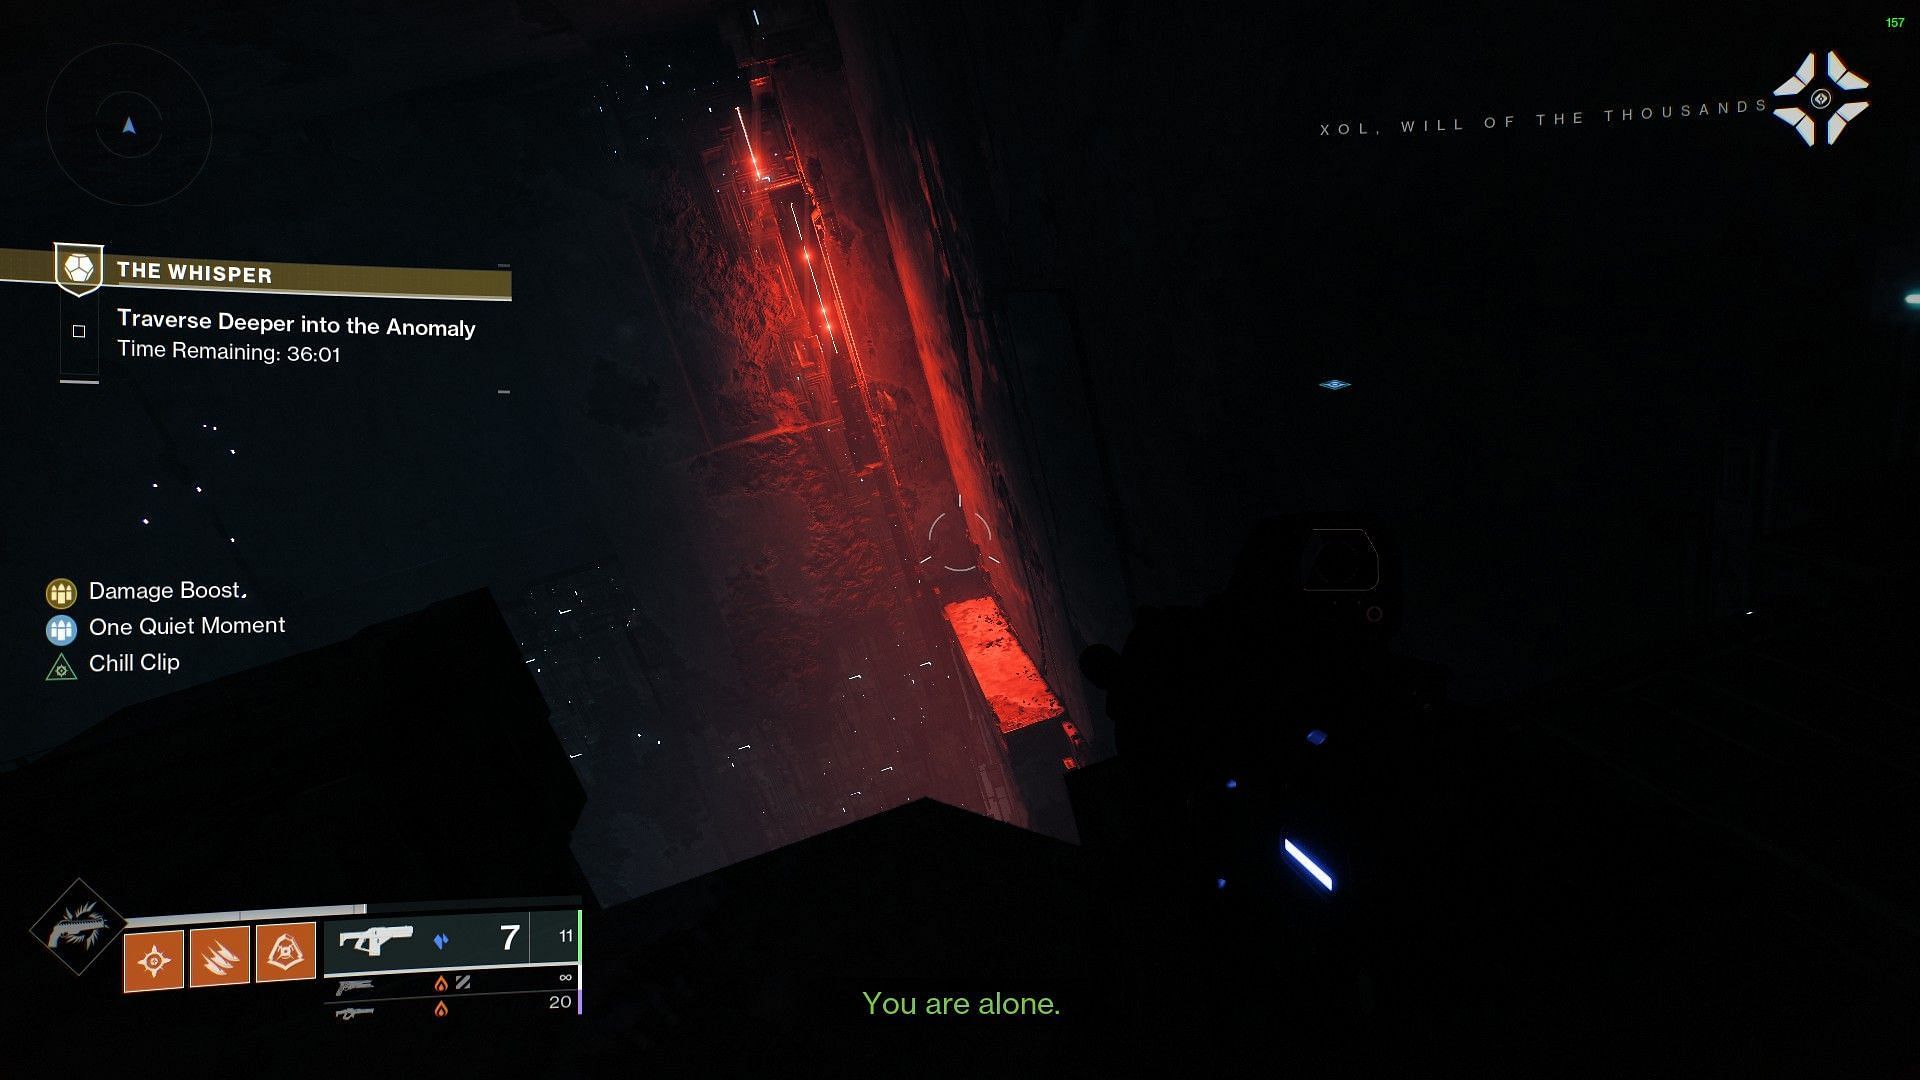
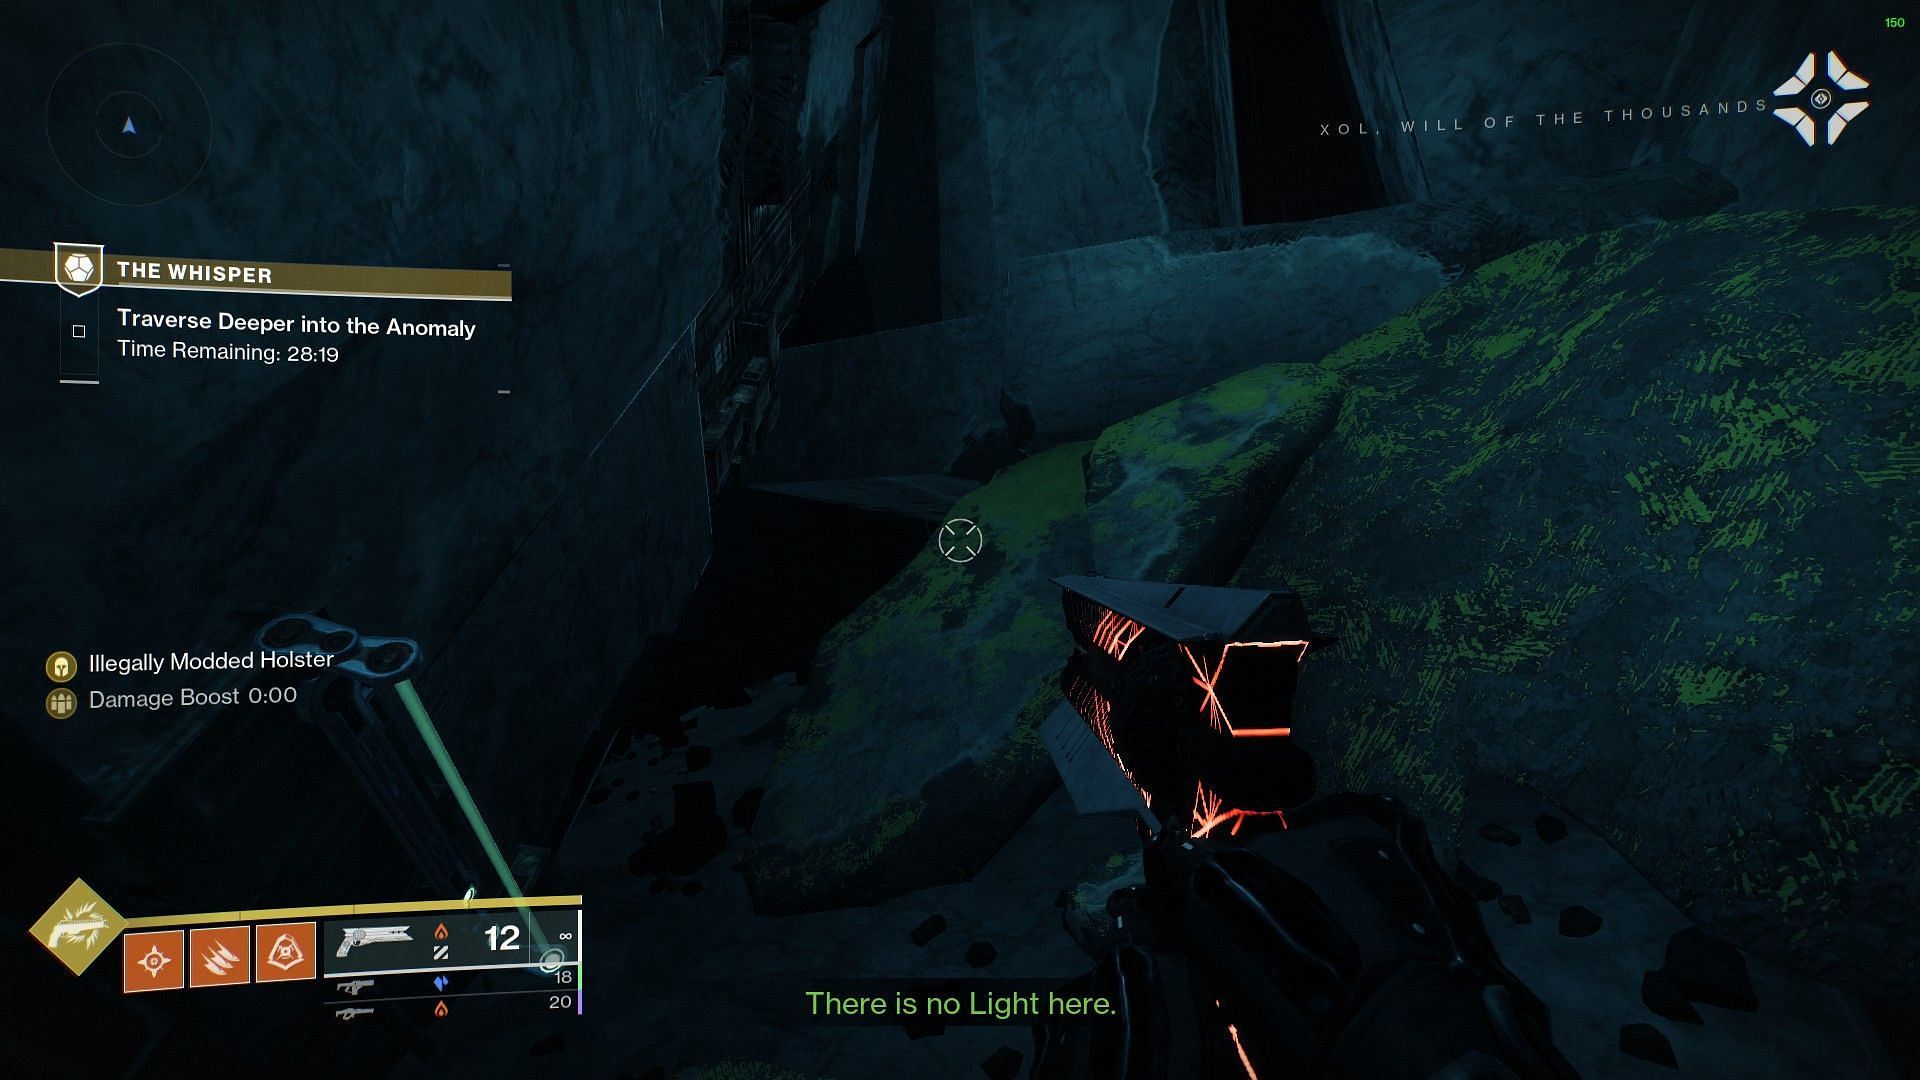
1) Red light jumping puzzle
After spawning inside the mission, head straight through the blue-liquid room until you come across a ledge. Look to your left at a small gap in the wall, shown in the image below.
Enter through the gap inside the cave, and you will find a Taken Blight. Destroy this Blight to reveal a hole in the floor. Jump down and keep moving until you see a series of red lights.
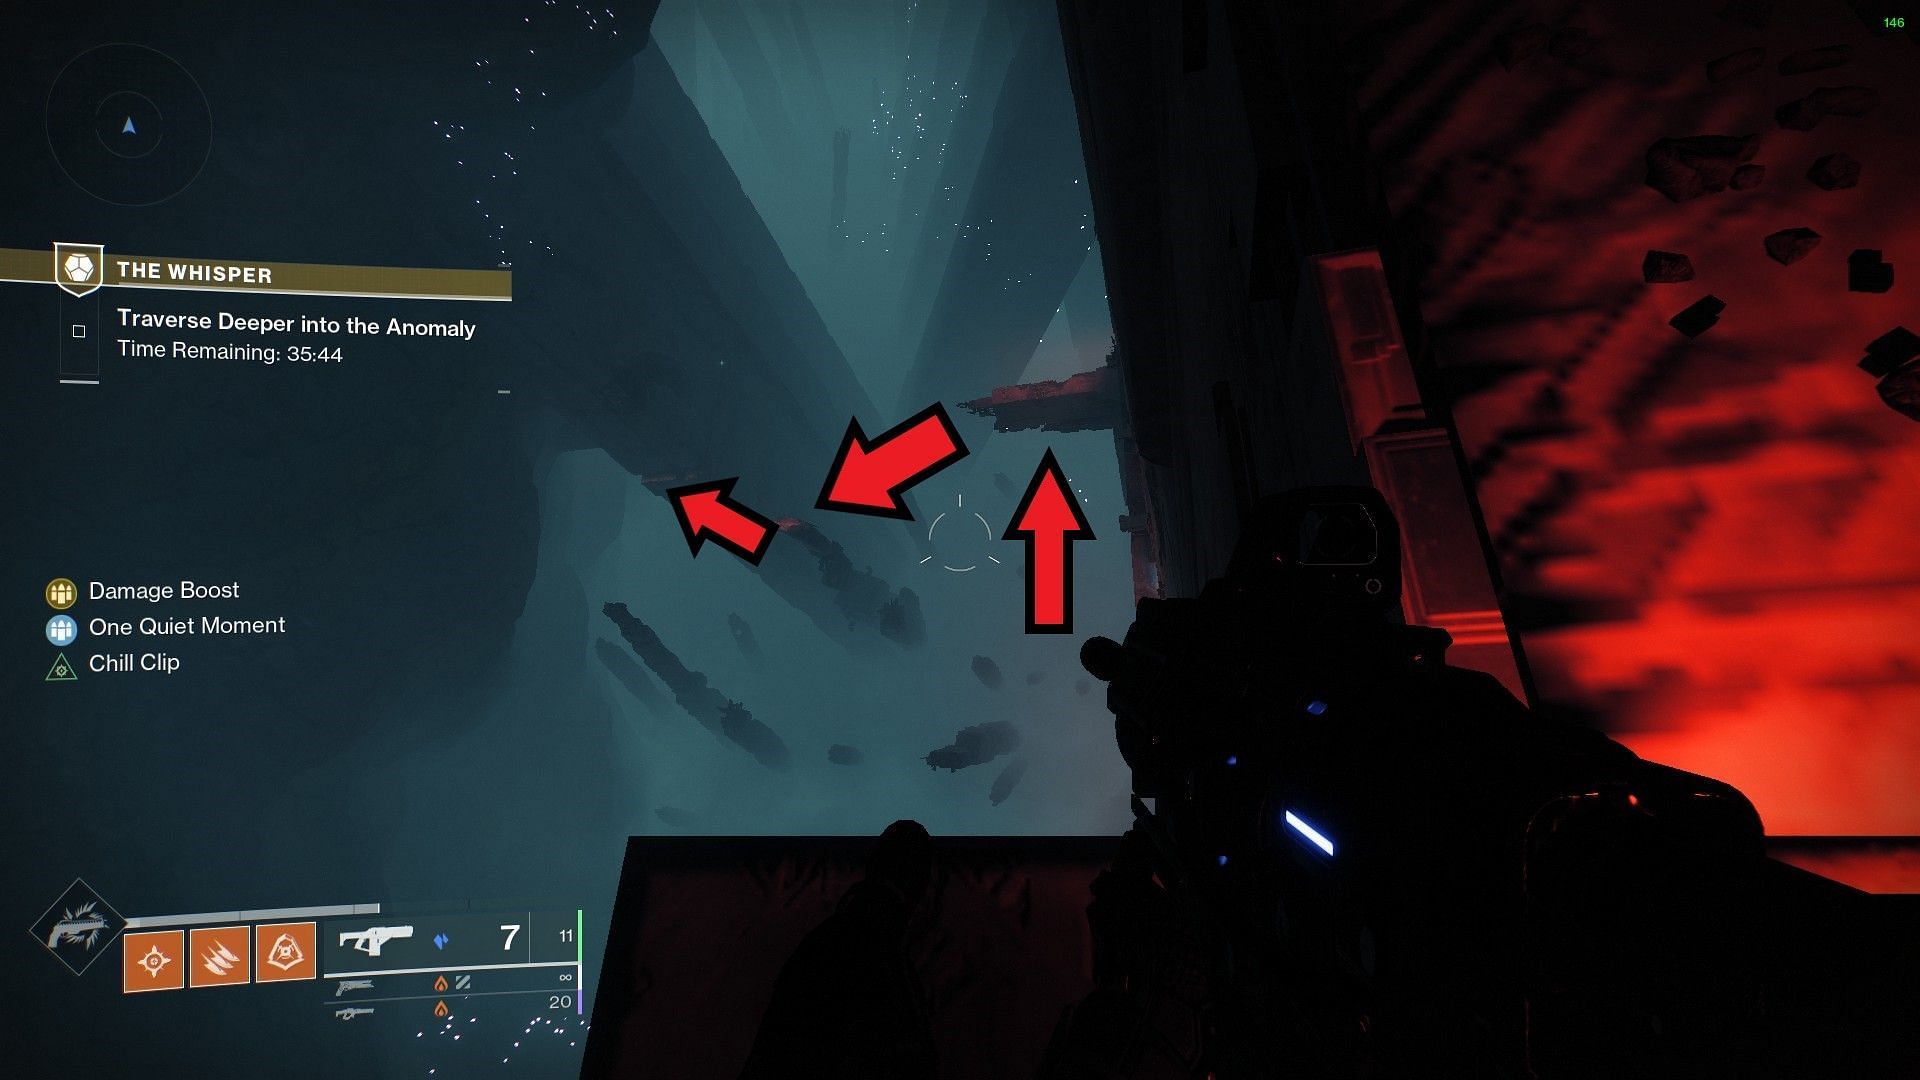
Here, your primary objective is to follow the platforms with red lights on them. The order of the platforms is shown in the image below.
Keep following the path until you come across a room with multiple portals. For the correct portal, take a right from the entrance, walk to the very back of the room, and head inside the top-right portal.
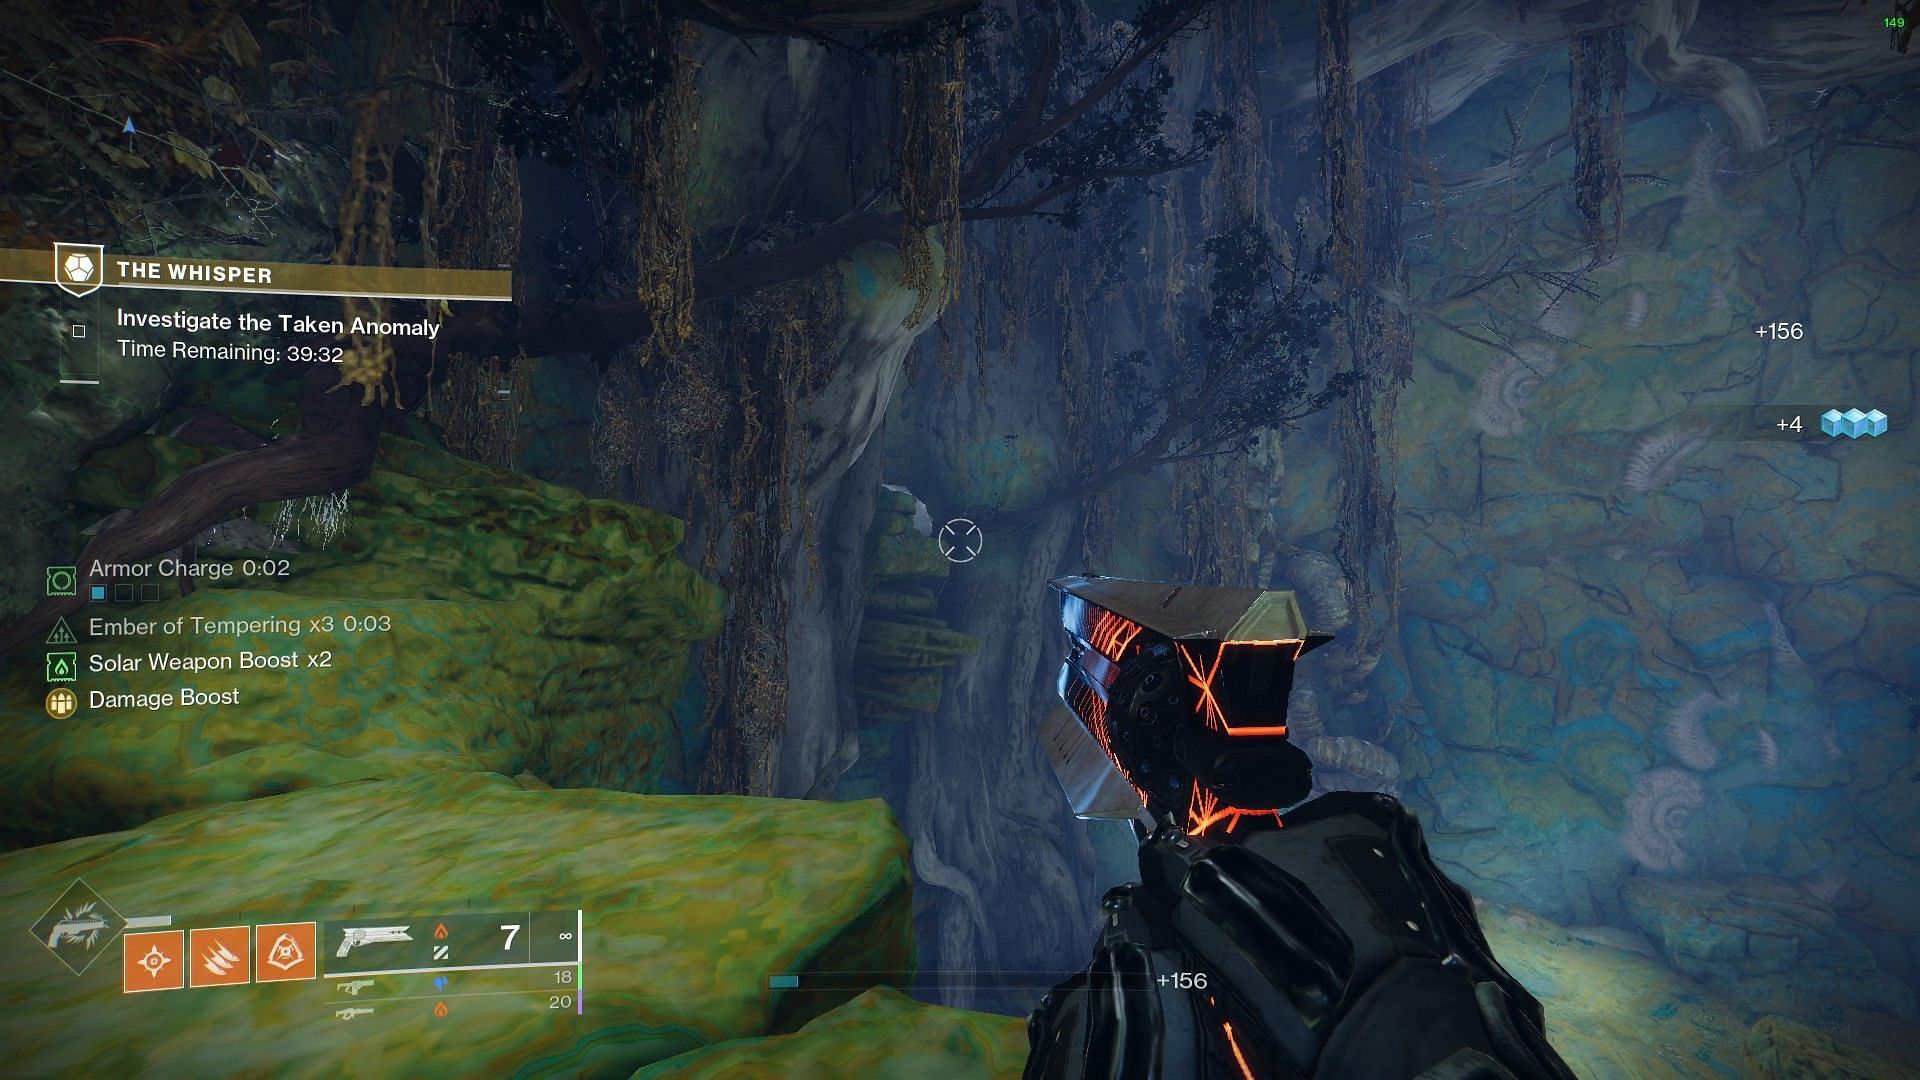
2) Grass room jumping puzzle
There are two ways you can bypass this room. The first method is the standard jumping puzzle, where you must jump on the small ledges with grass on them, located on the wall of the room. The second method is by crouching through the small gap located just under the entrance of the green room.
Both will take you to an open area, where you must follow the light and make a huge leap at the end. Follow the path and you will find your first enemy interaction.
3) Combat rooms
The objective in these rooms is simple. You must defeat all Taken combatants and look for a Taken Blight blocking the exit. Do this twice until you come into another open area with a huge pit. Defeat all combatants to clear away the blockage, and drop down to the boss room.
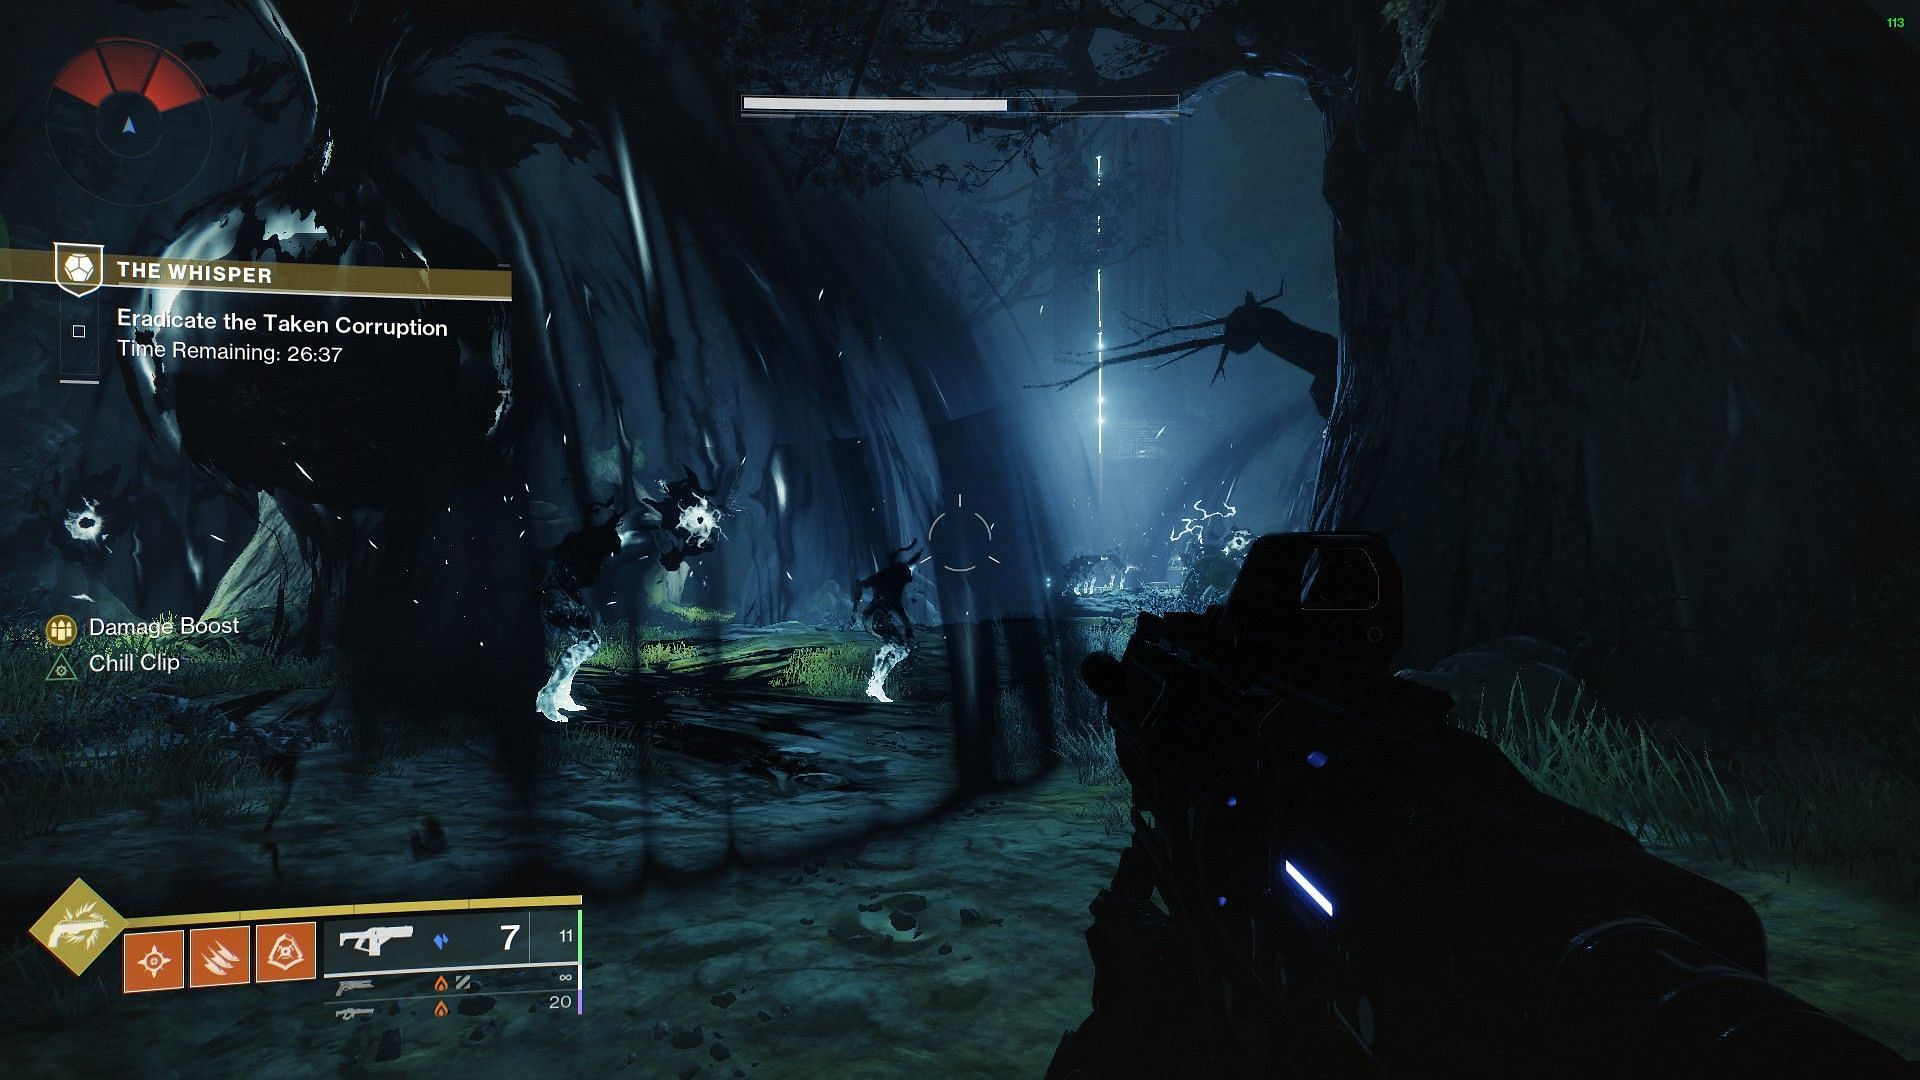
Be careful not to fall into the tiny pits while making your way down toward the boss's room.
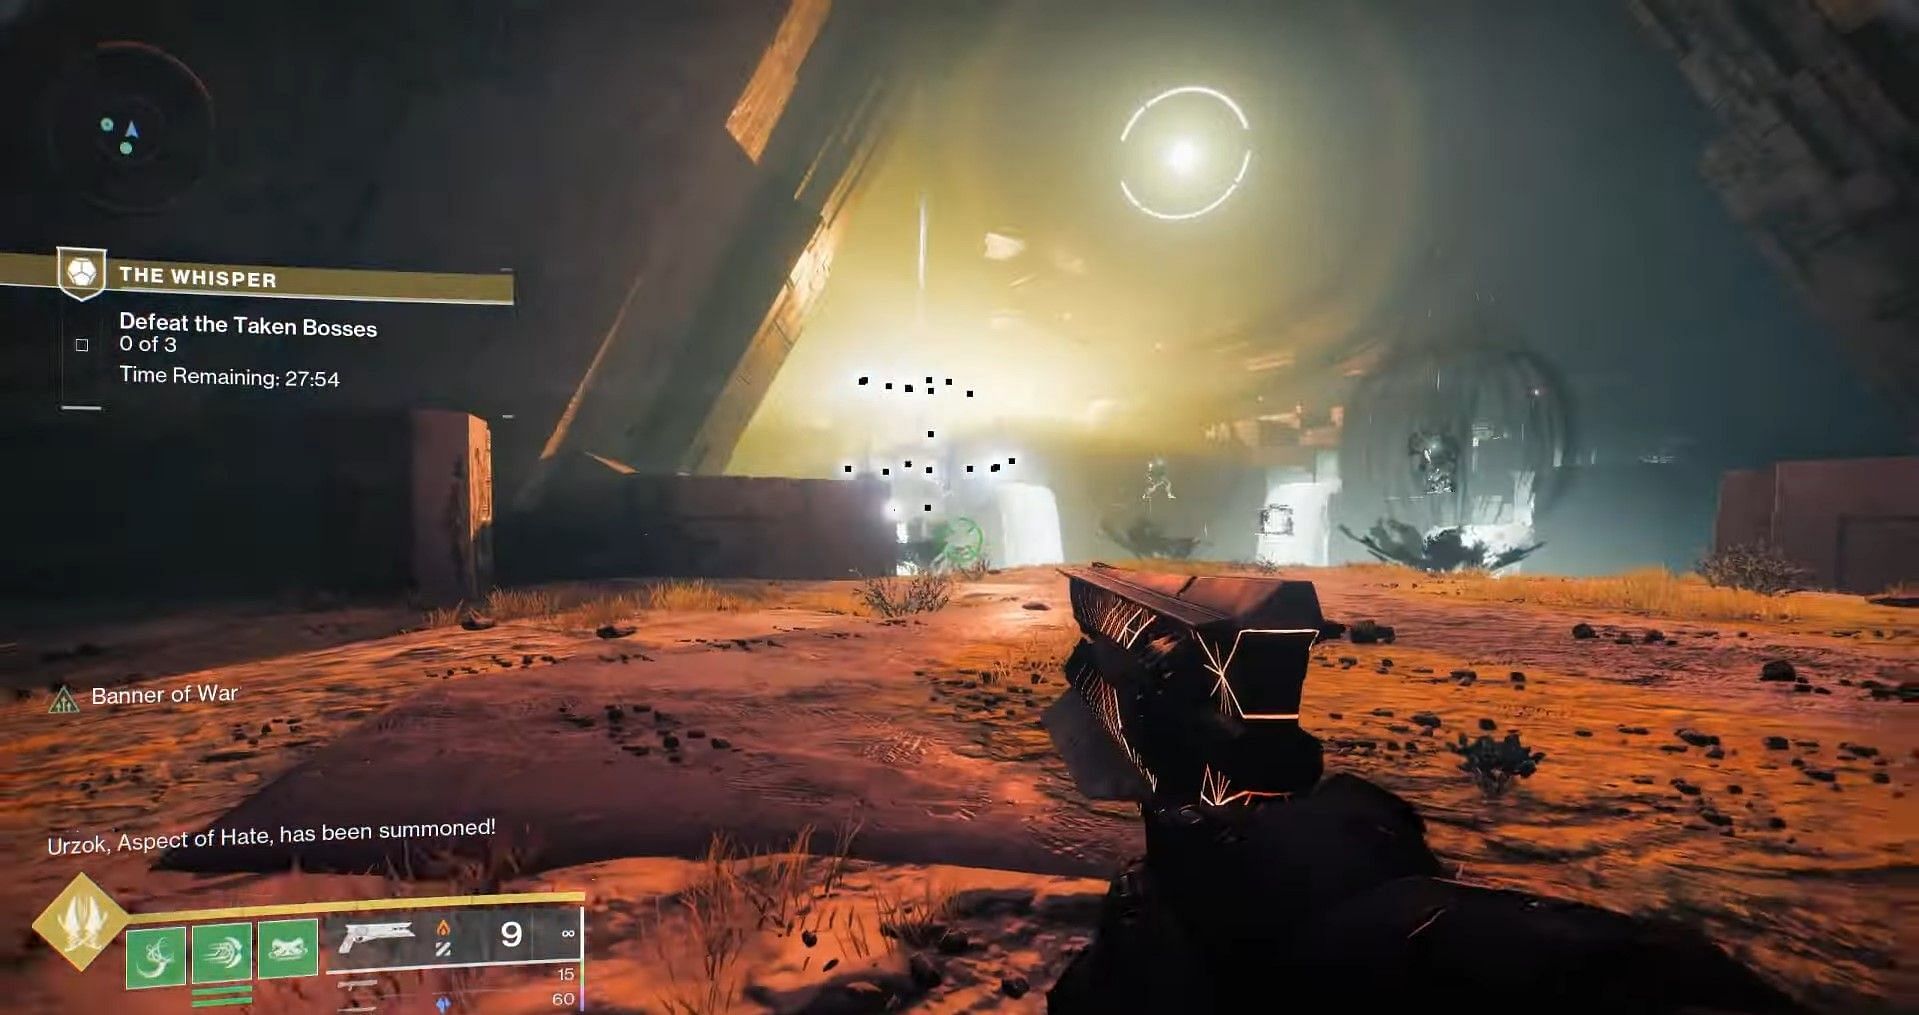
4) Boss room
To start the boss fight, rid the room of any Taken combatants and focus your attention on Vex confluxes located in three different corners of the arena. Destroying these confluxes will spawn Taken bosses, with each conflux holding one boss.
You can either spawn all three bosses simultaneously or take turns one by one.
After defeating the three bosses, a huge Ogre will spawn with an immunity shield. Look for Shield Taken Wizards in the arena and defeat them to make the boss vulnerable. Repeat this process for the second time to defeat the boss. Loot the final chest to get the Deepsight version of the Whisper of the Worm Sniper Rifle.
5) Taken Blight locations
Taken Blights are required for completing the quest associated with Legend Whisper, and the weapon's catalyst. For this, you must enter the game each week and look within the mission tileset for white-colored orbs, in random corners of The Whisper mission.
The following list will showcase the locations of the Blights:
- The first set of Blights for the first catalyst can be found in the open room just after the spawn
- The second set of Blights for the second catalyst can be found in the Green Room
- The third and final set of Blights can be found in the area just before the boss room. It is the location from where you usually jump into the final arena.
Note that these Blights can be destroyed using only the Whisper of the Worm catalyst.
Check out other guides on this game from Sportskeeda:
5 best Rocket Launchers for PvE || Weekly reset || This week at Xur || Grandmaster Nightfall calendar || Server status || PvP build tier list || PvE build tier list || Everything to expect from Destiny 2 in 2024 || All Into the Light weapons and perks || All free emblem codes
