
'%20x='0'%20y='0'%20height='100%25'%20width='100%25'%20%0A%20%20%20%20%20%20%20%20%20%20xlink%3Ahref='data:image/jpg;base64,/9j/2wBDAAYEBQYFBAYGBQYHBwYIChAKCgkJChQODwwQFxQYGBcUFhYaHSUfGhsjHBYWICwgIyYnKSopGR8tMC0oMCUoKSj/2wBDAQcHBwoIChMKChMoGhYaKCgoKCgoKCgoKCgoKCgoKCgoKCgoKCgoKCgoKCgoKCgoKCgoKCgoKCgoKCgoKCgoKCj/wgARCAAGAAoDASIAAhEBAxEB/8QAFQABAQAAAAAAAAAAAAAAAAAAAAb/xAAUAQEAAAAAAAAAAAAAAAAAAAAE/9oADAMBAAIQAxAAAACPmQ6P/8QAIhAAAgECBQUAAAAAAAAAAAAAAQIDBAUABhETIRQiQXFy/9oACAEBAAE/ALjmF6u3W7epIOo3RMQSzKHXTuB4b0PGKuvkkq5nk0Ls7FiC451+sf/EABURAQEAAAAAAAAAAAAAAAAAAAEA/9oACAECAQE/ABW//8QAFREBAQAAAAAAAAAAAAAAAAAAABH/2gAIAQMBAT8Aj//Z'%3E%3C/image%3E%3C/svg%3E)
The Liberty Falls main quest Easter Egg in Black Ops 6 is one of the most chaotic Easter Eggs in the game. It can be quite challenging for a newbie, especially if this is the first time you're ever trying out a Black Ops game. That said, this quest is divided into multiple segments, requiring you to complete a plethora of objectives to see through the entire Easter Egg successfully.
Naturally, we expect players to understand that the playthrough for this Easter Egg mission is going to be quite long. We've fragmented this guide into different pieces, attaching all required images to help you complete this in-game mission. While the veterans might love to just swoop and figure out the entire thing by themselves, our article will serve as a guiding light for players who might need a helping hand in some of the more complex parts of the Easter Egg.
Hence, in this article, we will provide you with a detailed step-by-step guide to help you complete the Liberty Falls main quest Easter Egg guide for Black Ops 6 Zombies in it's entirety. Read below to know more.
How to complete Liberty Falls main quest Easter Egg in Black Ops 6 Zombies
Here's a step-by-step guide to help you complete the Liberty Falls main quest Easter Egg in Black Ops 6 Zombies:
Begin the Liberty Falls main quest in Black Ops 6 Zombies
- Open up the map of Liberty Falls and proceed to unlock Pack-a-Punch.
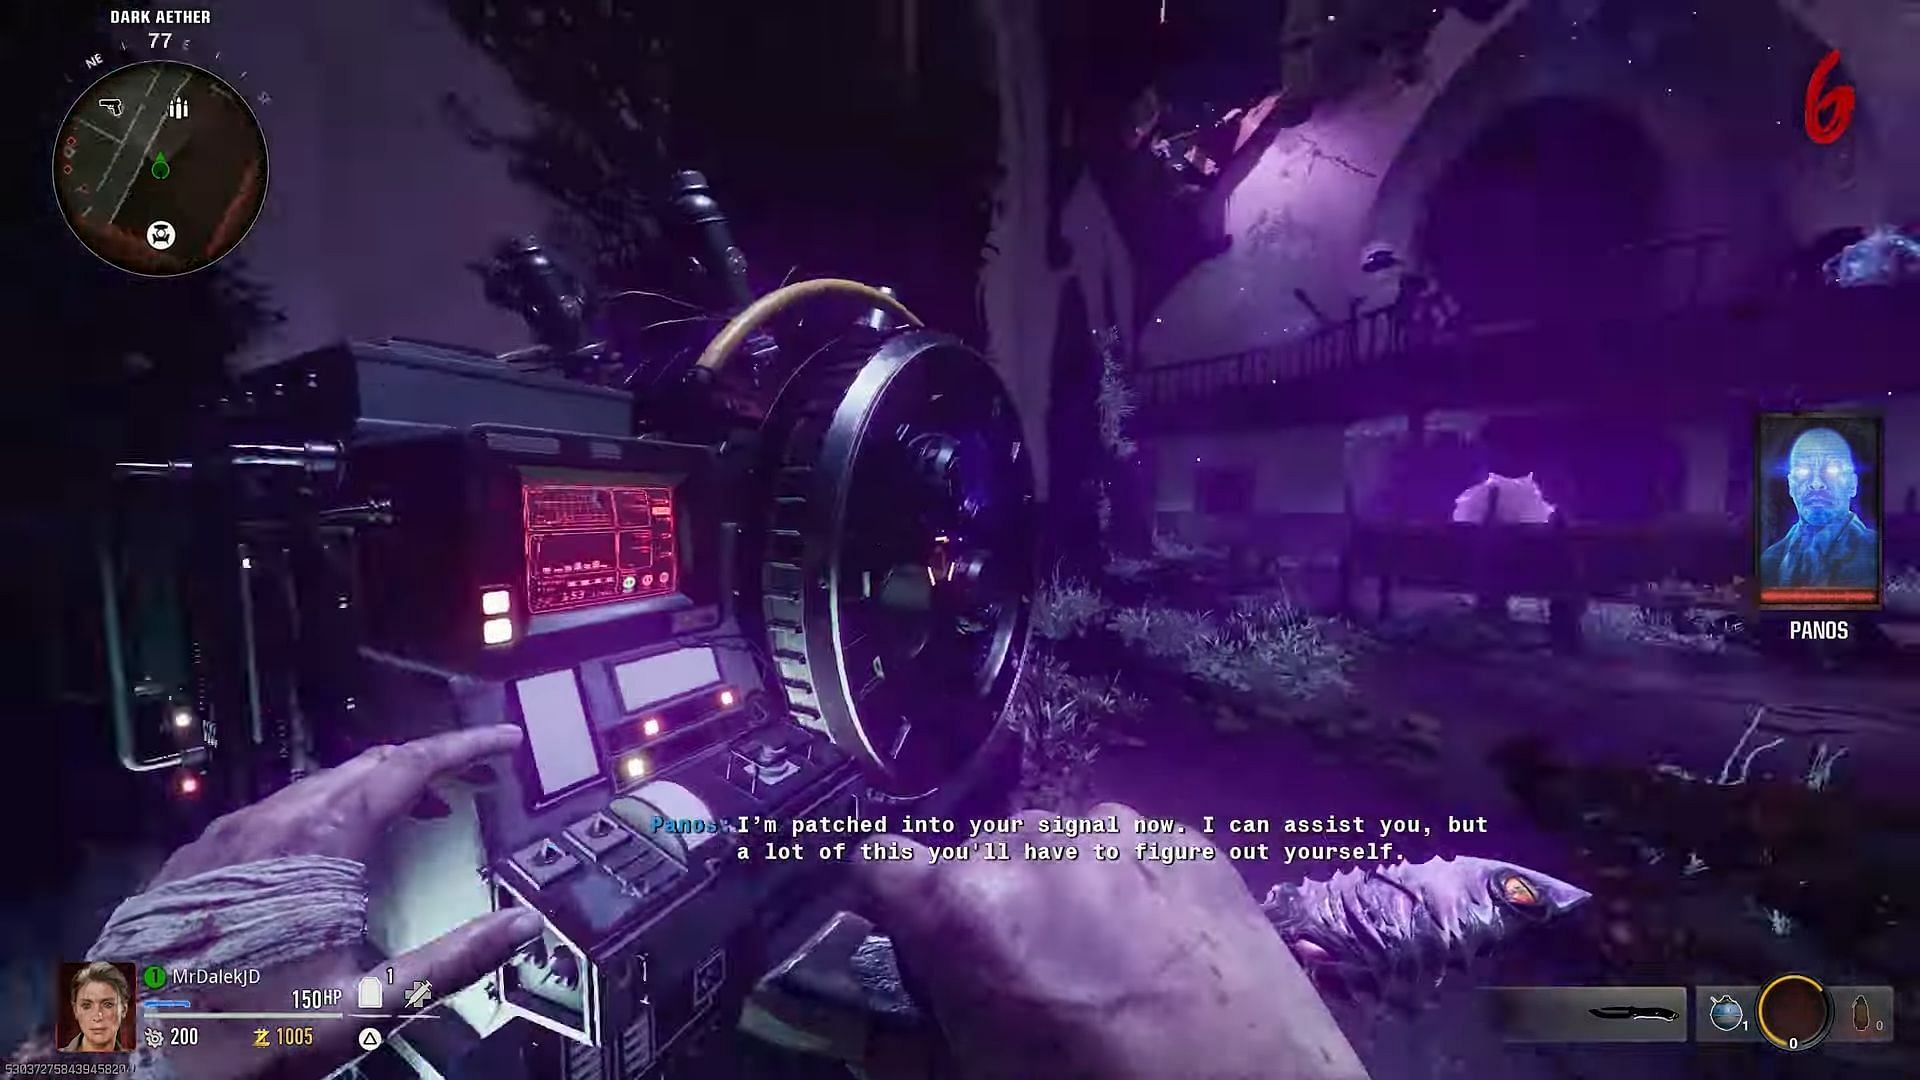
- Make your way to the Church on the opposite end of the town. Now, interact with the Dark Aether to have it give a monlogue. Once it's done, interact with it once again. When you do that, you will get a prompt from Panos that it has been patched into your system.
Also read: Shattered Veil main quest Easter Egg walkthrough - Black Ops 6 Zombies guide
Build the Jet Gun for Liberty Falls main quest in Black Ops 6 Zombies
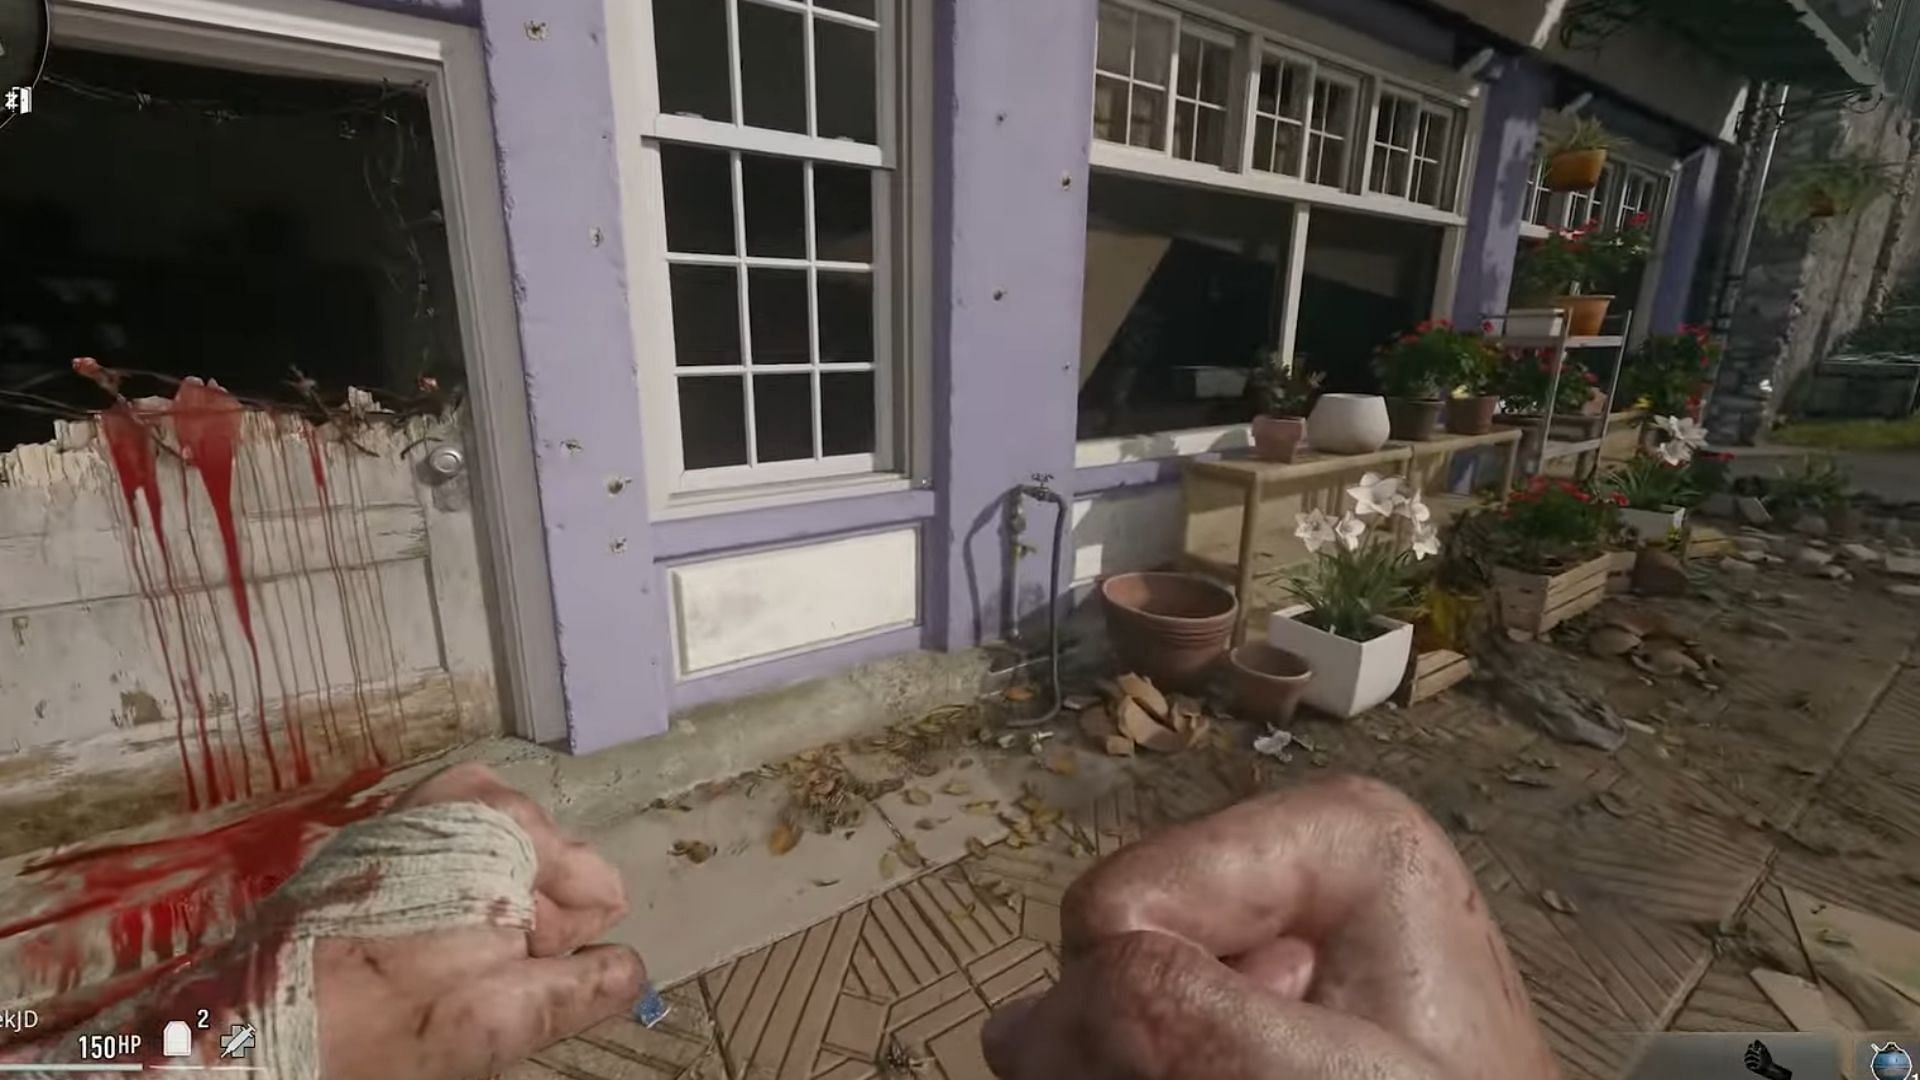
- You now have to build a Jet Gun. To do that, head to Hill Street near the flower shop called Lily's Flowerpot. Interact with the water valve right beside it to pick it up.
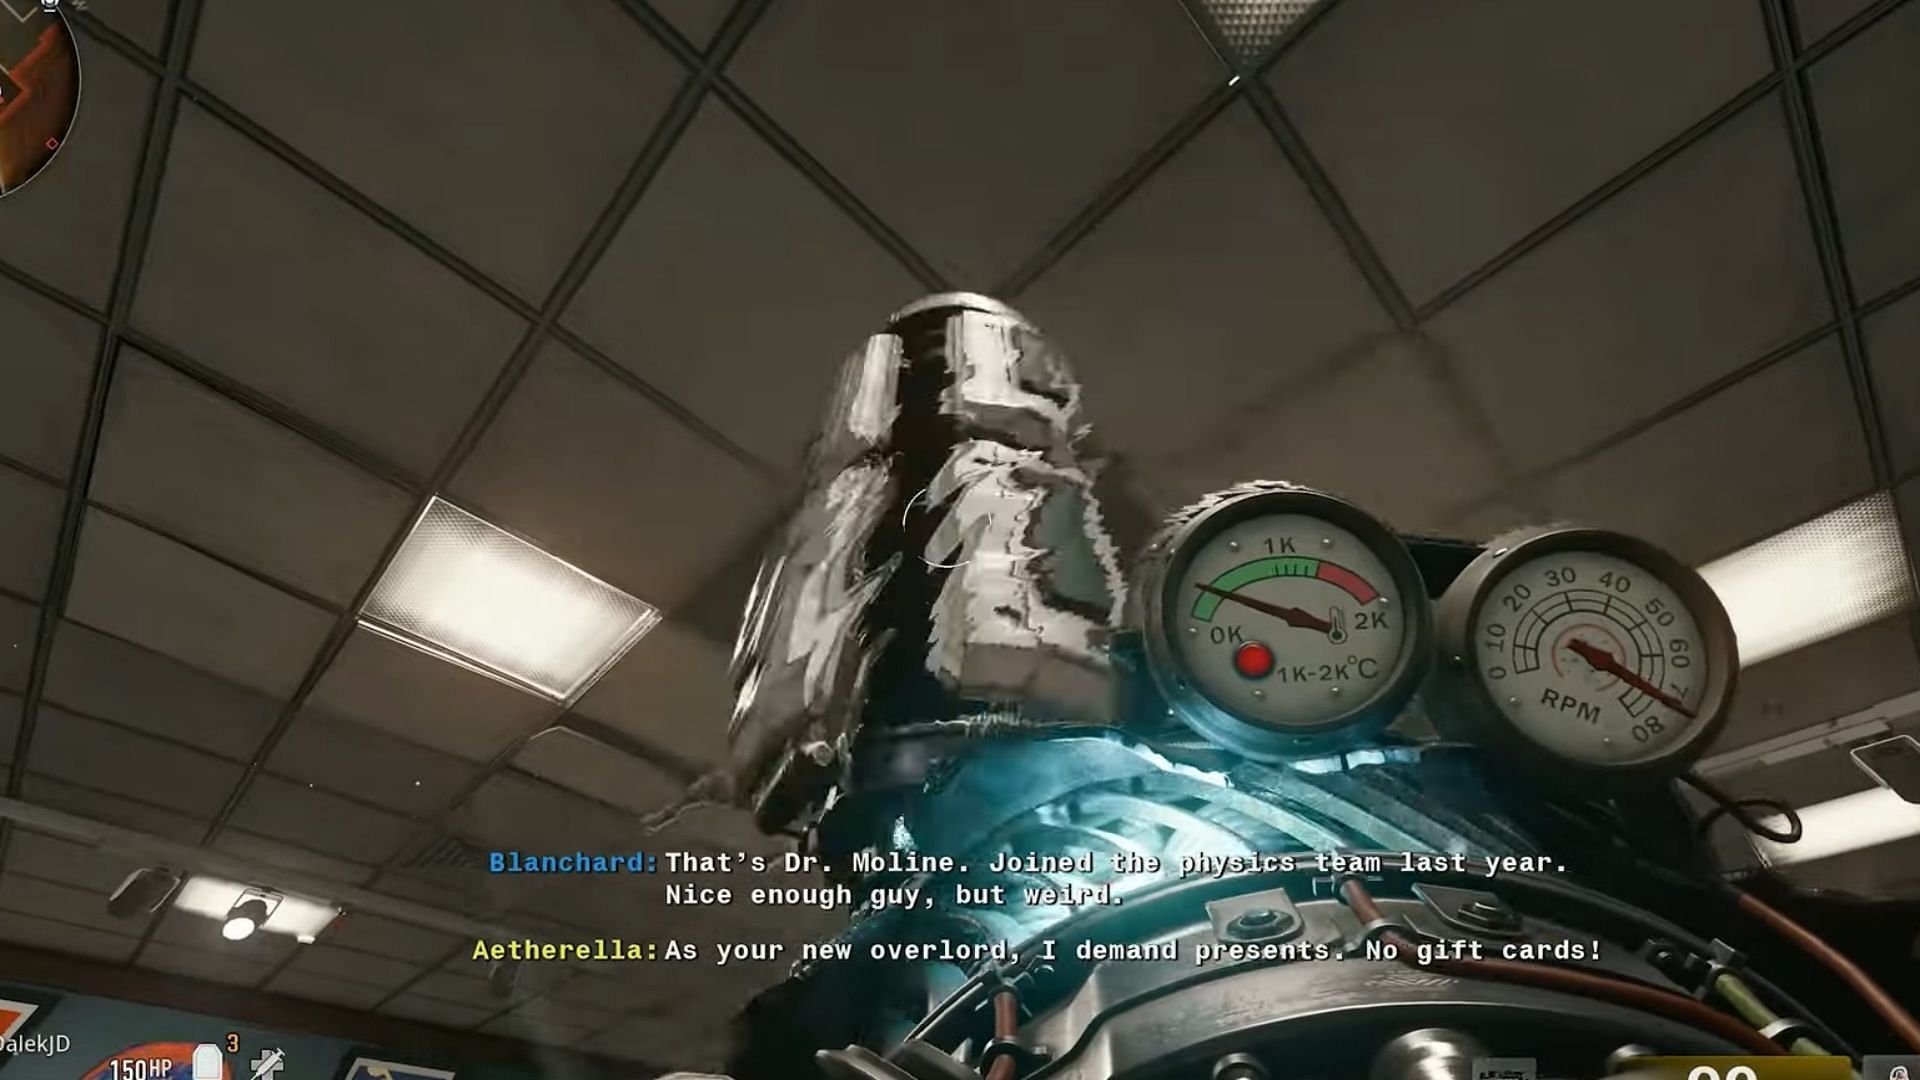
- Go towards the bowling alley and open up the electronic panel on the wall. Interact with the panel to deposit the water valve that you collected in the previous step. Doing this will present a progress meter, indicating the water pressure that's building in this unit.
- The meter needs to be full for you to progress. Hold the Interact key to increase the pressure as much as possible. While the pressure is building, you also have to ward off waves of zombies on the side. We recommend that you keep luring them out of the bowling alley and run back to the pressure gauge whenever you can in order to fill up the progress meter.
- Once the bar is full, all the zombies will despawn, and a water pressure gauge will be up for grabs. Pick this item up.
- Go to the cemetery and take down the Groundskeeper zombie. When you kill it, you will receive a Toolshed Key.
- Go back to the Groundskeeper's yard, and open the toolshed door. Inside, you will find the second part of the Jet Gun, the Handbrake.
- Now, head towards a crafting table to make a Mangler Cannon.
- Go to the Radio House in Riverside. Use the Mangler Cannon to force open the front door.
- Interact with the electrical piles to reveal the electrical wires.
- Go back to the motel and head to the second floor. You will find a horde of zombies charging out of a room. Clear the area and enter this room.
- Craft the Jet Gun on the workbench inside.
Read more: All Black Ops 6 Campaign rewards and how to get them
Use the Jet Gun to source items for the LTG in Liberty Falls main quest of Black Ops 6 Zombies
- Head to Ollie's comics and look at the ceiling once inside. You'll find a panel missing in one of them. If you look closely, you will find a part floating. Use your Jet Gun to suck it in.
- Now, jump on top of the truck near Speed Cola. Aim your Jet Gun at the window in front and suck in the second part.
- For the third part, head to the Dark Aether and look directly above the banister to your left. Collect it using the Jet Gun.
- Now, go to the workbench on top of the bank rooftop. Here, you will be able to craft the LTG.
Also read, Black Ops 6 Zombies story ending explained
Capture an HVT's soul in Liberty Falls main quest for Black Ops 6 Zombies
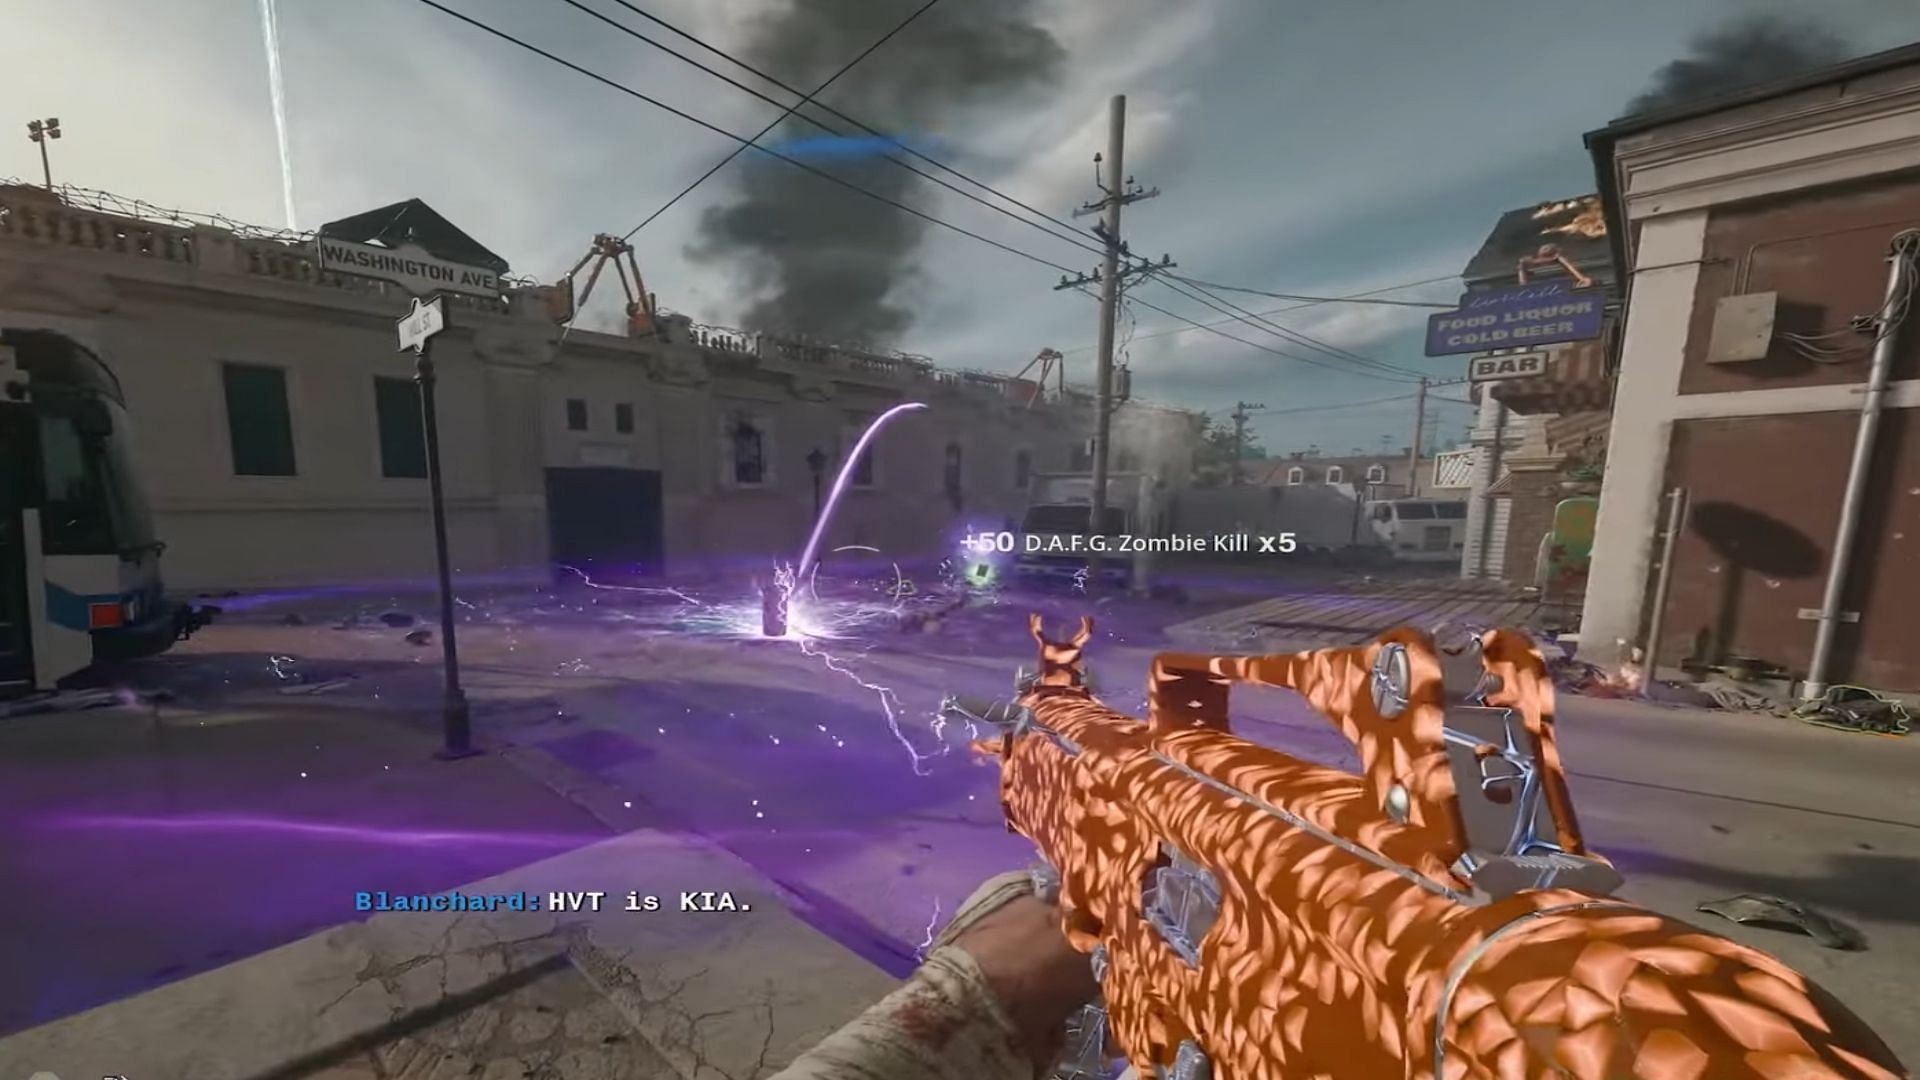
- Go to the Cemetery and interact with the lightning storm prompt. This will prompt your character to place the LTG down. A 60-second countdown will start, during which you have to hold down the fort and protect the portal.
- Once the timer ends, the portal will spawn an HVT, a Mangler.
- Weaken the boss by fighting it. However, make sure you don't kill this foe.
- Head back to the Church and enter the Dark Aether. Pick up one of the aether canisters stashed beside the machine.
- Bring back one of the canisters and place it on top of the Dark Aether traps in front of Speed Cola. Now, lure the Elite HVT here.
- The HVT, when in this vicinity, will take a lot of damage, and its soul will be sucked into the canister.
- Now, pick up the canister and make your way back to the Church within 90 seconds. Place it in the machine.
You might be interested in:
Interact with Projectors for Liberty Falls main quest in Black Ops 6 Zombies
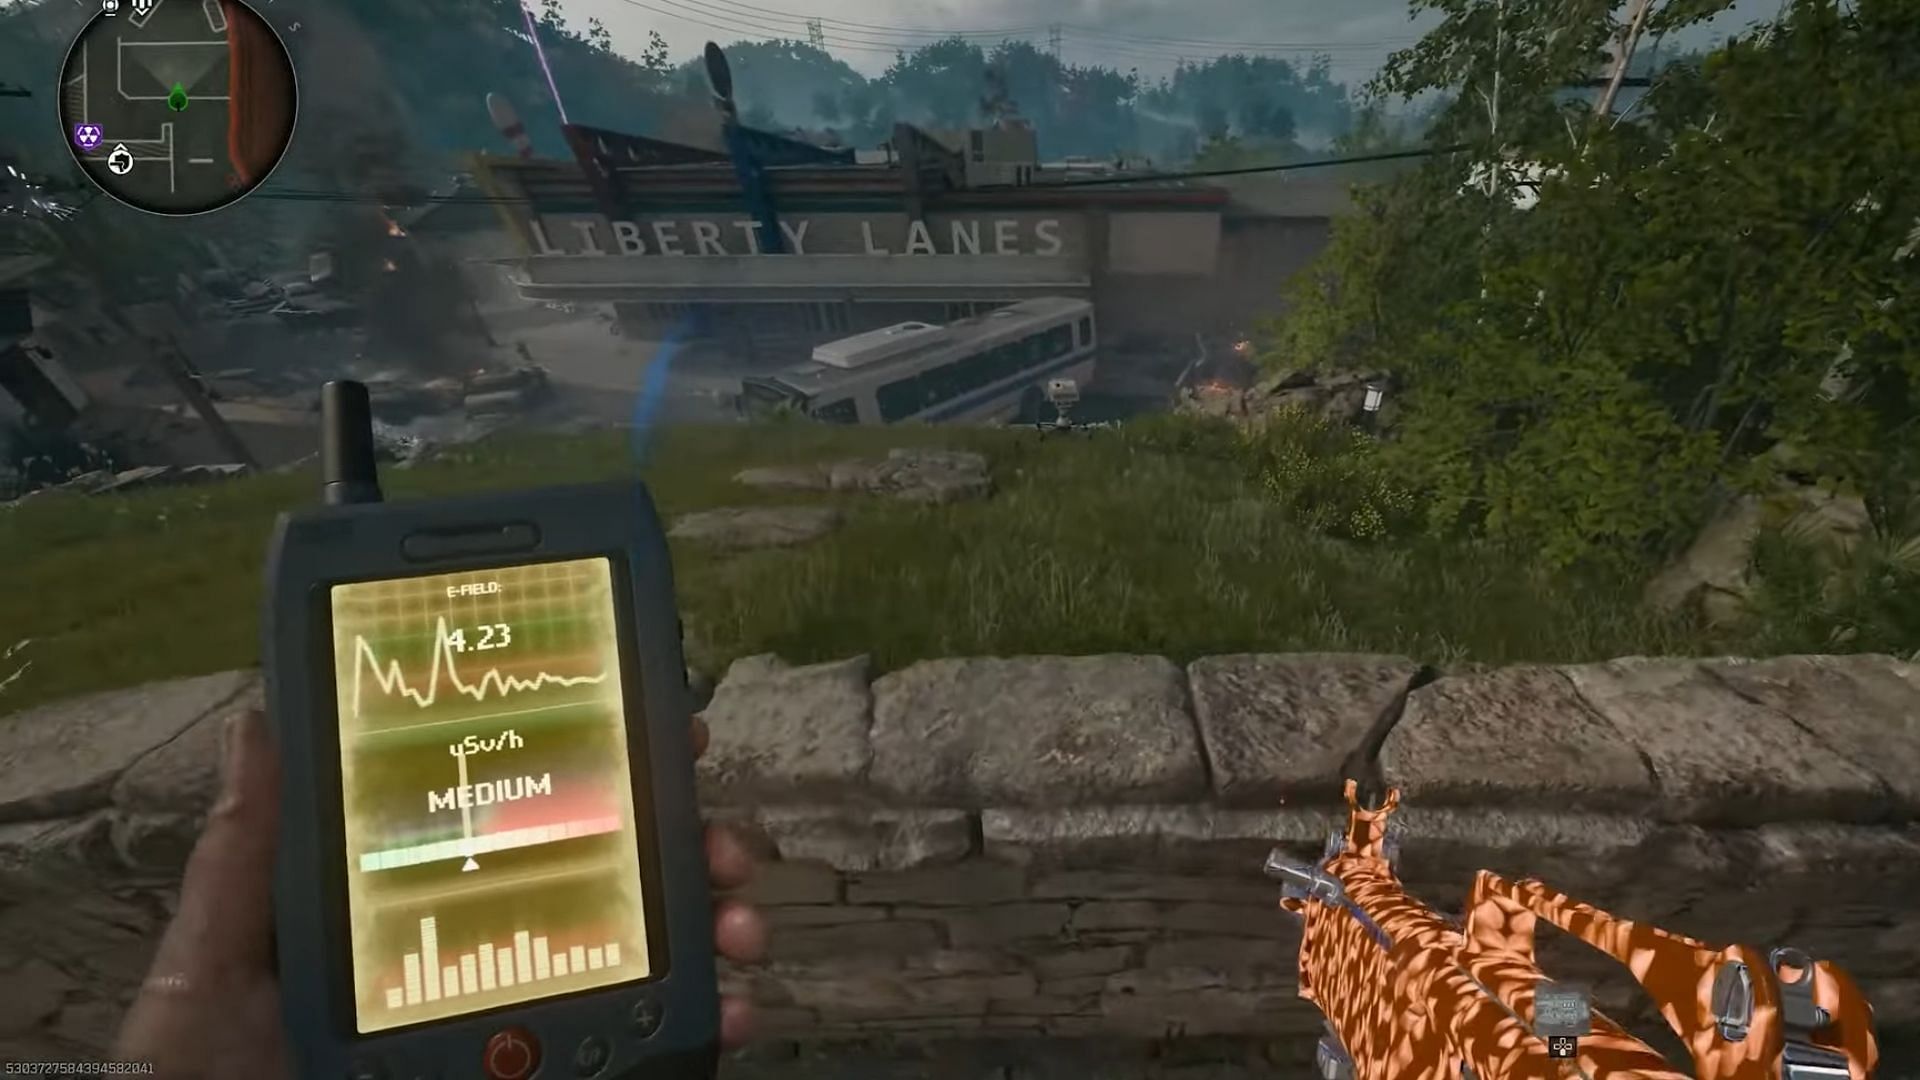
- Upon depositing the canister, you will be provided with a Strauss Counter by the machine.
- Get out of the Church and interact with the machine. You will see a fluctuating signal on the display.
- Head towards the projector on the hilltop stairs. Here, the signal will be the strongest. Interact with the projector to match color displayed on your Strauss counter.
- After doing so, repeat this process with two other projectors in Groundskeeper Yard and the Bank rooftop to complete this section of the Black Ops 6 Zombies Liberty Falls main quest.
Read more about: Black Ops 6 "The Cradle" mission walkthrough: How to complete, rewards
Collect the soul of another HVT
- Go back to the spot where you placed the LTG. Collect it and head towards the Dark Aether lightning near Riverside.
- This will start up a new Aether Storm. Protect the LTG and ward off the horde of zombies coming your way.
- Similar to the Mangler, an Abomination will spawn when you complete the previous step. Get him to a weakened state.
- Follow the steps as detailed for the Mangler and trap the Abomination near the Speed Cola. Use the aether canister to trap his soul.
- Now, go back to the Church and deposit it to progress with the Black Ops 6 Zombies Liberty Falls main quest.
You might be interested in: All Black Ops 6 Campaign missions list
Final section of the Liberty Falls main quest in Black Ops 6 Zombies

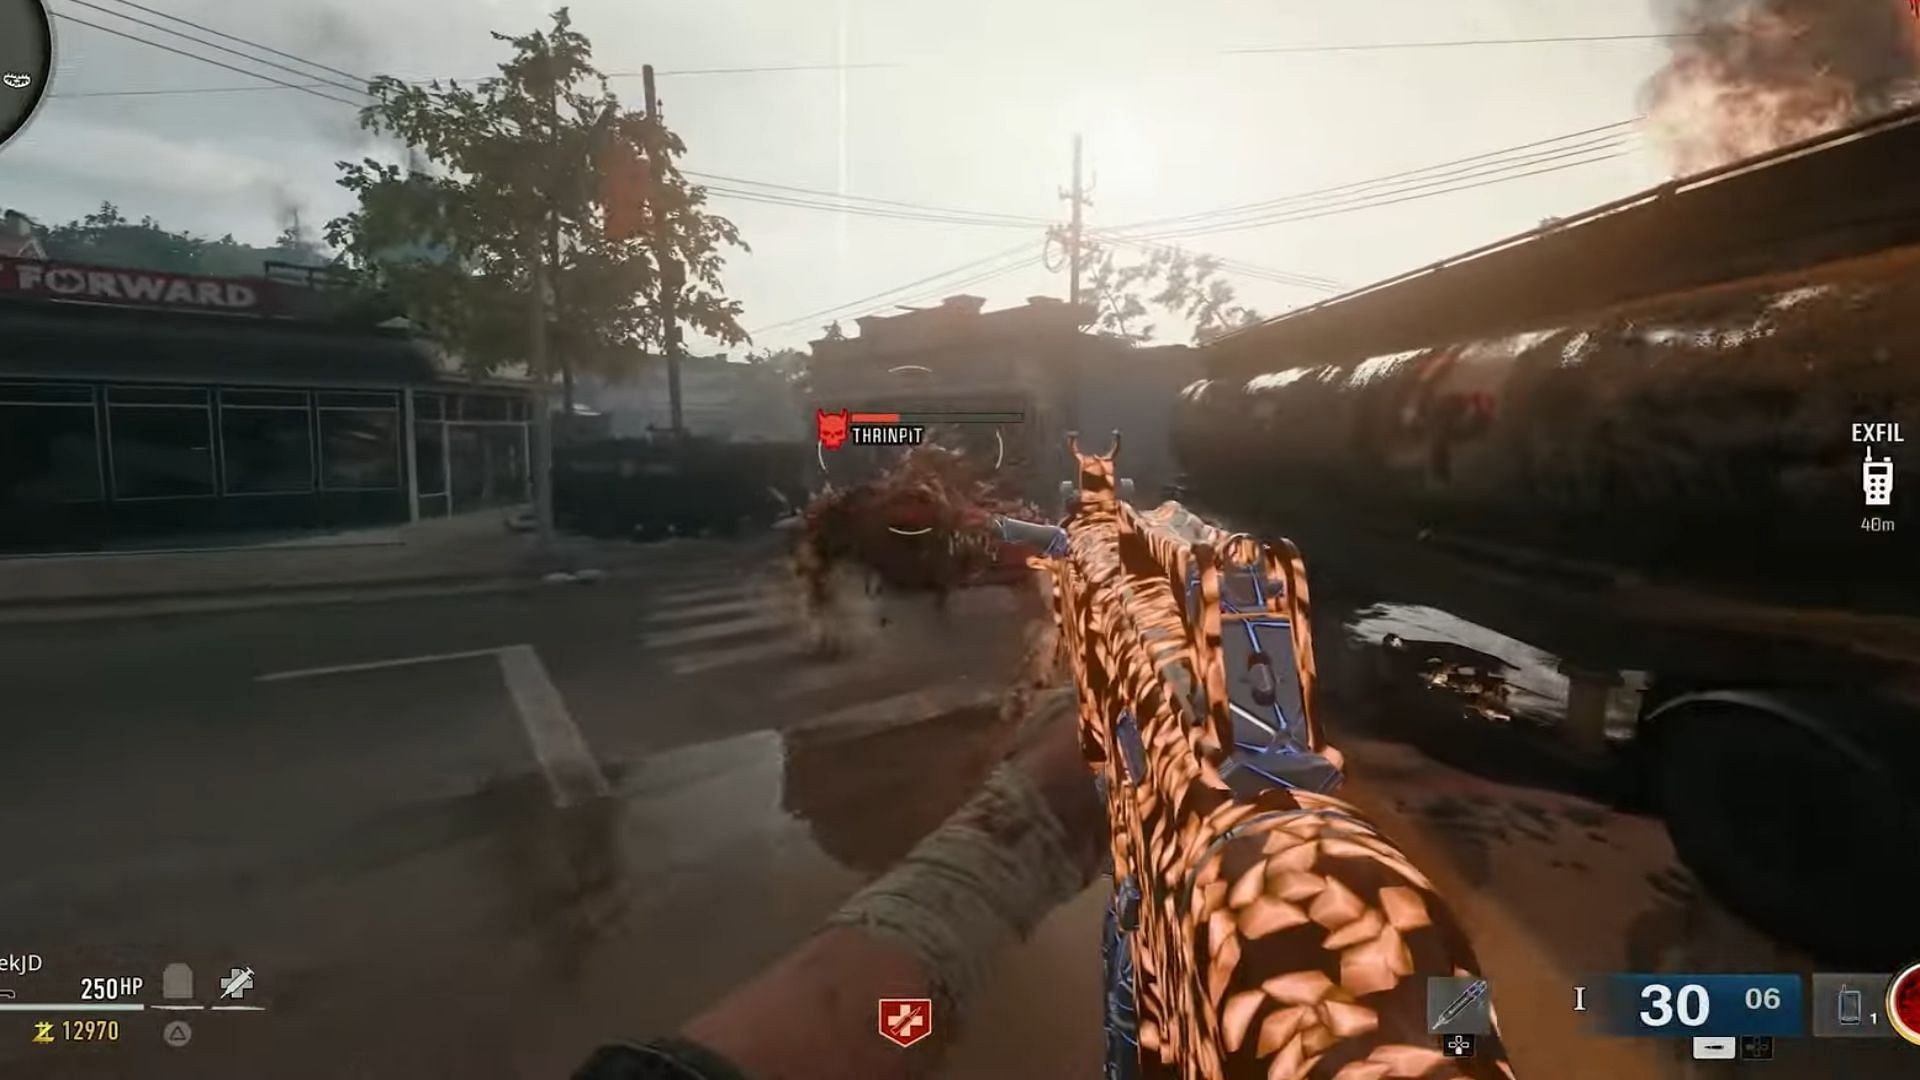
- After a long dialogue, you will finally be in the last section of the Black Ops 6 Zombies Liberty Falls main quest. Gear up appropriately.
- When you head out of the Church, a lockdown will occur. You have to ward off a total of three waves of Zombie attacks. The first wave will be full of normal zombies, the second will feature Mangler HVTs, and the final one will feature the Abomination alongside other zombies.
- Eliminate all the zombies in the area. The machine will act as a soulbox. Collect all the souls that you have just harvested.
That is the end of the Liberty Falls main quest in Black Ops 6 Zombies.
Liberty Falls Main Quest Rewards in Black Ops 6 Zombies
Once players complete the main quest of Liberty Falls in Black Ops 6 Zombies and return to their lobby, they will be rewarded with two cosmetic items.
- The first is a skin of the Ray Gun called 'Ray Gun PJ-SRU'.
- Alongside that, players will also receive the Liberty Falls Quest Complete Calling Card. Those who complete the main quest within the first few days of launch will have a golden skull attacked on the Calling Card.
Check out: How to complete all the Safe House secret puzzles in Black Ops 6 campaign
Conclusion
The Liberty Falls main quest Easter Egg guide for Black Ops 6 Zombies is a long mission and can be tedious. However, with the help of this guide, you can cover most of the section quite easily and complete it without breaking a sweat. Regardless, it's a long journey and will end up taking quite a lot of your time.
Fortunately, you can save the game at any time and continue where you left off on your next boot.
That's everything that you need to know about the Liberty Falls main quest Easter Egg guide for Black Ops 6 Zombies. If you are interested, you can check out some of our other related Call of Duty articles below:
- All Warzone Ranked Play changes in Season 4 Reloaded: SR adjustments, Restrictions, and more
- King of the Dead event in Black Ops 6 Zombies: All details explored
- CODToons event in Warzone and Black Ops 6: All rewards and how to get them
- All new weapon attachments in Warzone and Black Ops 6 Season 4 Reloaded and how to unlock
- How big is the Warzone and Black Ops 6 Season 4 Reloaded update? File sizes for all platforms explored
- Shattered Veil main quest Easter Egg walkthrough - Black Ops 6 Zombies guide
- 5 things that you might have missed in Black Ops 7 reveal trailer: Potential Warzone map, Tranzit's return, and more