'%20x='0'%20y='0'%20height='100%25'%20width='100%25'%20%0A%20%20%20%20%20%20%20%20%20%20xlink%3Ahref='data:image/jpg;base64,/9j/2wBDAAYEBQYFBAYGBQYHBwYIChAKCgkJChQODwwQFxQYGBcUFhYaHSUfGhsjHBYWICwgIyYnKSopGR8tMC0oMCUoKSj/2wBDAQcHBwoIChMKChMoGhYaKCgoKCgoKCgoKCgoKCgoKCgoKCgoKCgoKCgoKCgoKCgoKCgoKCgoKCgoKCgoKCgoKCj/wgARCAAGAAoDASIAAhEBAxEB/8QAFgABAQEAAAAAAAAAAAAAAAAAAAEH/8QAFAEBAAAAAAAAAAAAAAAAAAAABP/aAAwDAQACEAMQAAAAyKhEf//EABwQAAIBBQEAAAAAAAAAAAAAAAECEQADBCEiBf/aAAgBAQABPwAWUxPLy1YsFYqyhdxE1OK/bW7kts9V/8QAFxEAAwEAAAAAAAAAAAAAAAAAAAECIf/aAAgBAgEBPwC9Z//EABYRAQEBAAAAAAAAAAAAAAAAAAIAIf/aAAgBAwEBPwAYb//Z'%3E%3C/image%3E%3C/svg%3E)
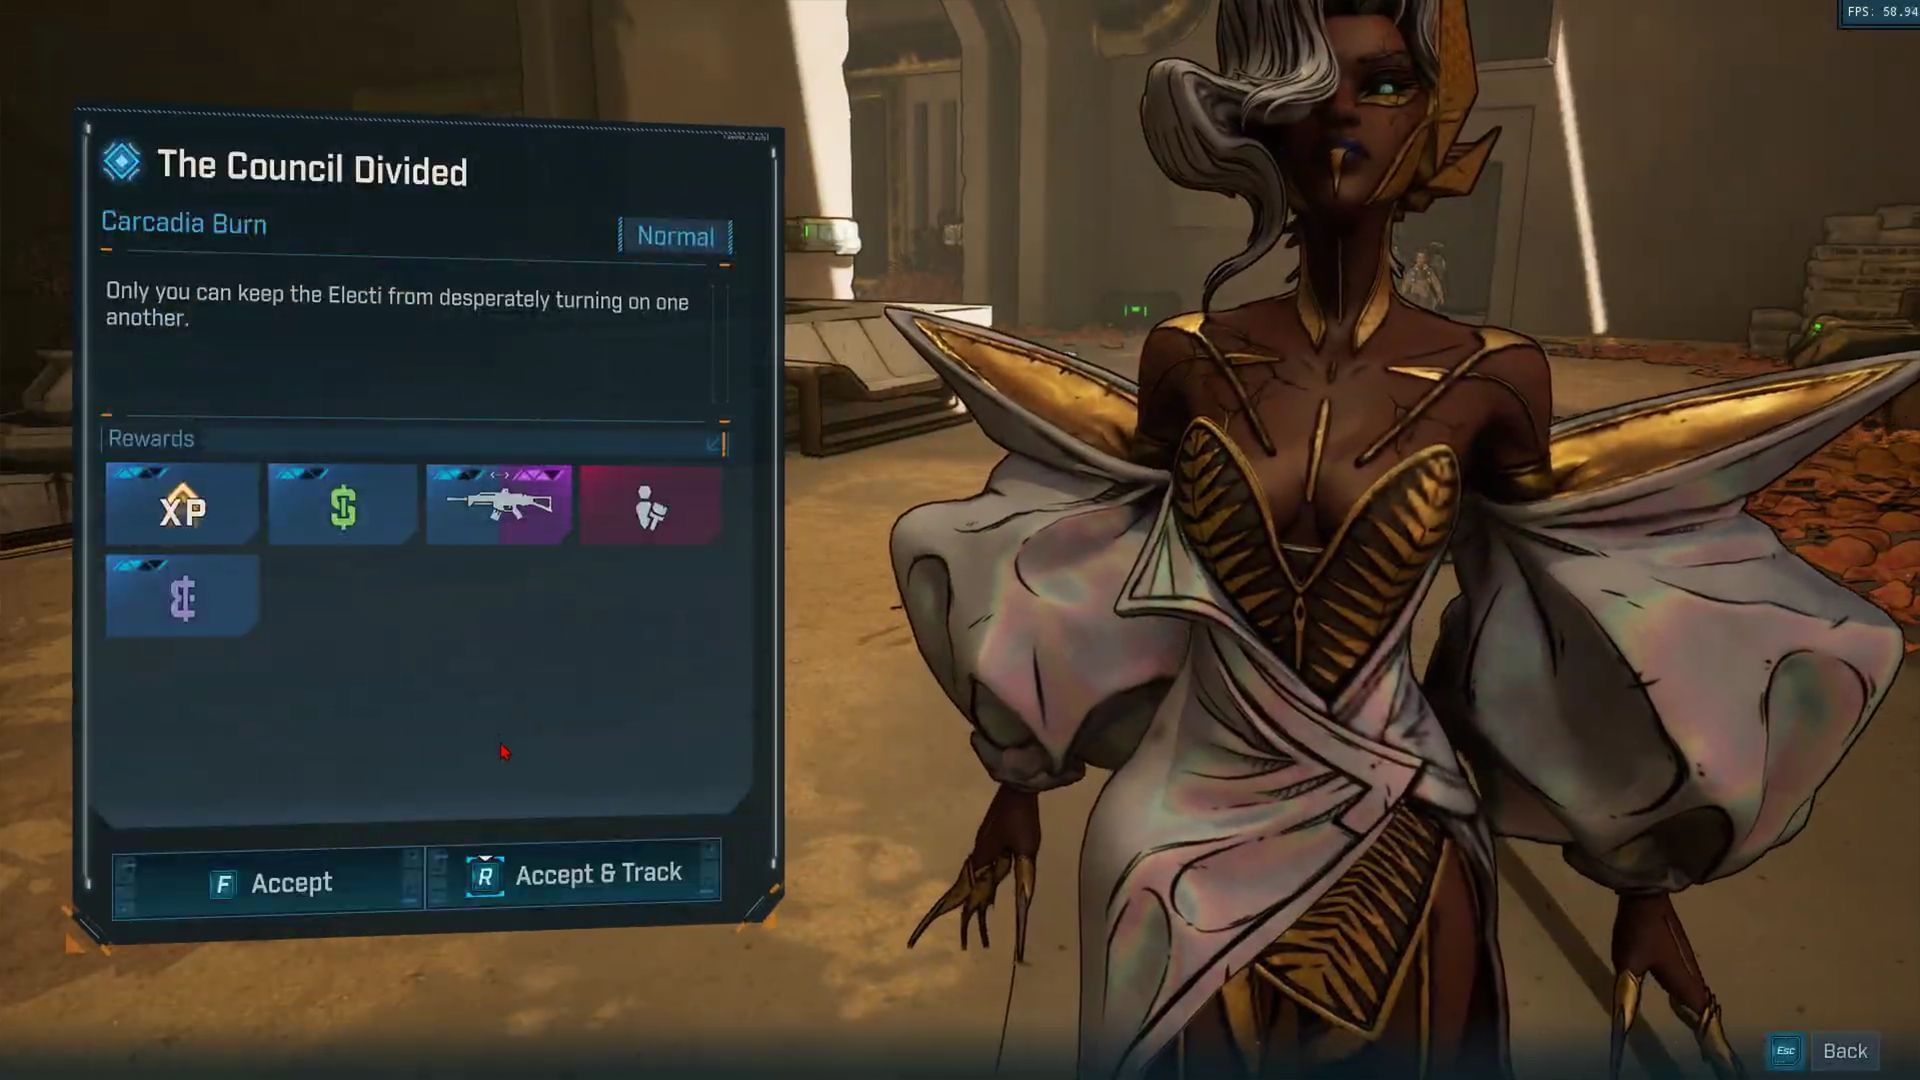
Borderlands 4 is at its best when it's chaotic. Carcadia is on the verge of collapse, and the people from the Electi faction are failing to hold their alliance together. With vanishing supplies, the Rippers gaining strength, and loss of trust amongst the council itself, this quest puts your Vault Hunter at the center of a major political crisis. In 'The Council Divided,' you will be working with Levaine to take down Meat Meat, the Ripper leader.
In this guide we will break down how to unlock 'The Council Divided' and give you a step-by-step walkthrough of the entire Electi faction story quest.
Borderlands 4: How to unlock The Council Divided
'The Council Divide' is part of the Electi faction storyline in Borderlands 4 that delves deep into the broken politics of Carcadia.
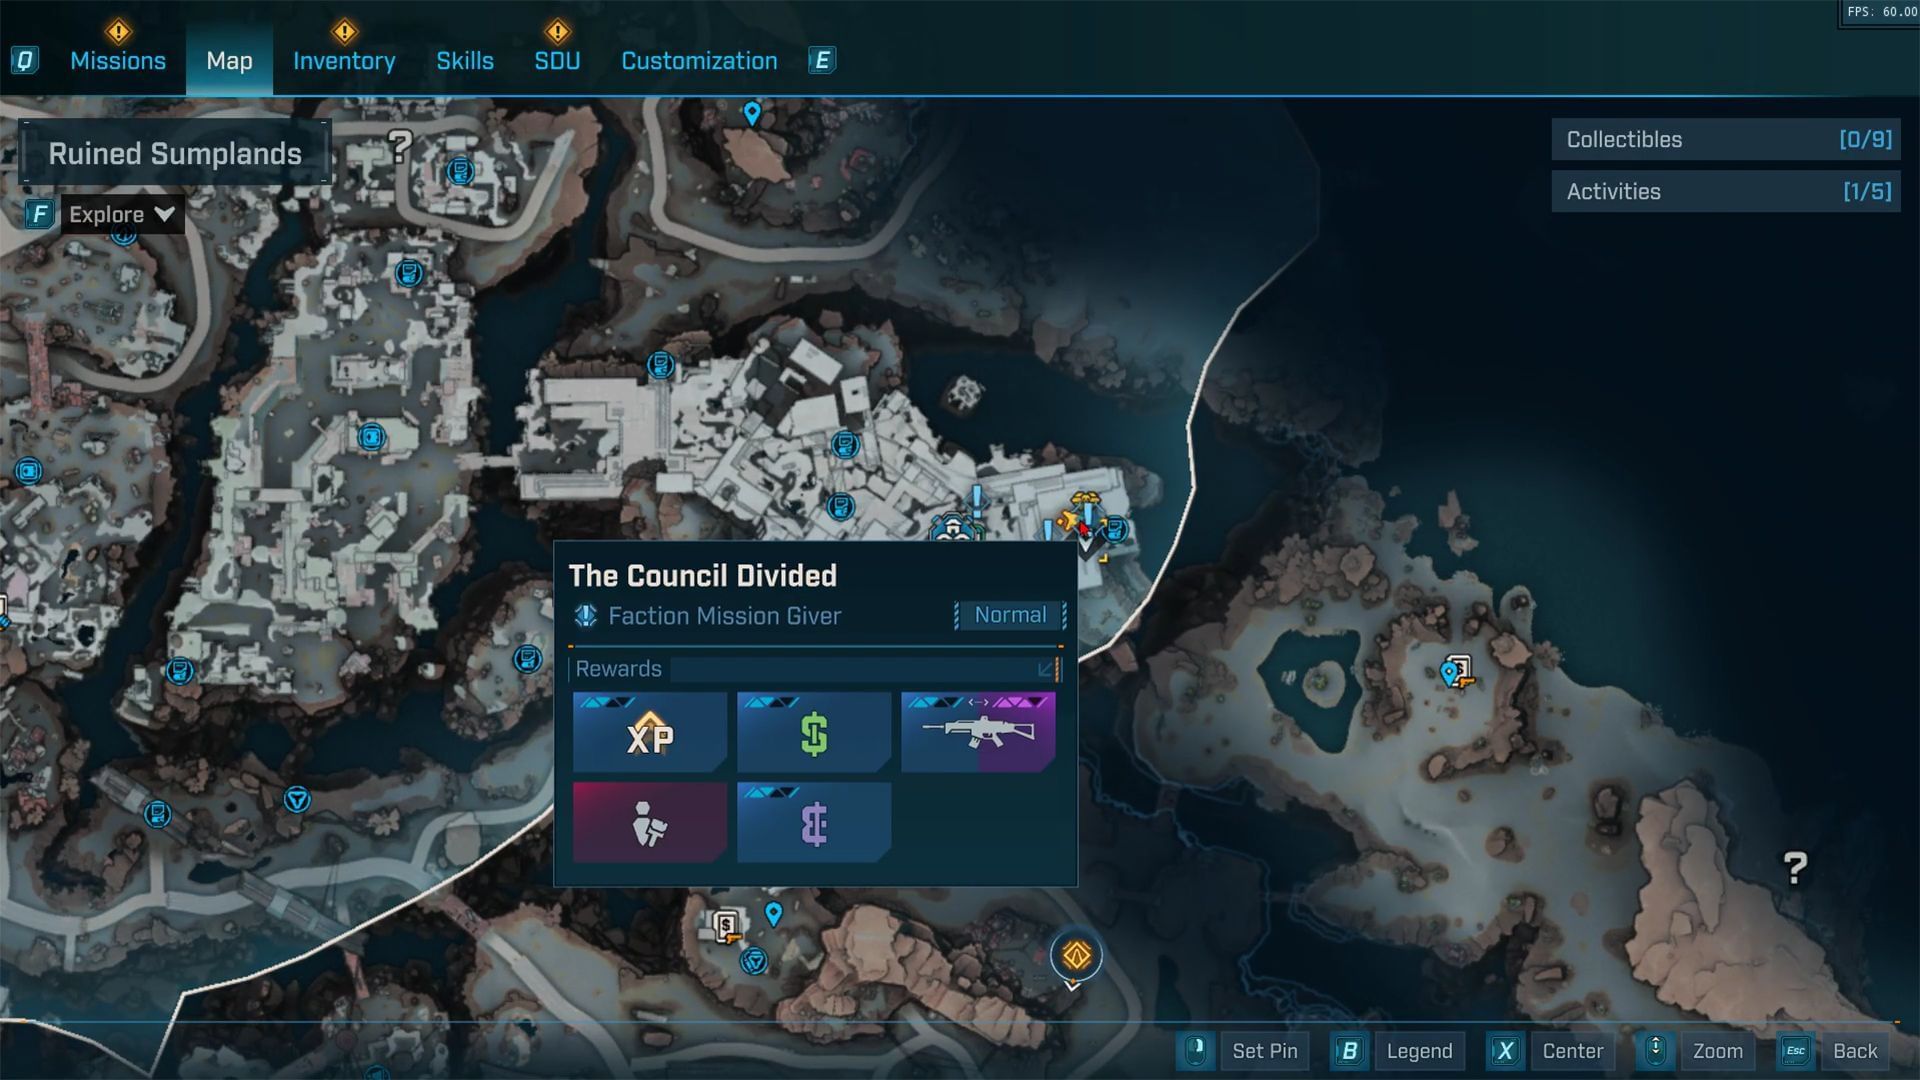
- Quest giver: Levaine
- Location: Carcadia Faction Town, eastern region of Carcadia Burn
- Prerequisites: Complete both Enter the Electi Part 1 & 2
Also read: Borderlands 4: How to get Teen Witch legendary class mod
Borderlands 4: The Council Divided quest guide
After you have finished Enter the Electi Part 2, you will unlock The Council Divided. You will meet Levaine, and the quest will begin. Here’s a complete step-by-step walkthrough of the quest.
Step 1: Finding the weapon crates
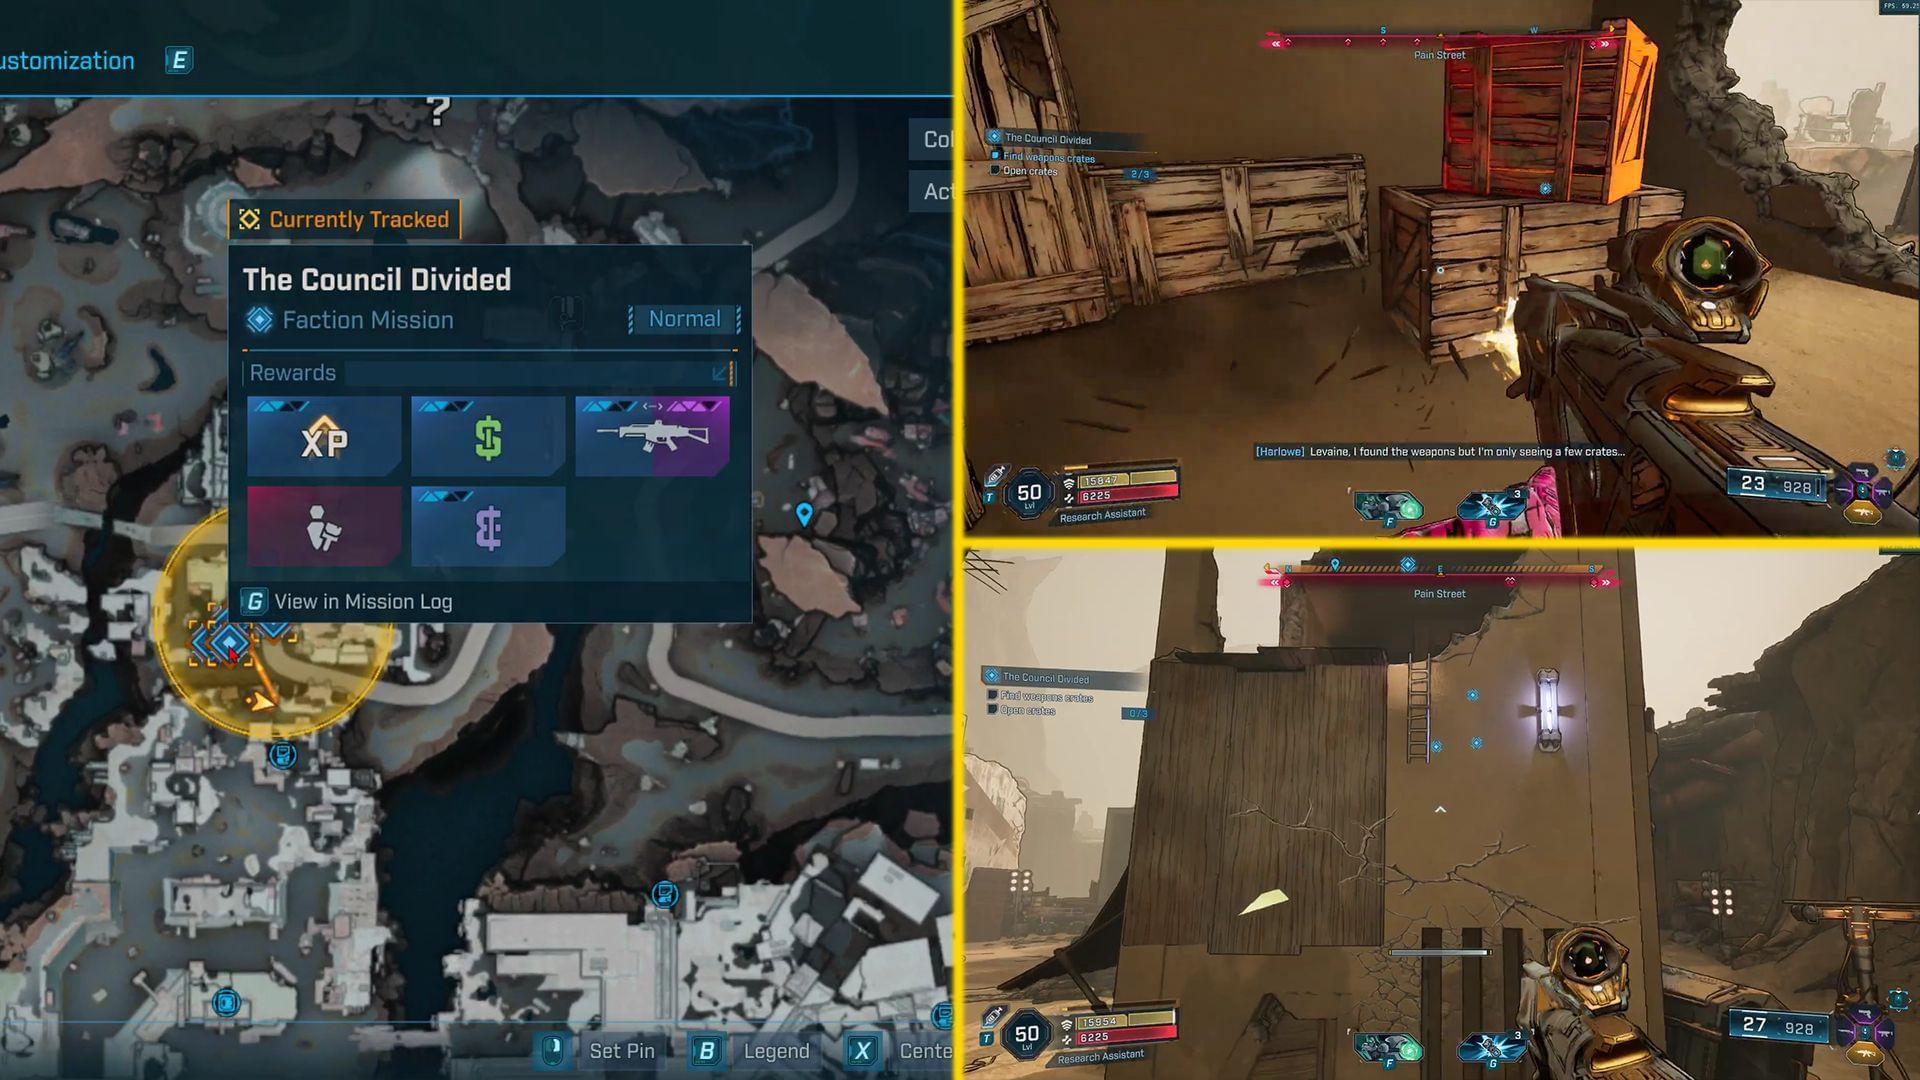
The first objective will be to locate the missing supplies by searching through Pain Street. Here’s how to locate them:
- Travel northwest to the Pain Street area.
- You will find the ruined building at the center of the search zone.
- Climb up the structure using the ladder to the west side.
- Destroy all three weapon crates.
- You’ll find an ECHO log under one of the crates; pick it up to proceed.
The log reveals that the supplies have been deliberately sabotaged. Once you have the log, you will proceed to the next objective.
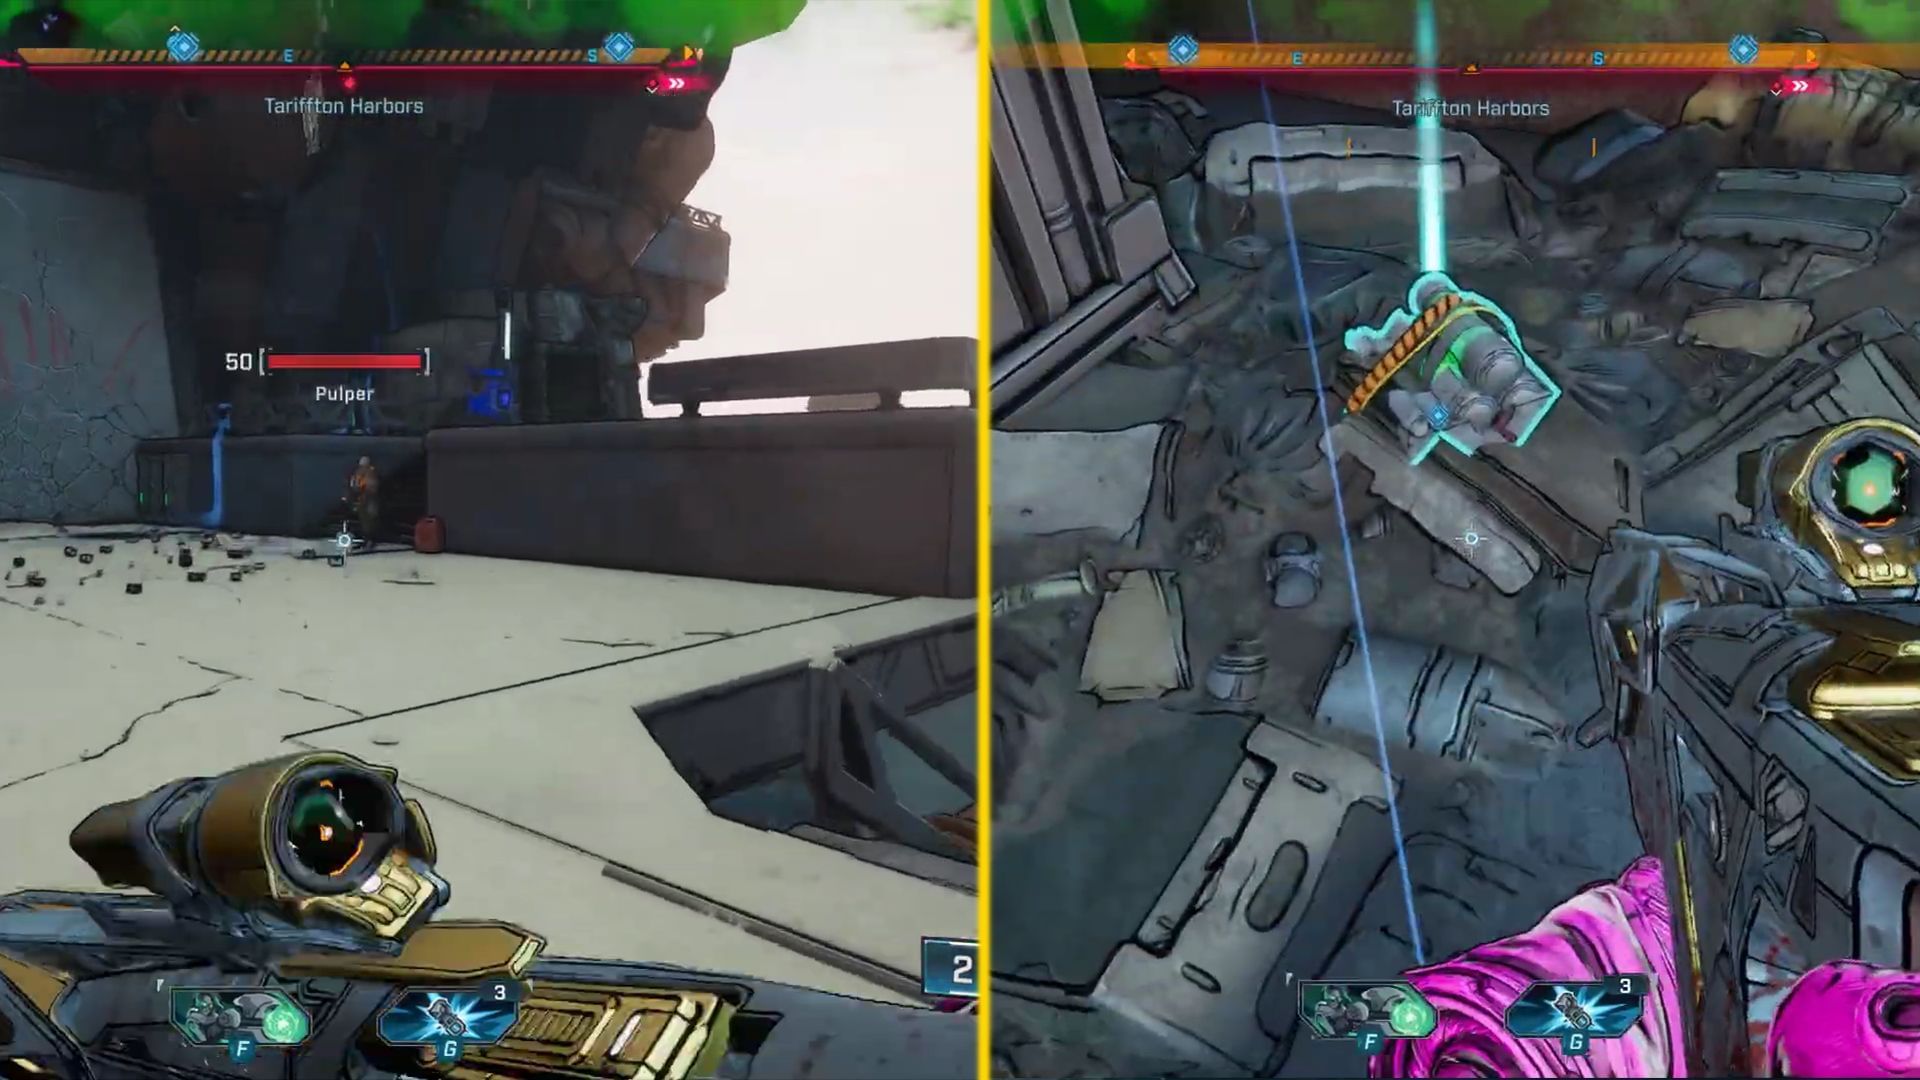
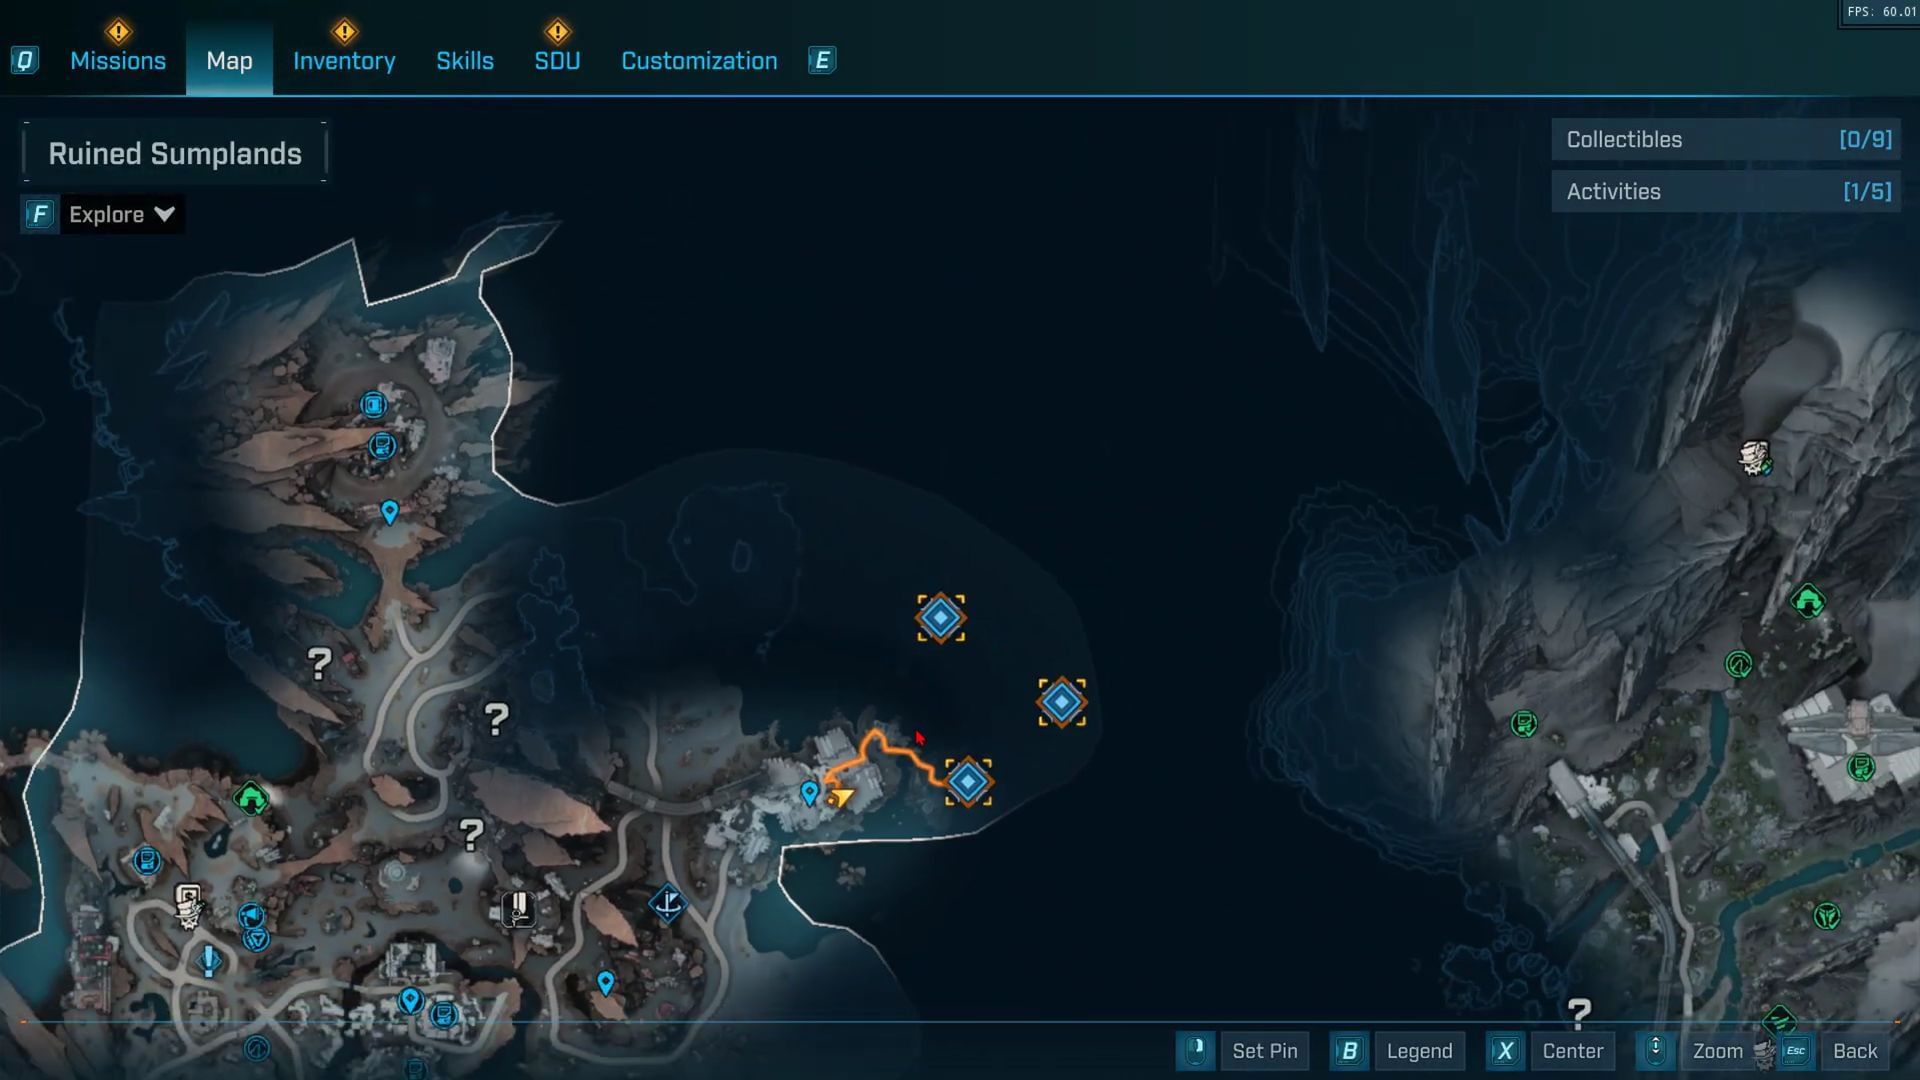
Step 2: Reaching the Tariffton Harbors sea base
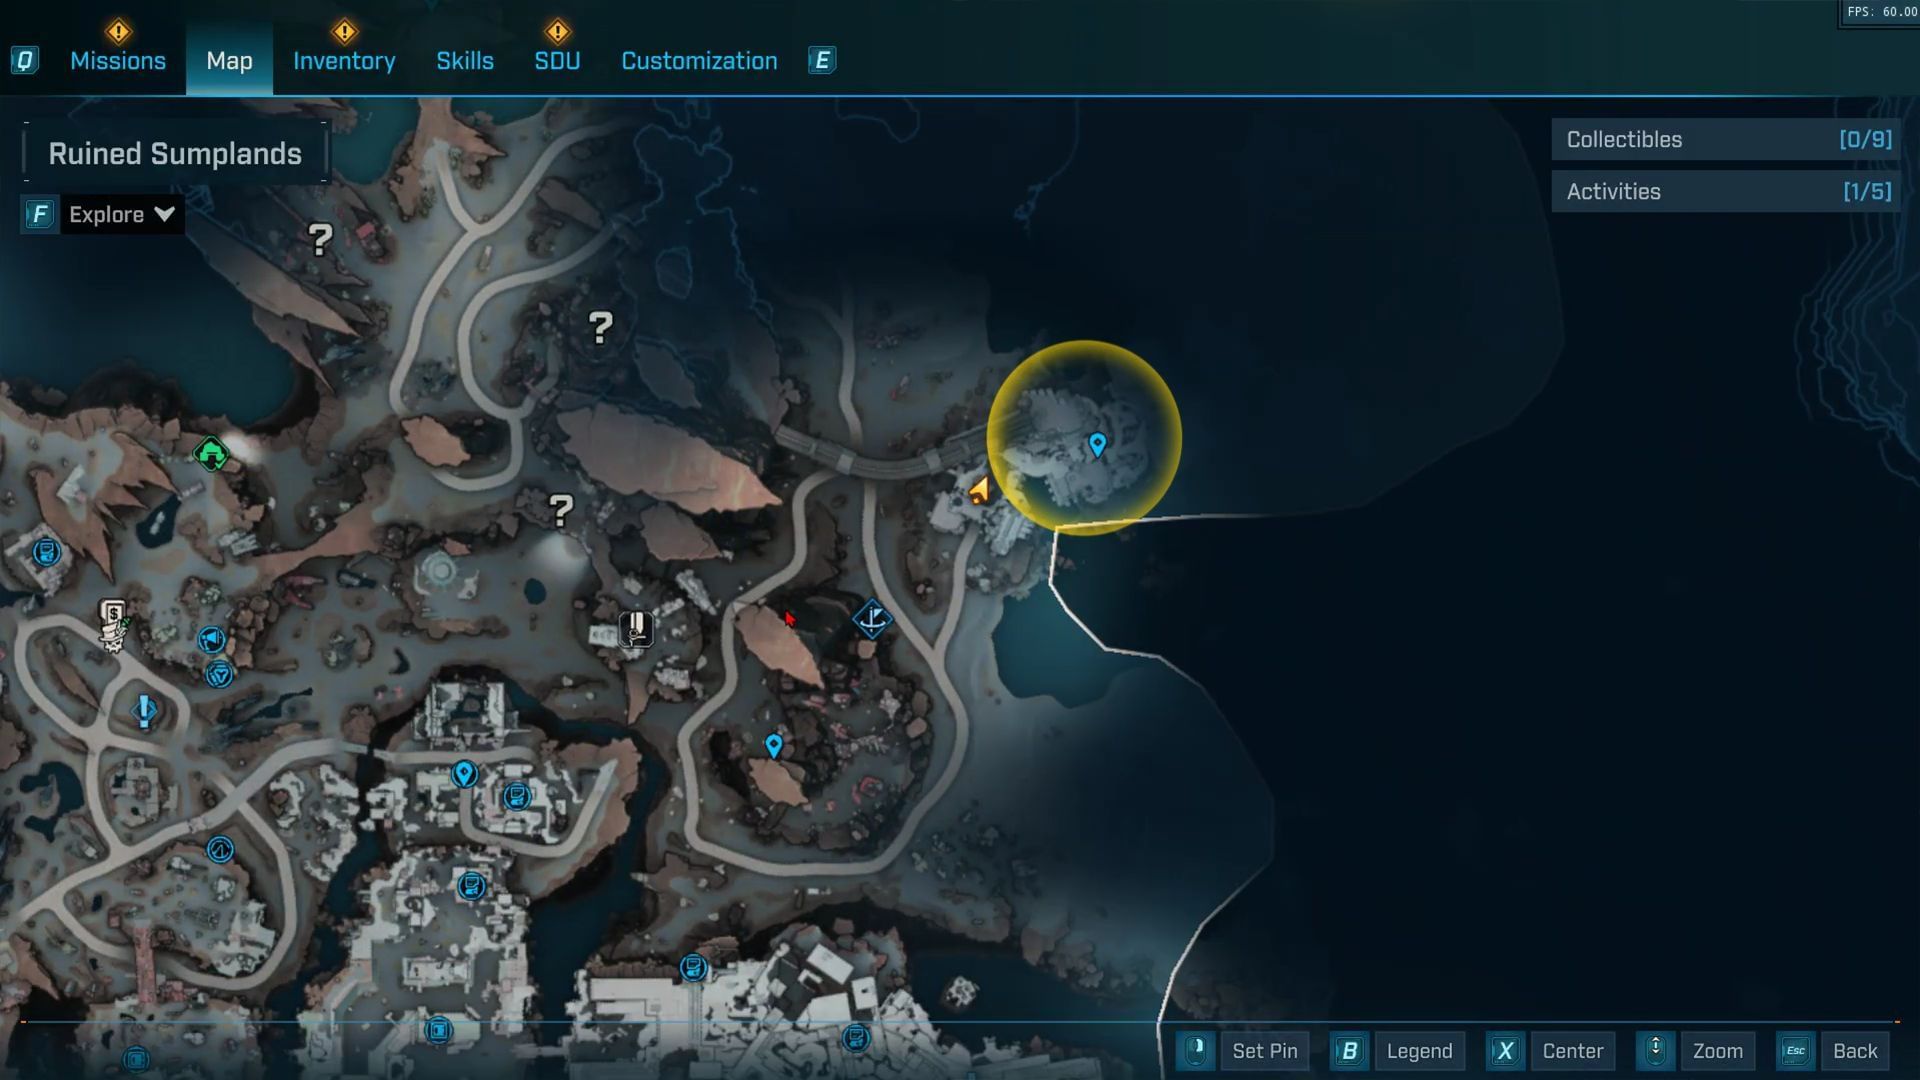
Once you have investigated the supply crates, Levaine will send you to the Tariffton Harbors sea base. This is heavily guarded, so expect a fight.
- Once you have left Pain Street, head northeast towards Tariffton Harbors.
- The area is packed with Rippers; clear them out to proceed.
- Levaine will call to give you the next objective.
Also read: Borderlands 4: How to get Darkbeast legendary SMG
Step 3: Get the Boomsticks (x3) and the detonator
Once you are at the sea base, you will need to find three boomsticks from the search zones.
- Boomstick #1: You can find it in the rubble near the entrance of the base.
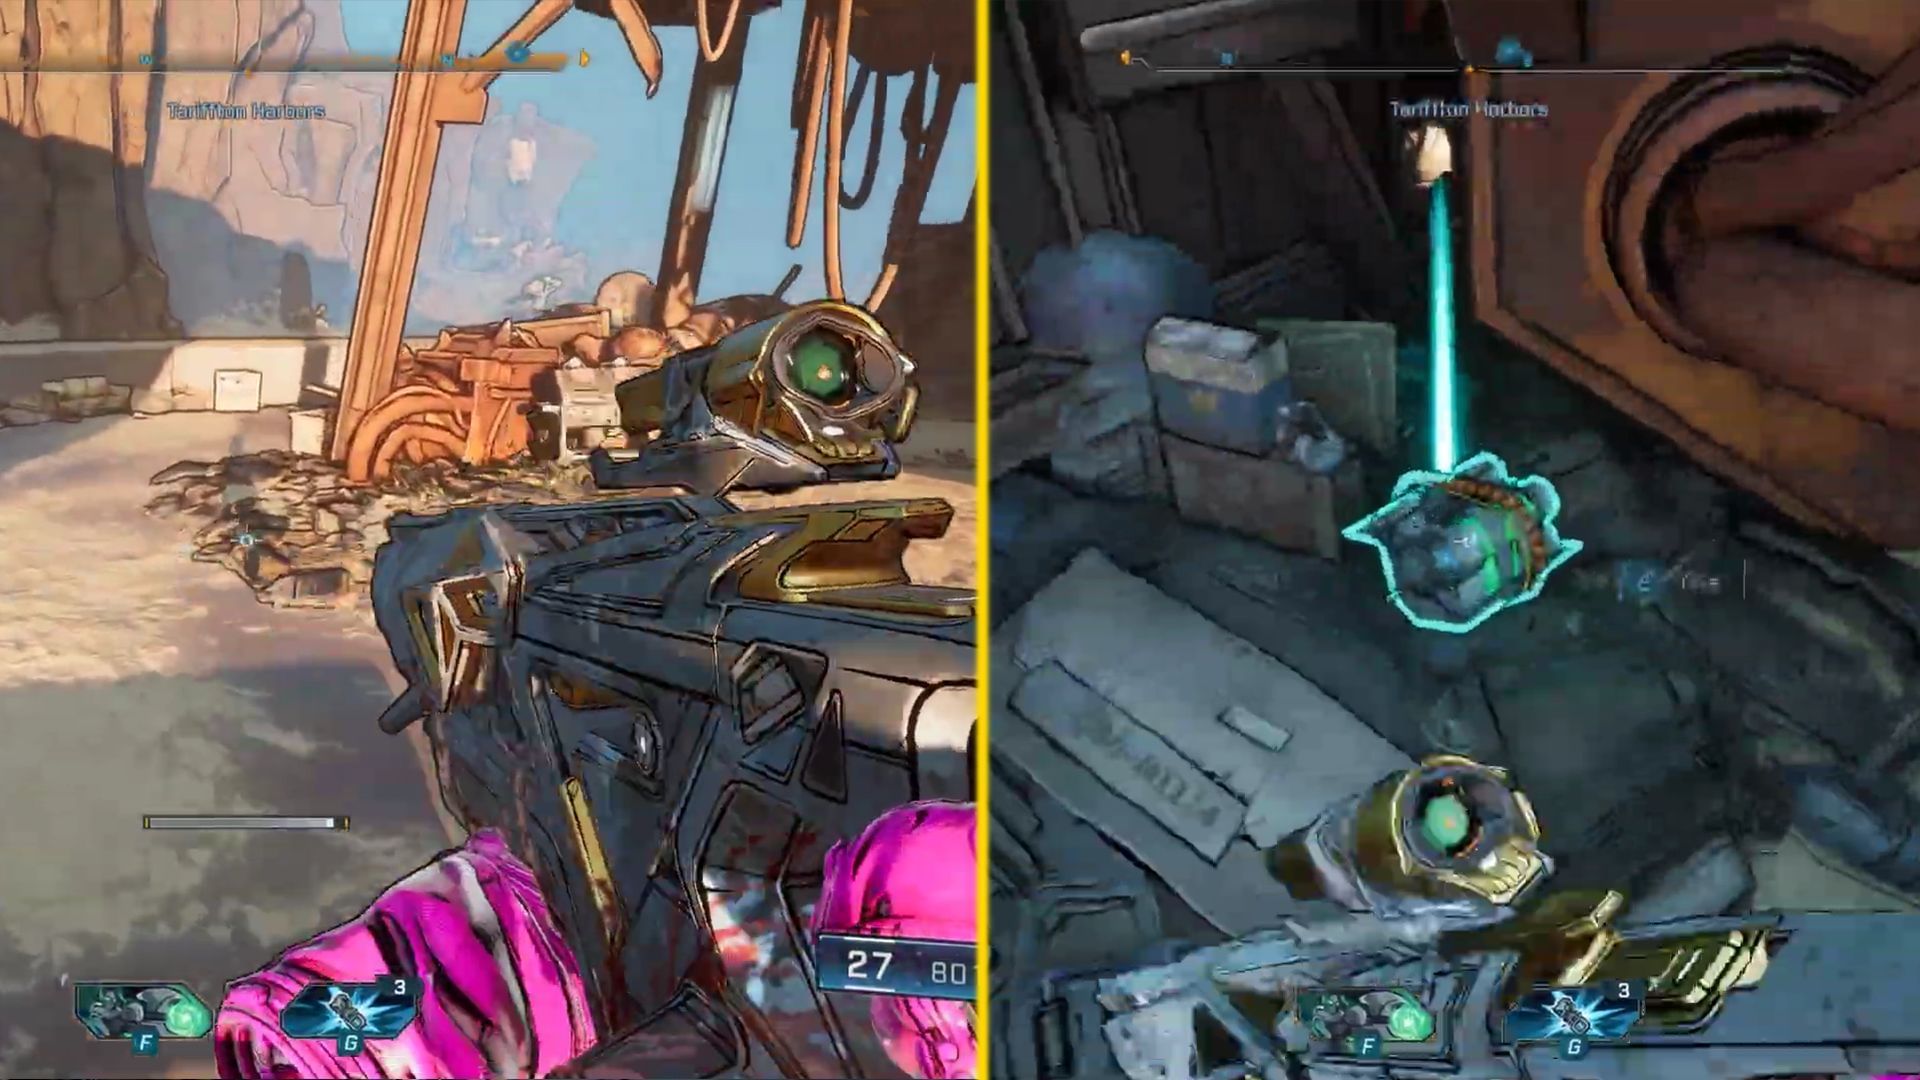
- Boomstick #2: You can find it near the wall with the red markings, in the middle area.
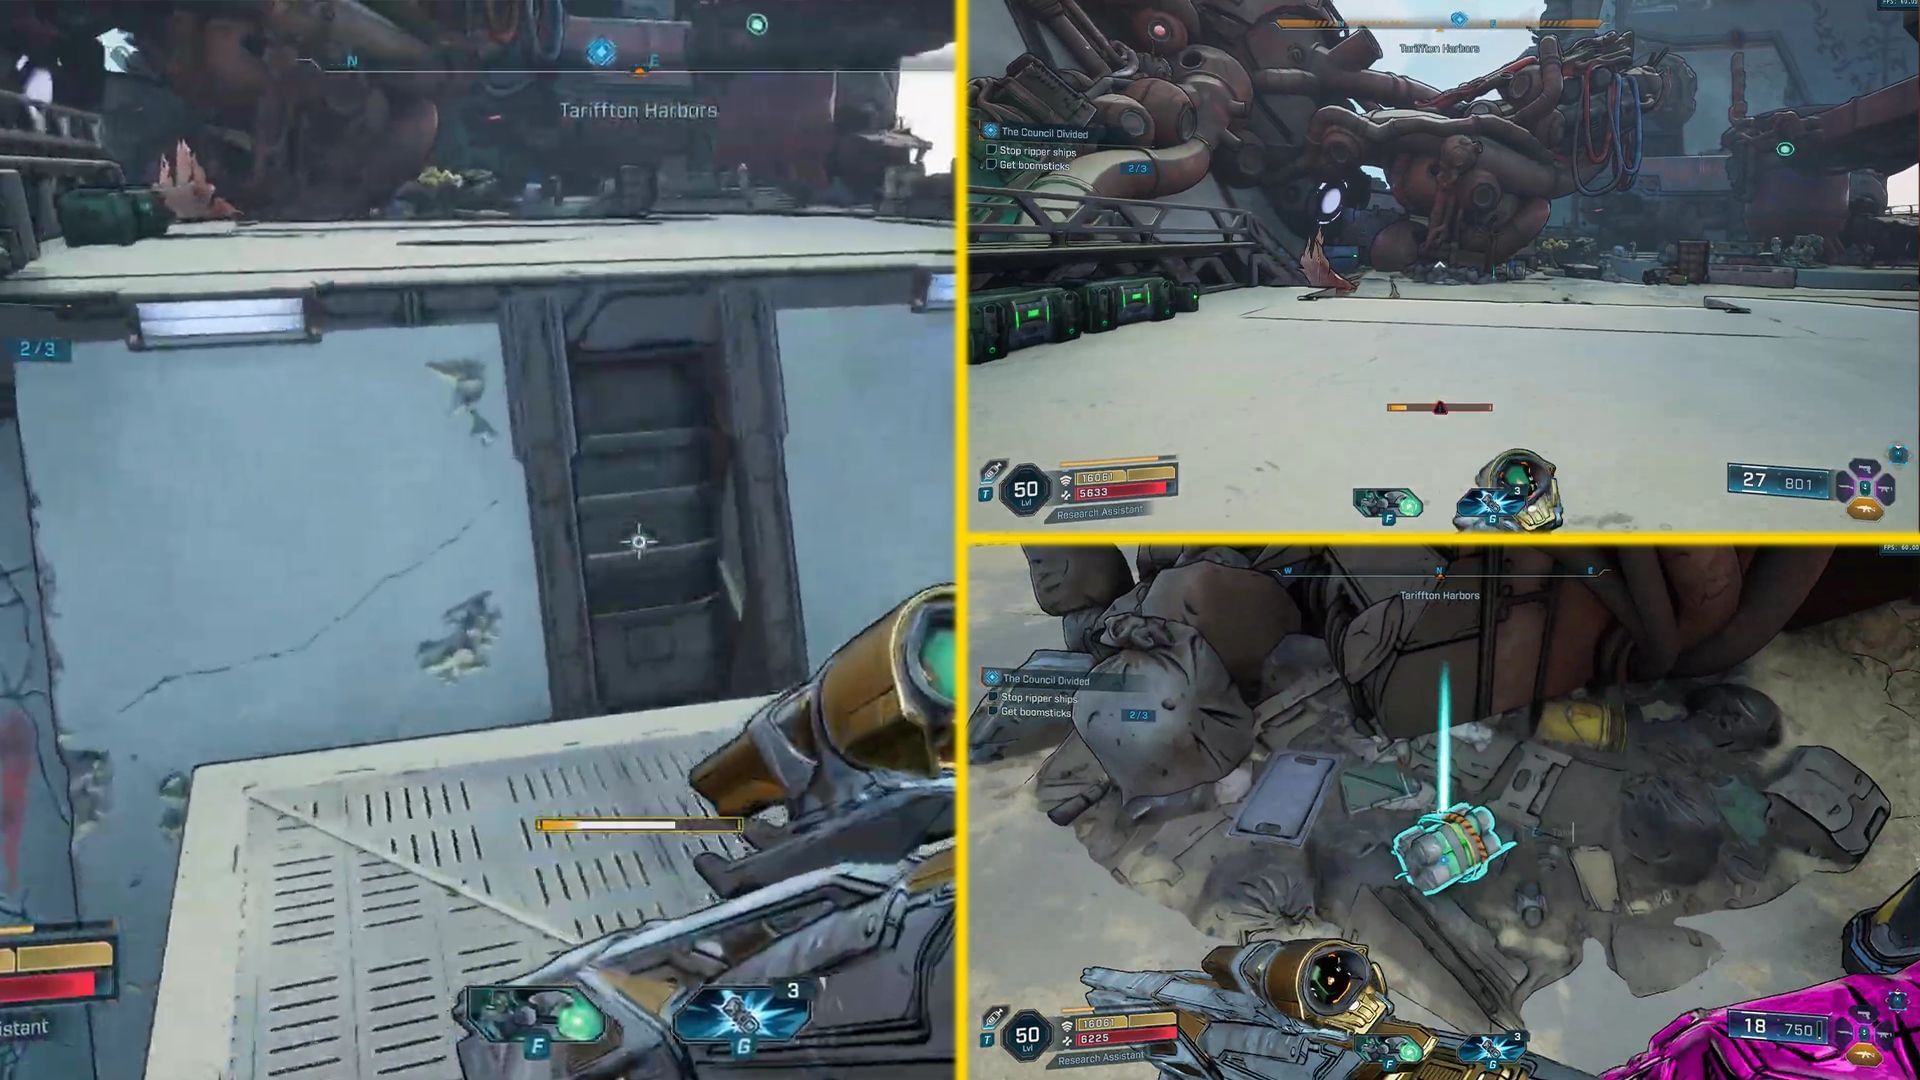
- Boomstick #3: You will find it under the pipes on the upper level. Use the grapple point to climb up and explore.
Once you have collected the Boomsticks, you will need to get the detonator located nearby.
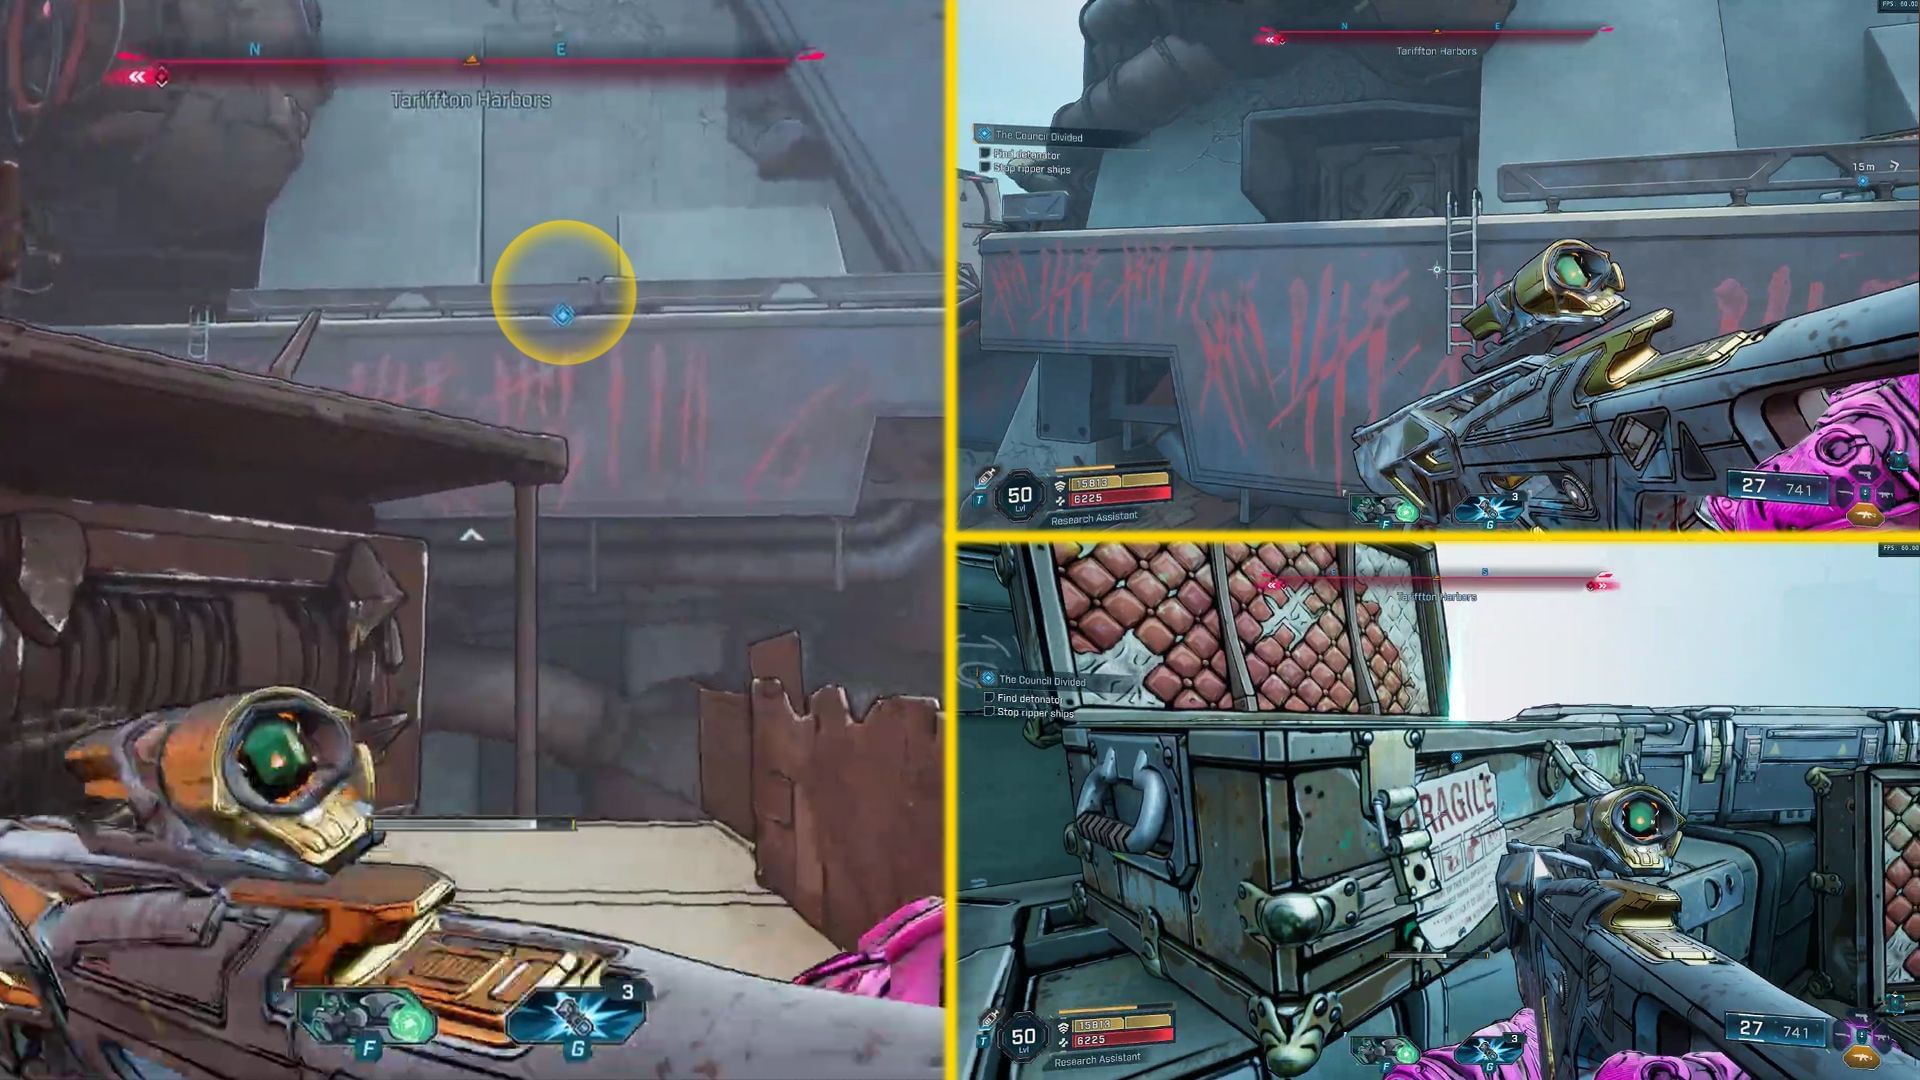
- Locate the large red pipe deep inside the sea base.
- Climb up the nearby rooftops and look for the hanging ladder on a taller building.
- Glide towards the ladder and climb up.
- You will find the detonator at the top of the building.
Also read: Borderlands 4 Timid Kyle's Neglected Opening (Augur Mine): Location, how to unlock, and boss drops
Step 4: Attach all the bombs (x6) to the ships
Once you have acquired the detonator, your next task is to attach bombs to three Ripper ships. You will find the ships in the harbor require 2x bombs each.
Some of the ships will require you to jump up, climb onto the deck, or get into the water to properly attach the bombs.
Also read: Borderlands 4: How to farm bosses for Legendary gear (Moxxi's Encore)
Step 5: Reach the signal booster
Once you are done with placing the bombs on all six boats, a new objective marker will appear on your HUD; go towards it.
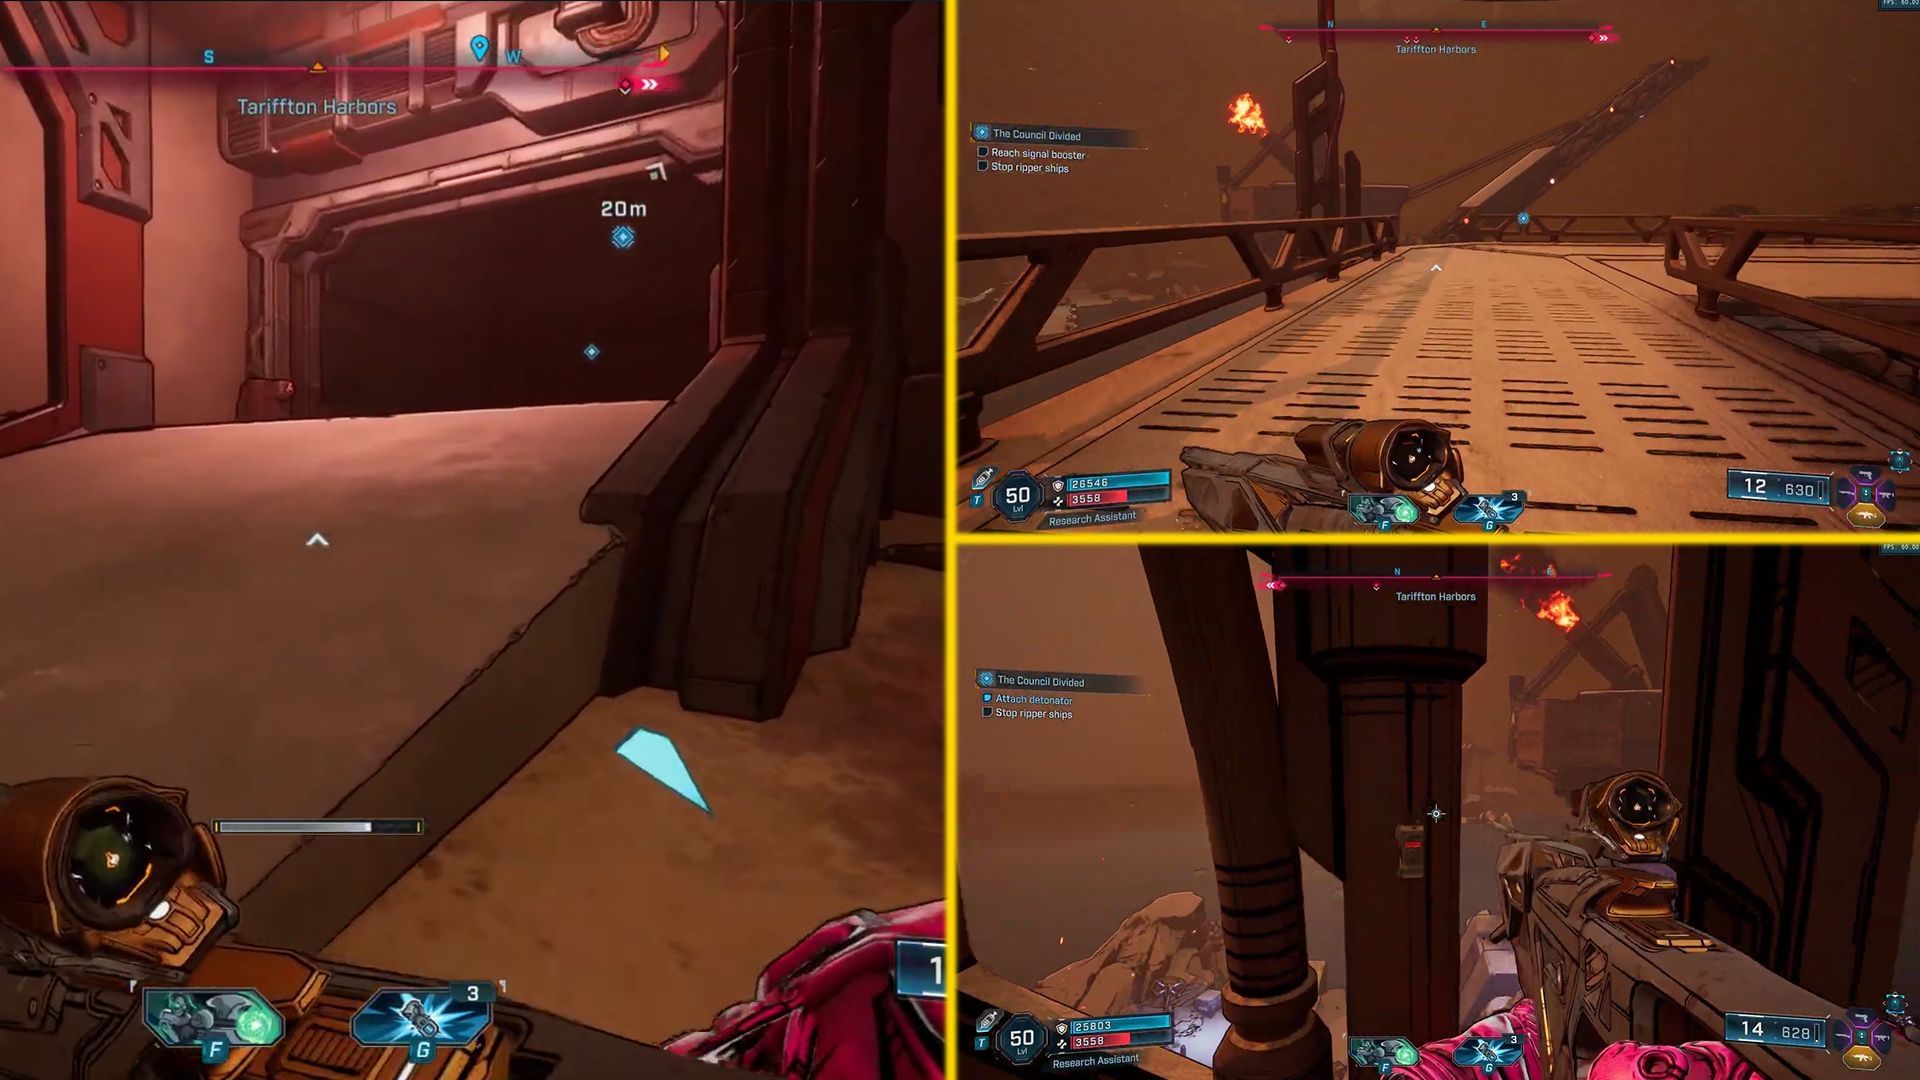
- Locate the elevator through the doorway below.
- Pull the lever to reach the top floor.
- The signal booster can be spotted on the immediate right side of the elevator.
- Set the detonator to set up the final step.
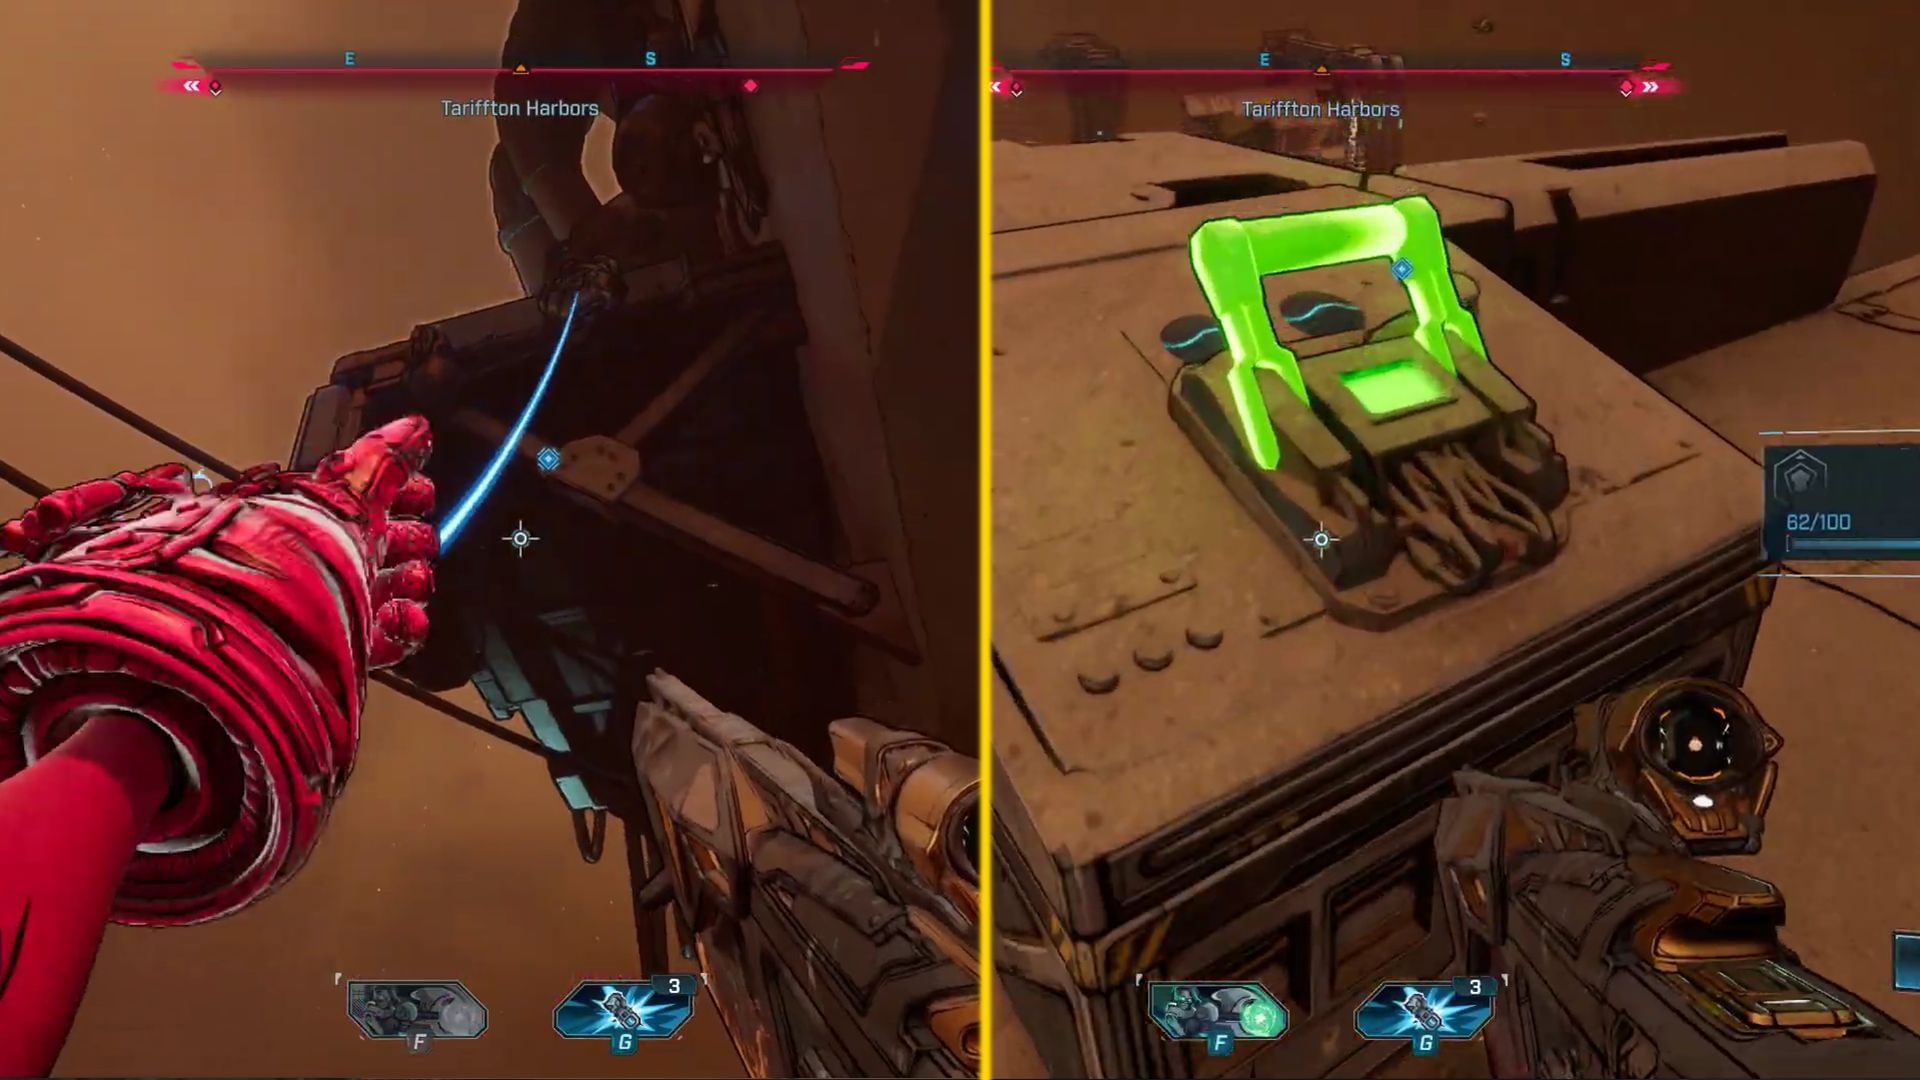
Step 6: Detonate the bombs
- Use the grapple point behind the booster to climb up to the ledge with the lever.
- Interact with the lever to set off the bombs.
- Watch the glorious explosion from a distance.
Prepare to fight Meat Meat after the cutscene.
Also read: Borderlands 4: How to get Wombo Combo legendary AR
Step 7: Eliminate Meat Meat and his crew
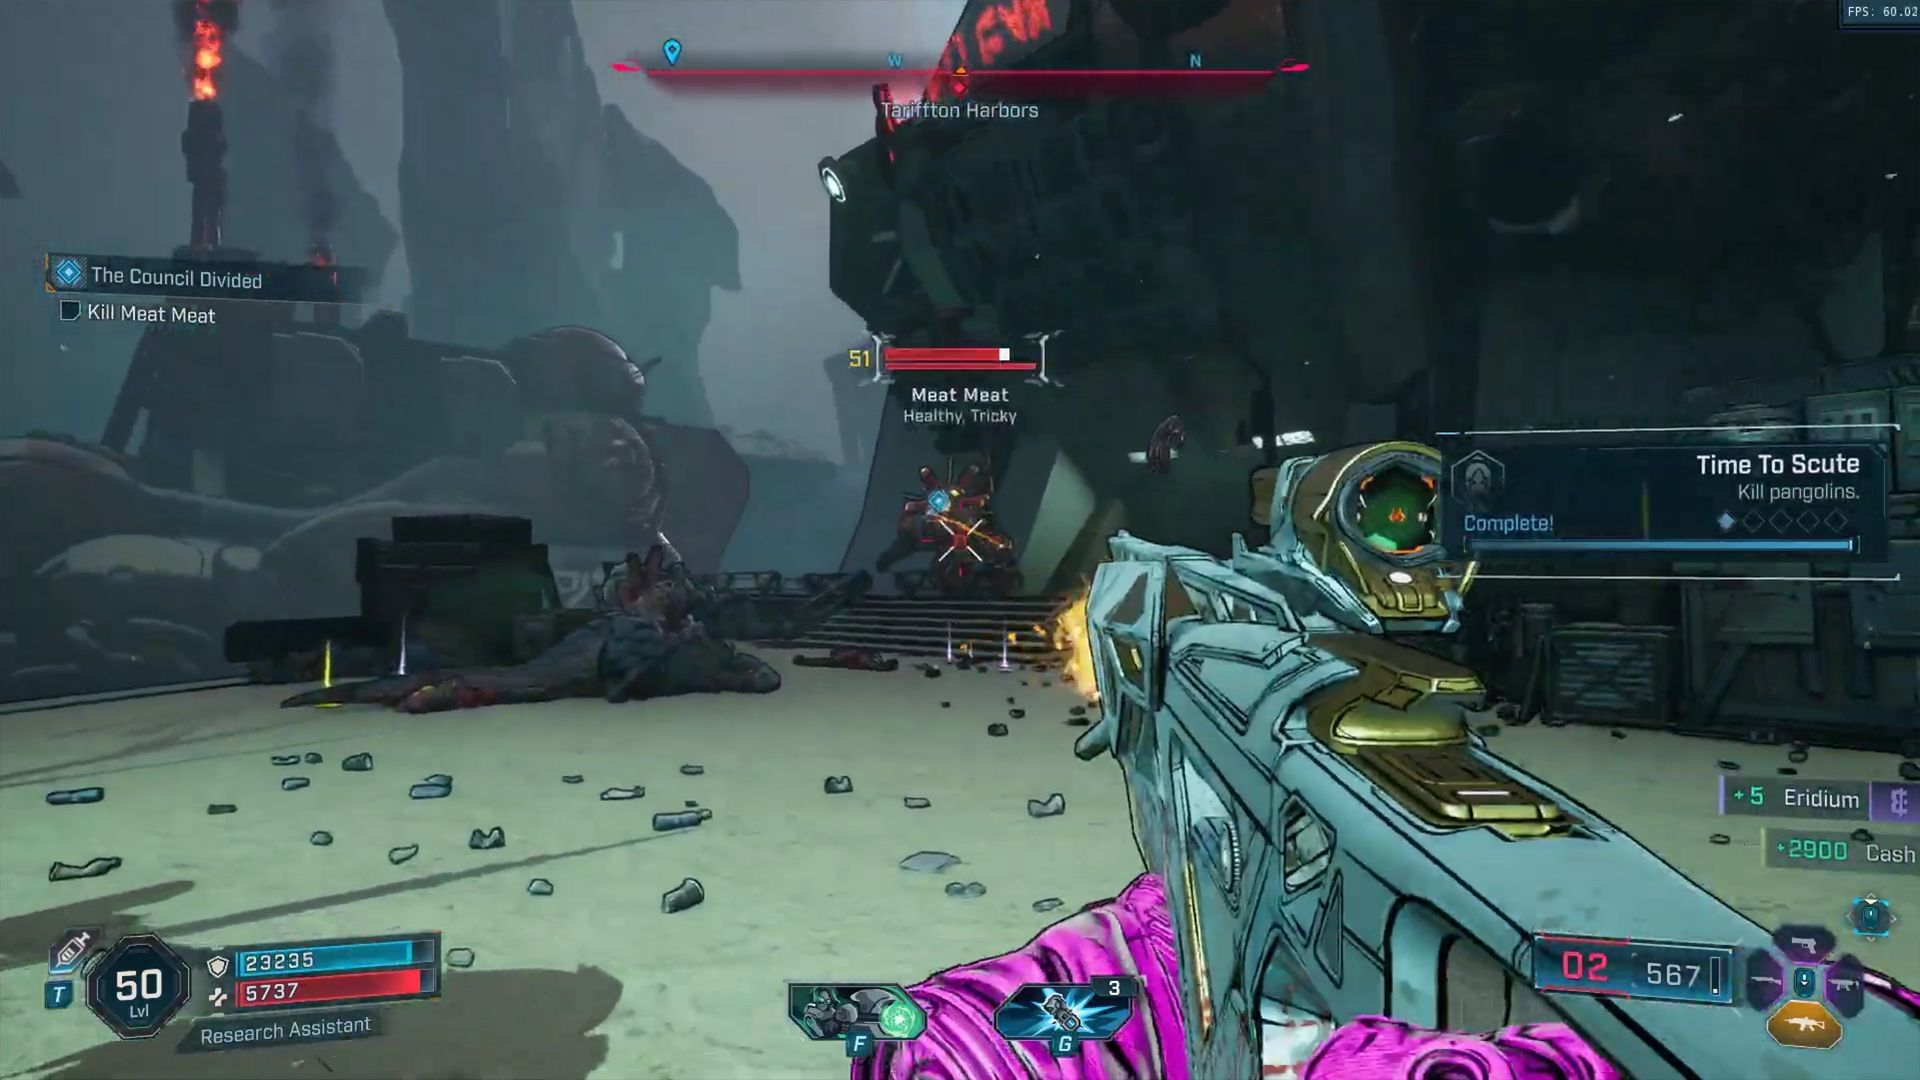
Once you have blown up the boats, Meat Meat and his minions will confront you as soon as you get down to the signal booster’s level.
- Enemies: Basic Rippers, Flame Units, and Brutes.
- Boss: Meat Meat (carries heavy weapons and is super aggressive)
Tips and tricks:
- Use corrosive weapons to melt down armored minions.
- Use shock weapons to shred Meat Meat’s shields.
- Be agile and move around to avoid explosion damage from Meat Meat.
Also read: Borderlands 4: Her Own Funeral walkthrough
Borderlands 4: The Council Divided quest rewards
- Experience / XP (scales with your level)
- Cash
- Eridium
- Weapons: Assault Rifle (between blue and purple rarity)
- Cosmetic: Middle name ‘Danger’ (Vault Hunter Style)
The Council Divided is one of the many quests for the Electi faction in Borderlands 4. It gives you a view of the destabilized Carcadia. 'The Council Divided' introduces you to the 'A Traitor Within' quest, which dives deeper into the politics in the borderlands of Karos.
Read more articles on Borderlands 4 here:
- How to get your first vehicle in Borderlands 4
- Borderlands 4 Finway's Cup walkthrough
- Borderlands 4: "The session you are trying to join is running an incompatible version" error - Potential causes and fixes
- Borderlands 4 No Place Like Home walkthrough
- Borderlands 4 PowerDrop walkthrough
- Borderlands 4 co-op: How to play with your friends
- How to get your first vehicle in B4