
'%20x='0'%20y='0'%20height='100%25'%20width='100%25'%20%0A%20%20%20%20%20%20%20%20%20%20xlink%3Ahref='data:image/jpg;base64,/9j/2wBDAAYEBQYFBAYGBQYHBwYIChAKCgkJChQODwwQFxQYGBcUFhYaHSUfGhsjHBYWICwgIyYnKSopGR8tMC0oMCUoKSj/2wBDAQcHBwoIChMKChMoGhYaKCgoKCgoKCgoKCgoKCgoKCgoKCgoKCgoKCgoKCgoKCgoKCgoKCgoKCgoKCgoKCgoKCj/wgARCAAHAAoDASIAAhEBAxEB/8QAFgABAQEAAAAAAAAAAAAAAAAAAAIH/8QAFAEBAAAAAAAAAAAAAAAAAAAAAv/aAAwDAQACEAMQAAAArfQP/8QAIBAAAgEEAQUAAAAAAAAAAAAAAgMBAAQFERQGBxJSYv/aAAgBAQABPwDtn1LkGZHiYuz4tu+6NhtaQEDhBRbV7QX1S710rGRRHjMRrZV//8QAFhEAAwAAAAAAAAAAAAAAAAAAAAEC/9oACAECAQE/AIZ//8QAFxEAAwEAAAAAAAAAAAAAAAAAAAERA//aAAgBAwEBPwDRSH//2Q=='%3E%3C/image%3E%3C/svg%3E)
Tennis elbow is often referred to as lateral epicondylitis in medical terms. It happens when someone stretches their forearm tendons. You may have an aching or, if the condition is more severe, a sharp discomfort along your forearm and elbow when you hold, raise, or turn a doorknob.
You won't require surgery for tennis elbow, thankfully. Your forearm tendons can easily be healed with non-invasive physical exercise-based therapies like yoga.
This type of injury can happen to athletes who participate in sports like tennis, golf, or baseball, but it can also happen to those whose daily activities place repetitive strain on their elbow joints.
Yoga Poses to Alleviate Tennis Elbow Pain
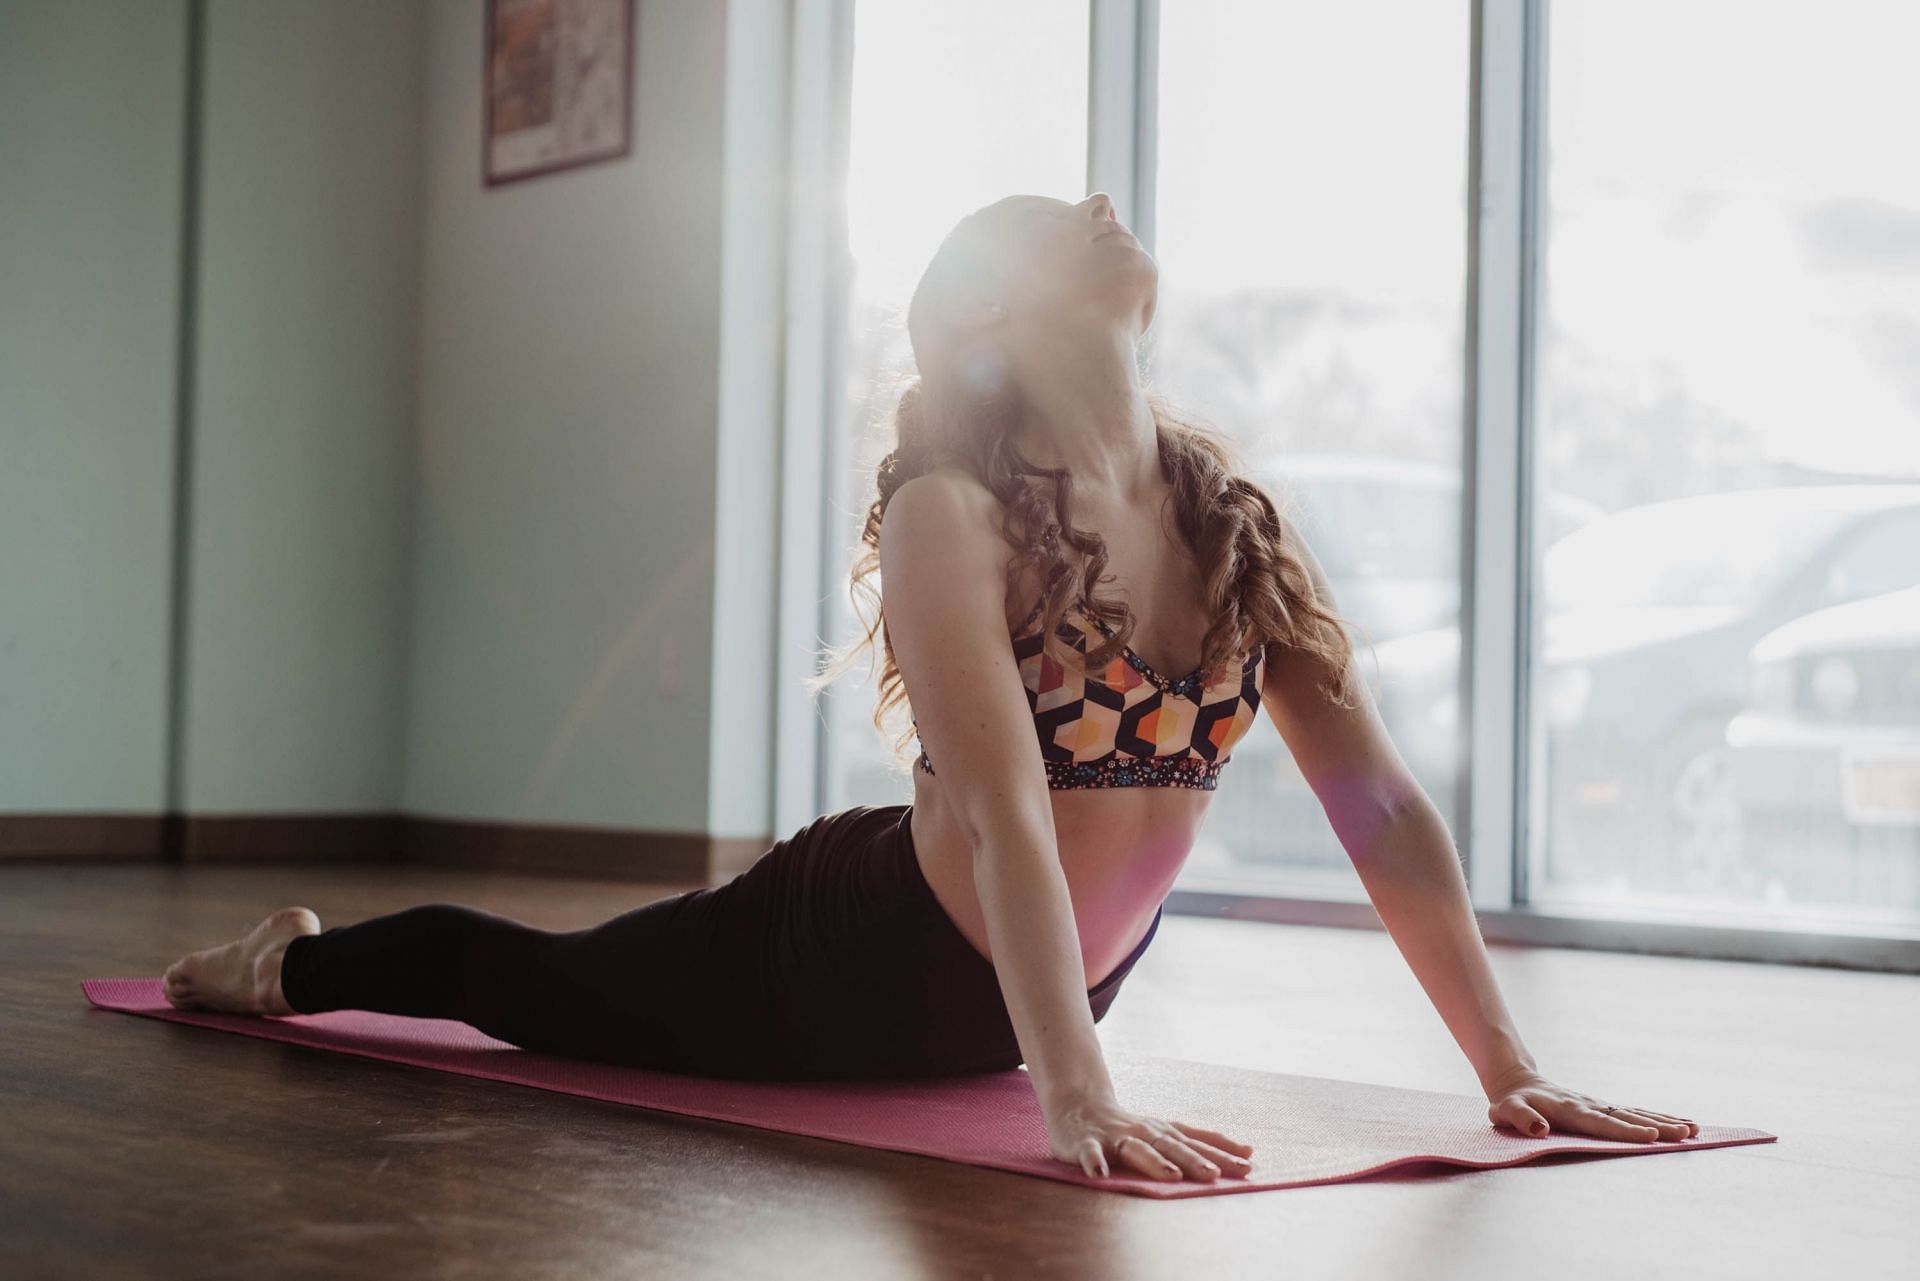
For tennis elbow, yoga is an effective approach to strengthen the muscles that support the injured tendons and loosen up tight ones.
Yoga is a terrific approach to include stretching and strengthening for the complete body, and it offers tennis elbow sufferers advantages that may lessen the muscle strain in the elbow region.
Here’s a list of yoga poses to relieve tennis elbow pain:
1) Plank pose
It's easy to take a plank pose, which is excellent for your upper body as a whole. A plank pose slightly contracts the muscular tendons that cause tennis elbow.
Here’s how to do it:
- Come to all fours.
- Hold your wrists directly beneath your shoulders.
- Knees should be below the hips and legs should almost be together.
- Raise your buttocks and knees off the floor.
- Your body should be supported solely by your wrists and toes as you align your legs in a single straight line.
- Look forward while keeping your shoulders down.
Note: Do not keep this position for a prolonged period of time if you have tennis elbow, though.
2) Cobra pose
Your wrist, arm, and muscle tissues will benefit greatly from the cobra pose. It provides a static stretch as well as a dynamic one. Your wrists and elbows will become more coordinated as a result of practice.
Here’s how to do it:
- Lay flat on your belly to begin.
- Put your hands beneath your shoulders and point your toes backward.
- Maintain a close elbow position to the ribcage.
- Take a deep breath in and lift your chest off the ground while pressing your palms into the floor.
- Hug your elbows into your sides while bending them slightly.
- Roll your shoulders back and down while pulling in your tummy.
- Maintain a neutral neck position and look up.
- Breathe out and start over.
3) Four-limb staff pose
The four-limb staff position, or Chaturanga Dandasana, is a terrific way to simultaneously exercise your arm and wrist muscles. This is one of the best yoga poses to reduce tennis elbow pain.
Here’s how to do it:
- Begin by getting down on all fours.
- Go into a standard plank position.
- Bend your elbow gradually and do a fold to lower your body.
- Continue to lower your body until your biceps and triceps are practically parallel to the ground and your arms are at a 45-degree angle to the ground.
- Lock in your position right here.
- Breathe and keep your eyes forward.
4) Dolphin plank
The dolphin plank is an effective technique to take a break and work your forearm muscles. The posterior portion of the muscle responsible for the tennis elbow receives targeted stretching during the dolphin plank.
Here’s how to do it:
- Start by getting down on all fours.
- Position your wrists directly beneath your shoulders.
- Knees should be below hips and legs should be almost together.
- Come down onto your elbows instead of pulling yourself up like a plank.
- Stretch your legs out and stand on your toes.
- Sit down on your forearms. You should have your elbow below your shoulders.
- Your body and legs should be lined up.
- Inhale and maintain the position for 30 seconds.
5) Upward plank pose
Increased wrist, arm, shoulder, back, and spine mobility is a benefit of the upper plank pose.
Here’s how to do it:
- Take a seat in the seated forward-facing prayer position.
- Now maintain your hands both about a foot or so behind your hips.
- Make sure that both hands' fingers point in the same direction as your feet as you place your palms on the ground.
- As you lift your hips off the ground, balance your body weight evenly between both hands.
- Adjust your legs so that they are both straight and try to maintain the table entirely on the floor.
- Your legs and shoulders should be in a straight line when you are in this position.
- Attempt to pull your chest up by raising your hips as high as you can.
- Next, revert your head back.
- Do this pose for however long it takes you to feel comfortable.
