
'%20x='0'%20y='0'%20height='100%25'%20width='100%25'%20%0A%20%20%20%20%20%20%20%20%20%20xlink%3Ahref='data:image/jpg;base64,/9j/2wBDAAYEBQYFBAYGBQYHBwYIChAKCgkJChQODwwQFxQYGBcUFhYaHSUfGhsjHBYWICwgIyYnKSopGR8tMC0oMCUoKSj/2wBDAQcHBwoIChMKChMoGhYaKCgoKCgoKCgoKCgoKCgoKCgoKCgoKCgoKCgoKCgoKCgoKCgoKCgoKCgoKCgoKCgoKCj/wgARCAAGAAoDASIAAhEBAxEB/8QAFgABAQEAAAAAAAAAAAAAAAAAAAYH/8QAFQEBAQAAAAAAAAAAAAAAAAAAAwT/2gAMAwEAAhADEAAAAMinxLv/xAAgEAACAgEDBQAAAAAAAAAAAAACAwEEBQAhMQYRExRx/9oACAEBAAE/AOh7mQyFu+qn6iwCq5xAYbcR9340/L2bLmPZ45NpSZT2nmdf/8QAFxEBAAMAAAAAAAAAAAAAAAAAAQACEv/aAAgBAgEBPwAu7Z//xAAYEQACAwAAAAAAAAAAAAAAAAAAAQIDI//aAAgBAwEBPwCawrP/2Q=='%3E%3C/image%3E%3C/svg%3E)
Destiny 2's Zero Hour puts the final piece of the missing puzzle in Into the Light, as the fan-favorite Exotic mission returns to complete the new content line-up. The mission yields a red-border version of the good old Outbreak Perfected Exotic Kinetic Pulse Rifle, alongside four separate perks through the Legend difficulty, and intrinsic upgrades through collectibles.
This article covers everything related to the Zero Hour mission to smoothen your run.
How to start the Zero Hour Exotic mission in Destiny 2 (2024)
To start the Zero Hour mission in Destiny 2, head to the Tower and talk to Ada-1. Teleporting on the Annex waypoint will be faster in this case.
Head to the Black Armory vendor and pick up the "Asset Protection" quest from her. Next, open the "Into the Light" node and start the "Zero Hour" mission in normal difficulty.
You will have 40 minutes to complete it, so take your time getting accustomed to the paths and enemies.
Zero Hour Exotic mission Normal difficulty walkthrough in Destiny 2
1) Starting area
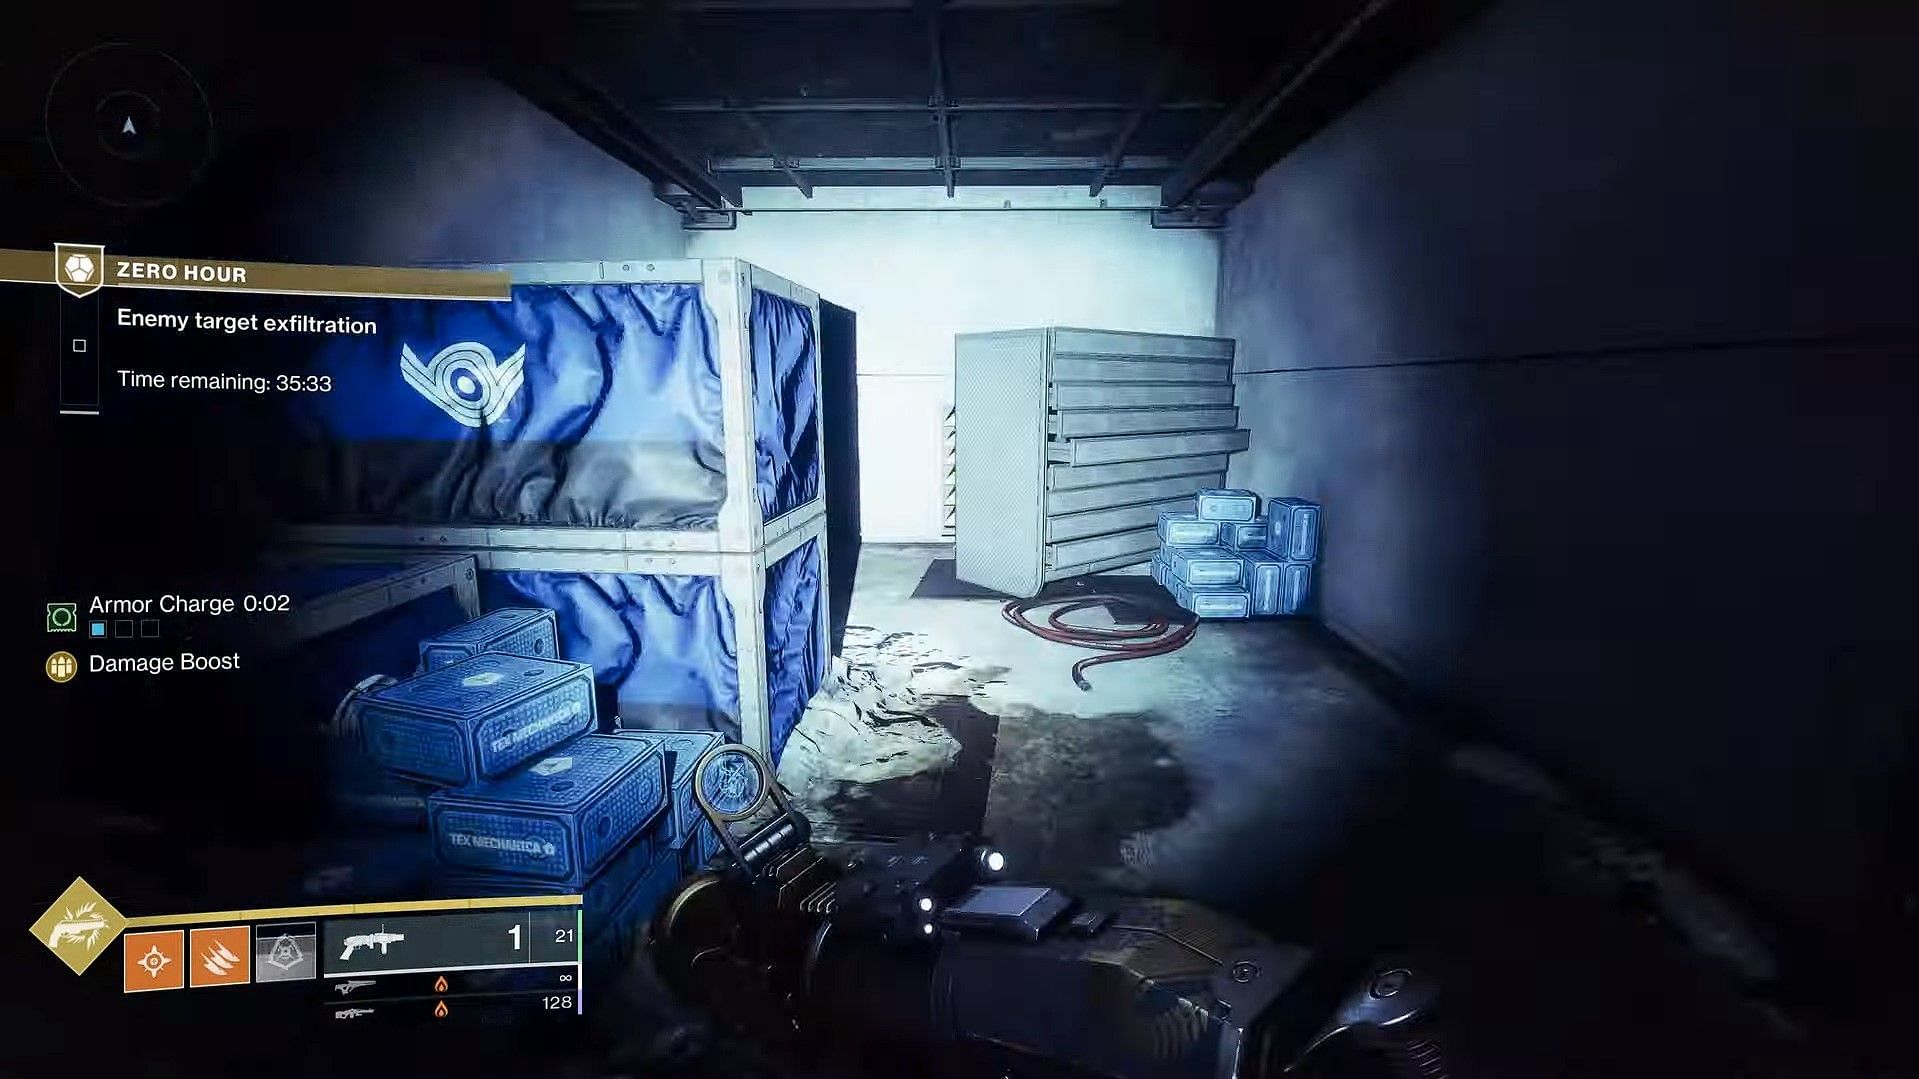
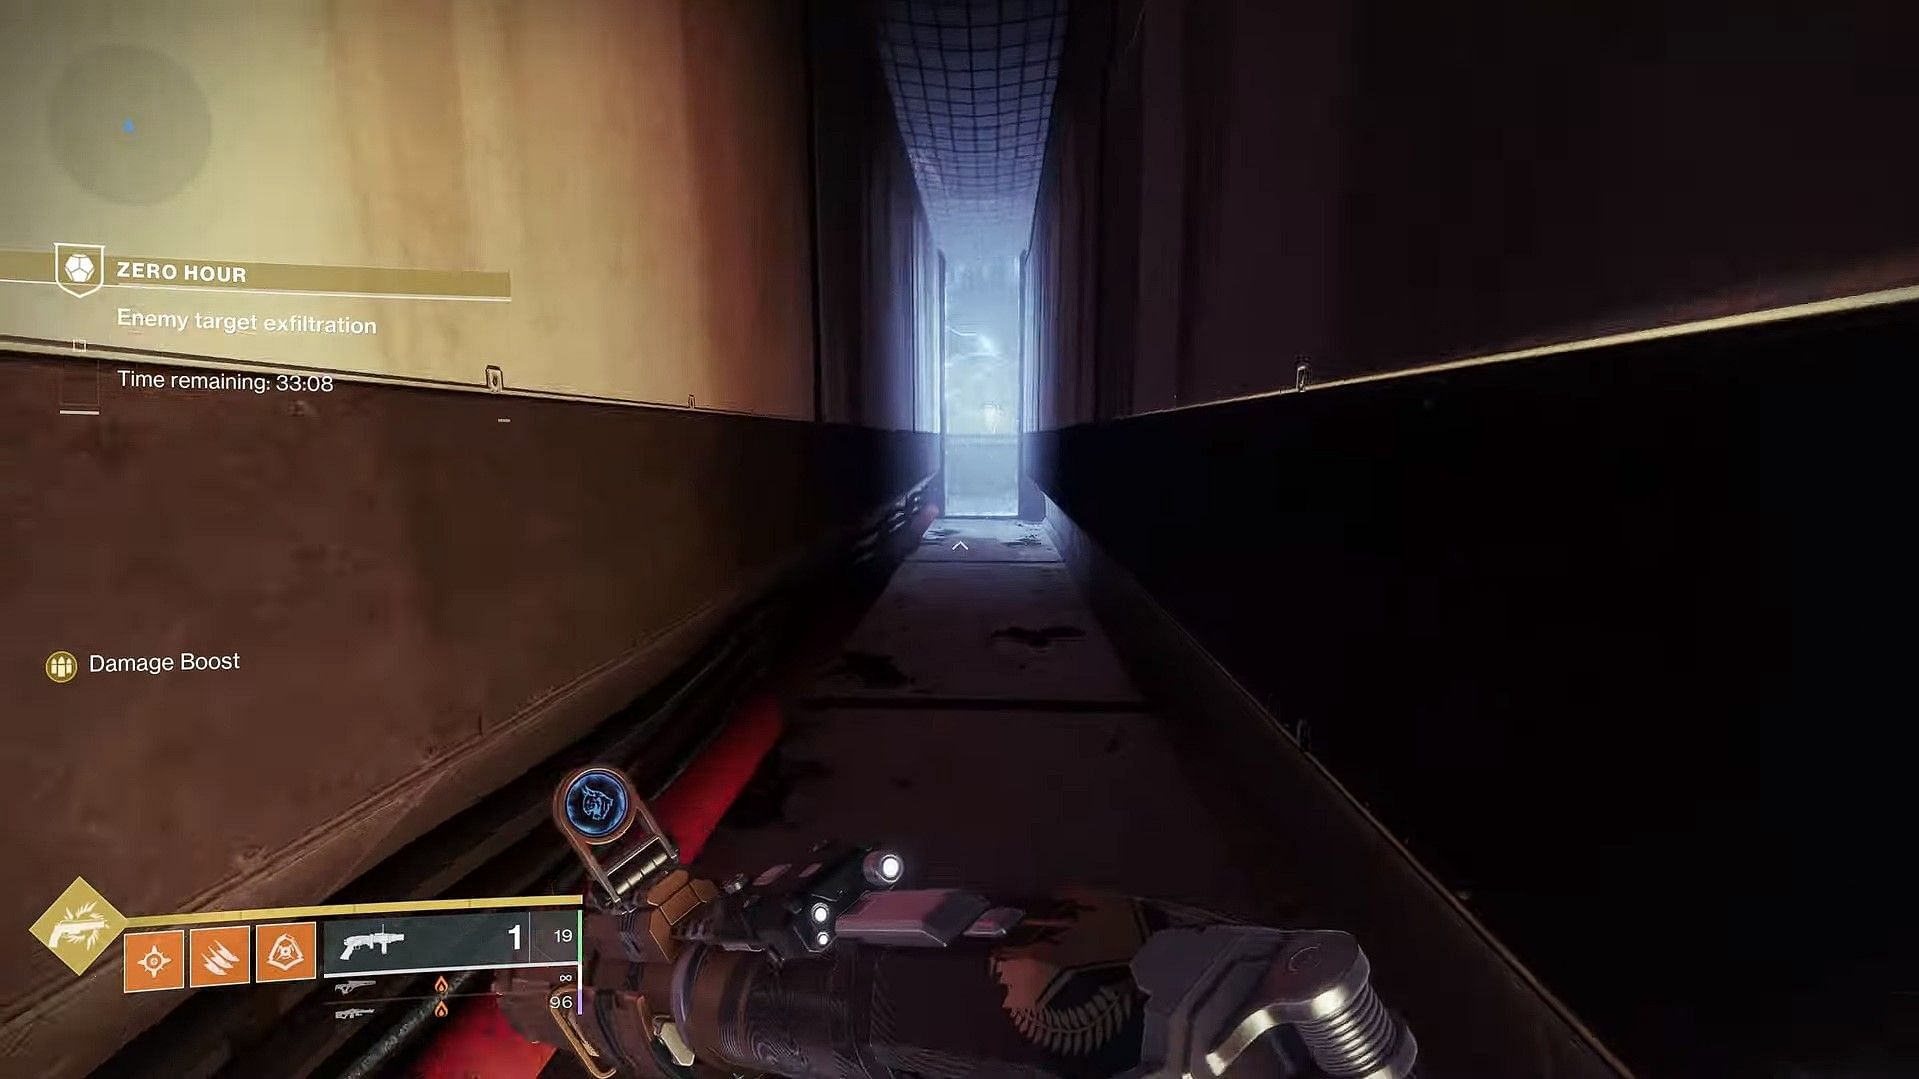
After spawning, head through the gap in the door, where you will be greeted with Mithrax. Proceed until you find a small vent on the wall, as shown in the image below.

Enter the vent, and you will eventually come across an open area of the old Tower, brimming with Fallen forces. The main enemies here are Orange Bar Fallen Scorch Vandals, Shanks, and Assassins. Clear the area to remove the purple shield, and make way for the next location.
The third location will be brimming with Fallen forces again, with an additional boss Fallen Brig to be aware of. The objective remains the same; you must clear out everything to proceed.
Once everything is cleared, take the ledge to the right side of the arena to proceed further.
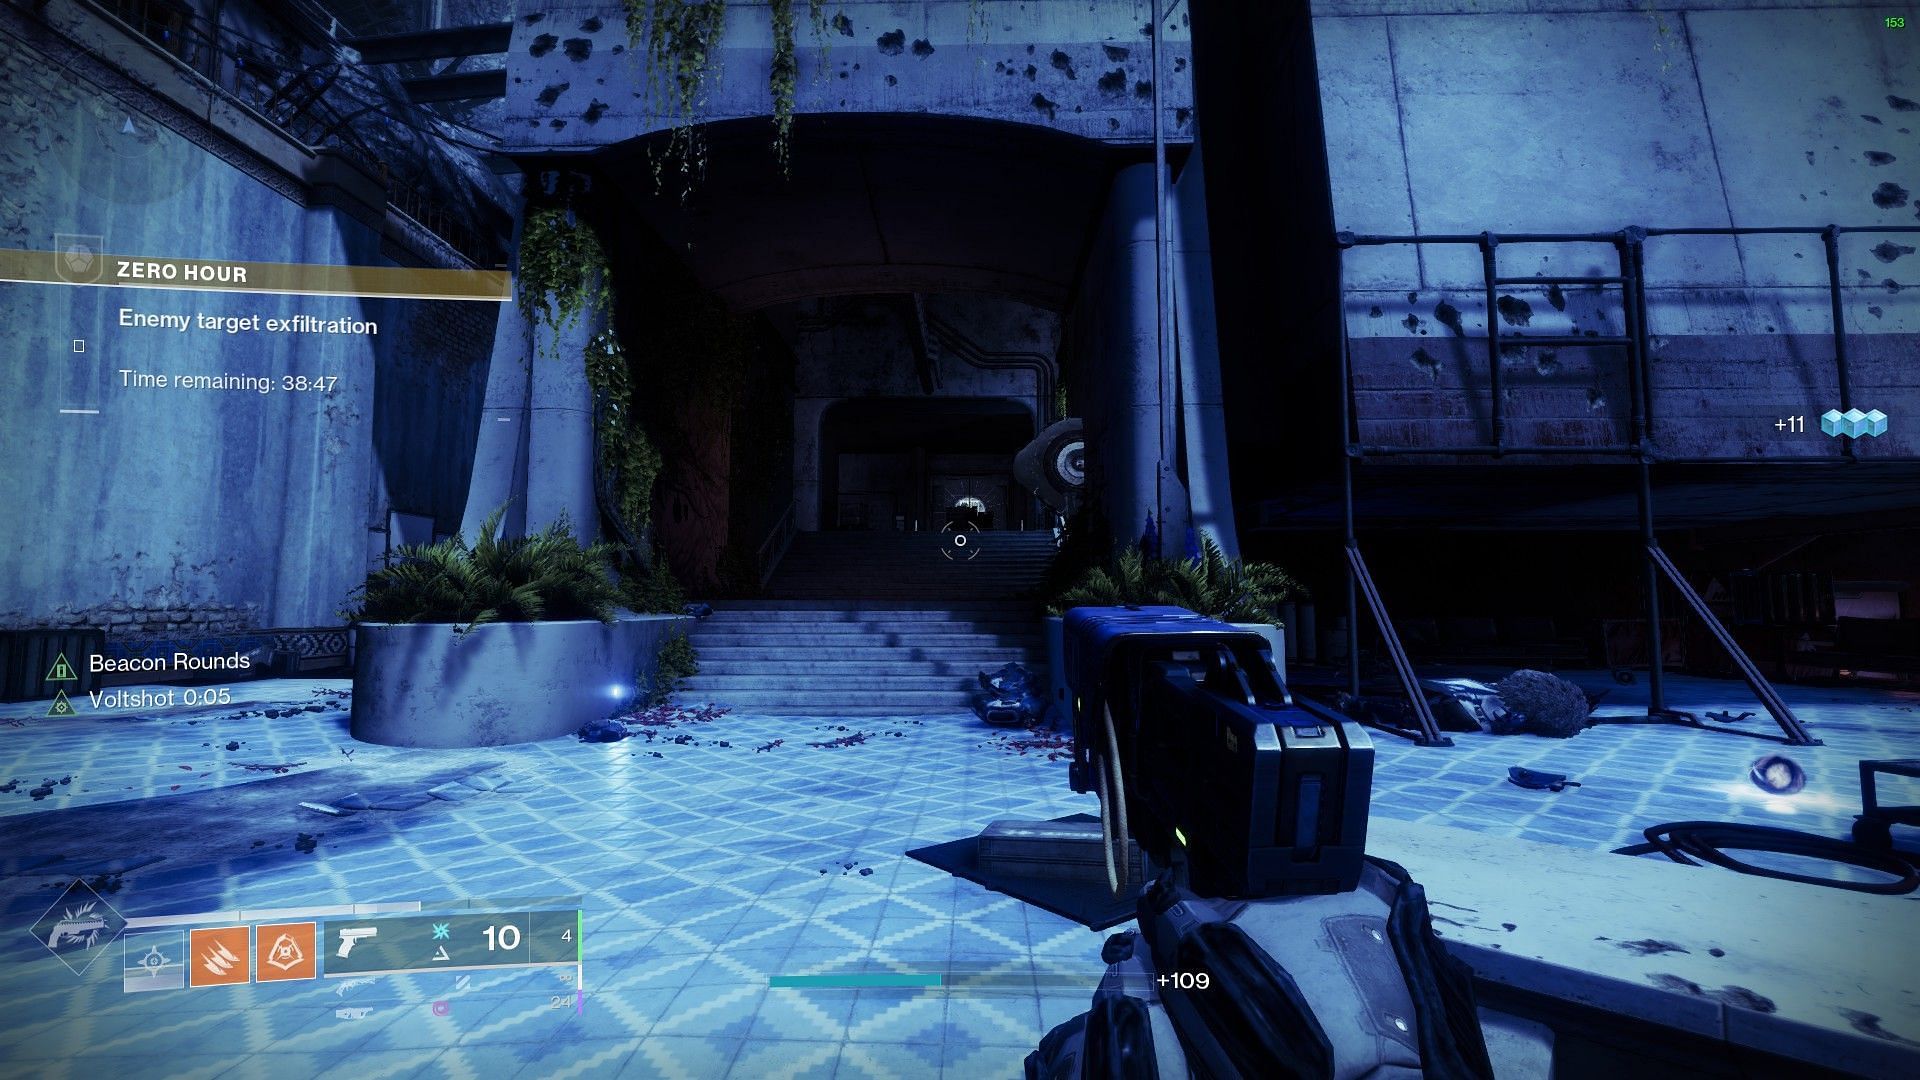
Make your way through piles of rubble to enter the next major area, which contains a Spider Fallen Tank. The upcoming few rooms follow the same mechanics, where you must defeat enemies and clear away the purple barricade. Do this until you come across the jumping puzzles.
2) Jumping puzzles
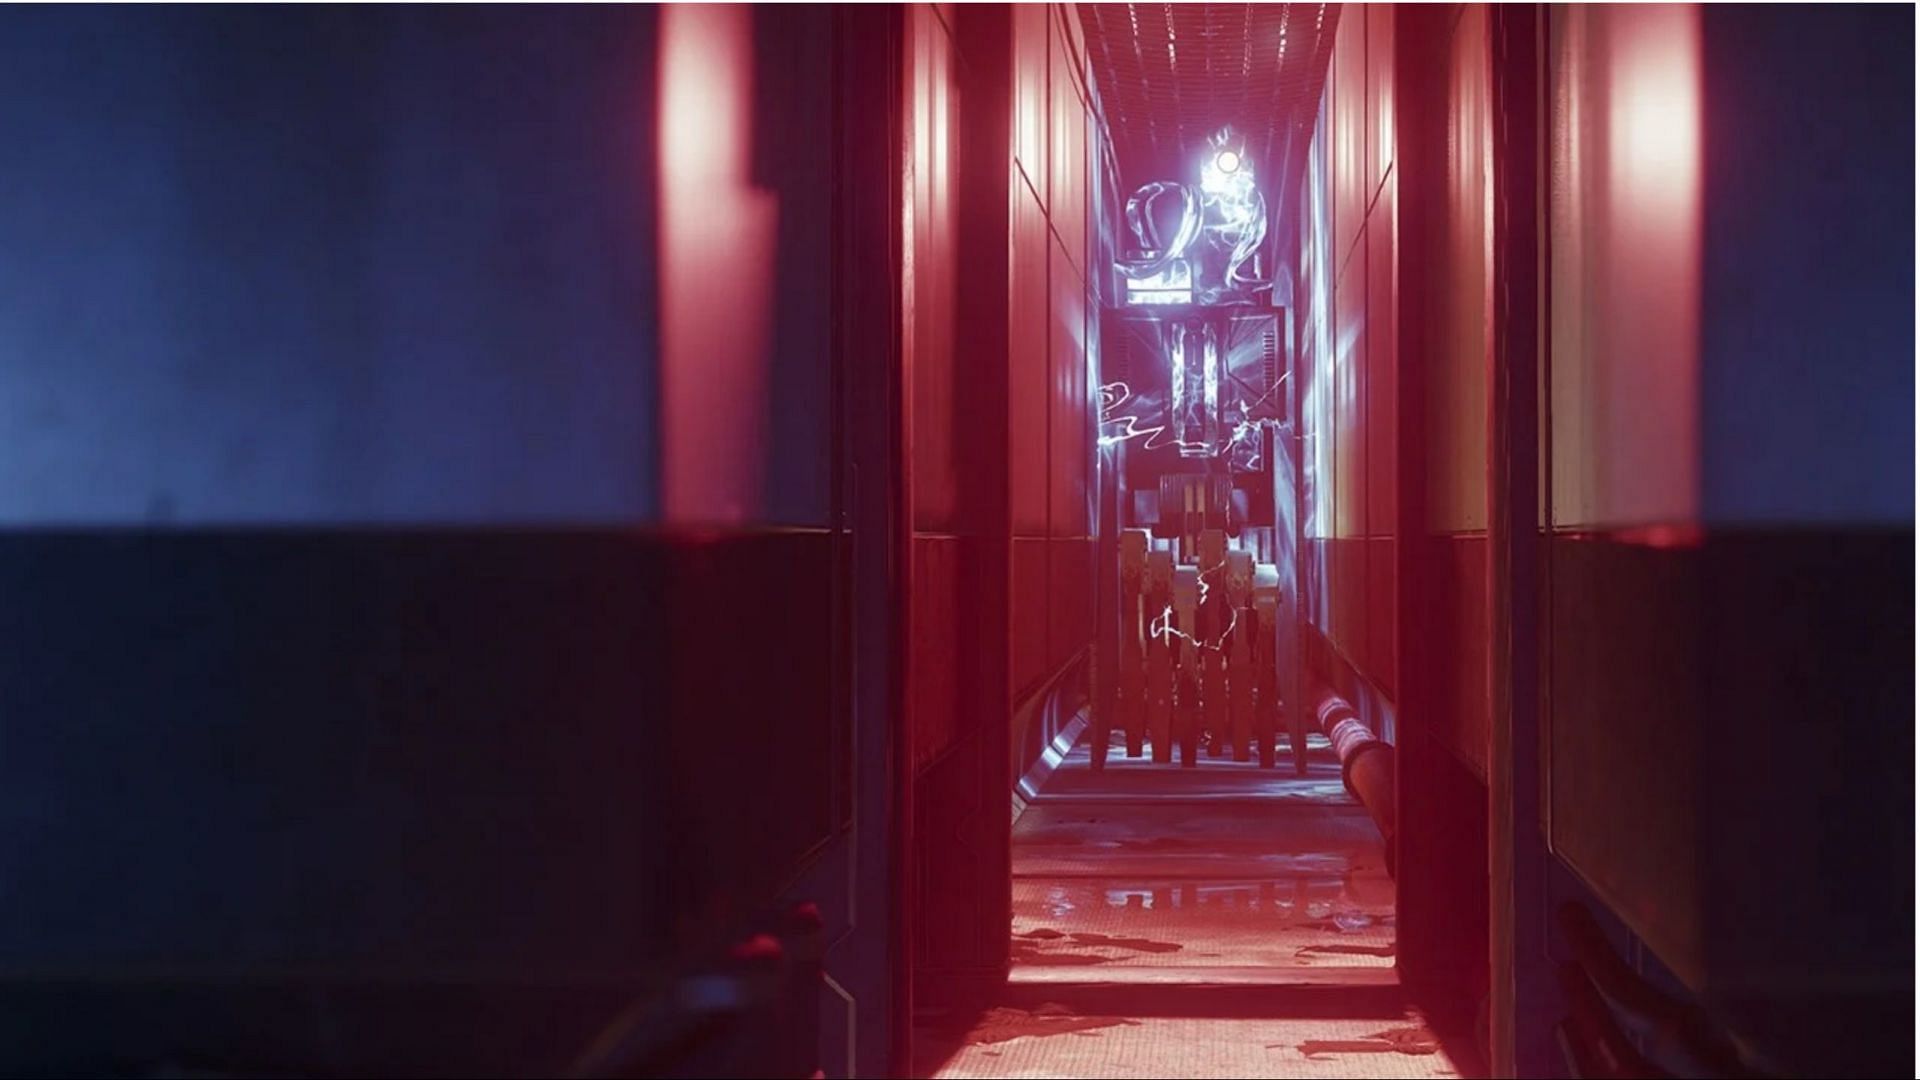
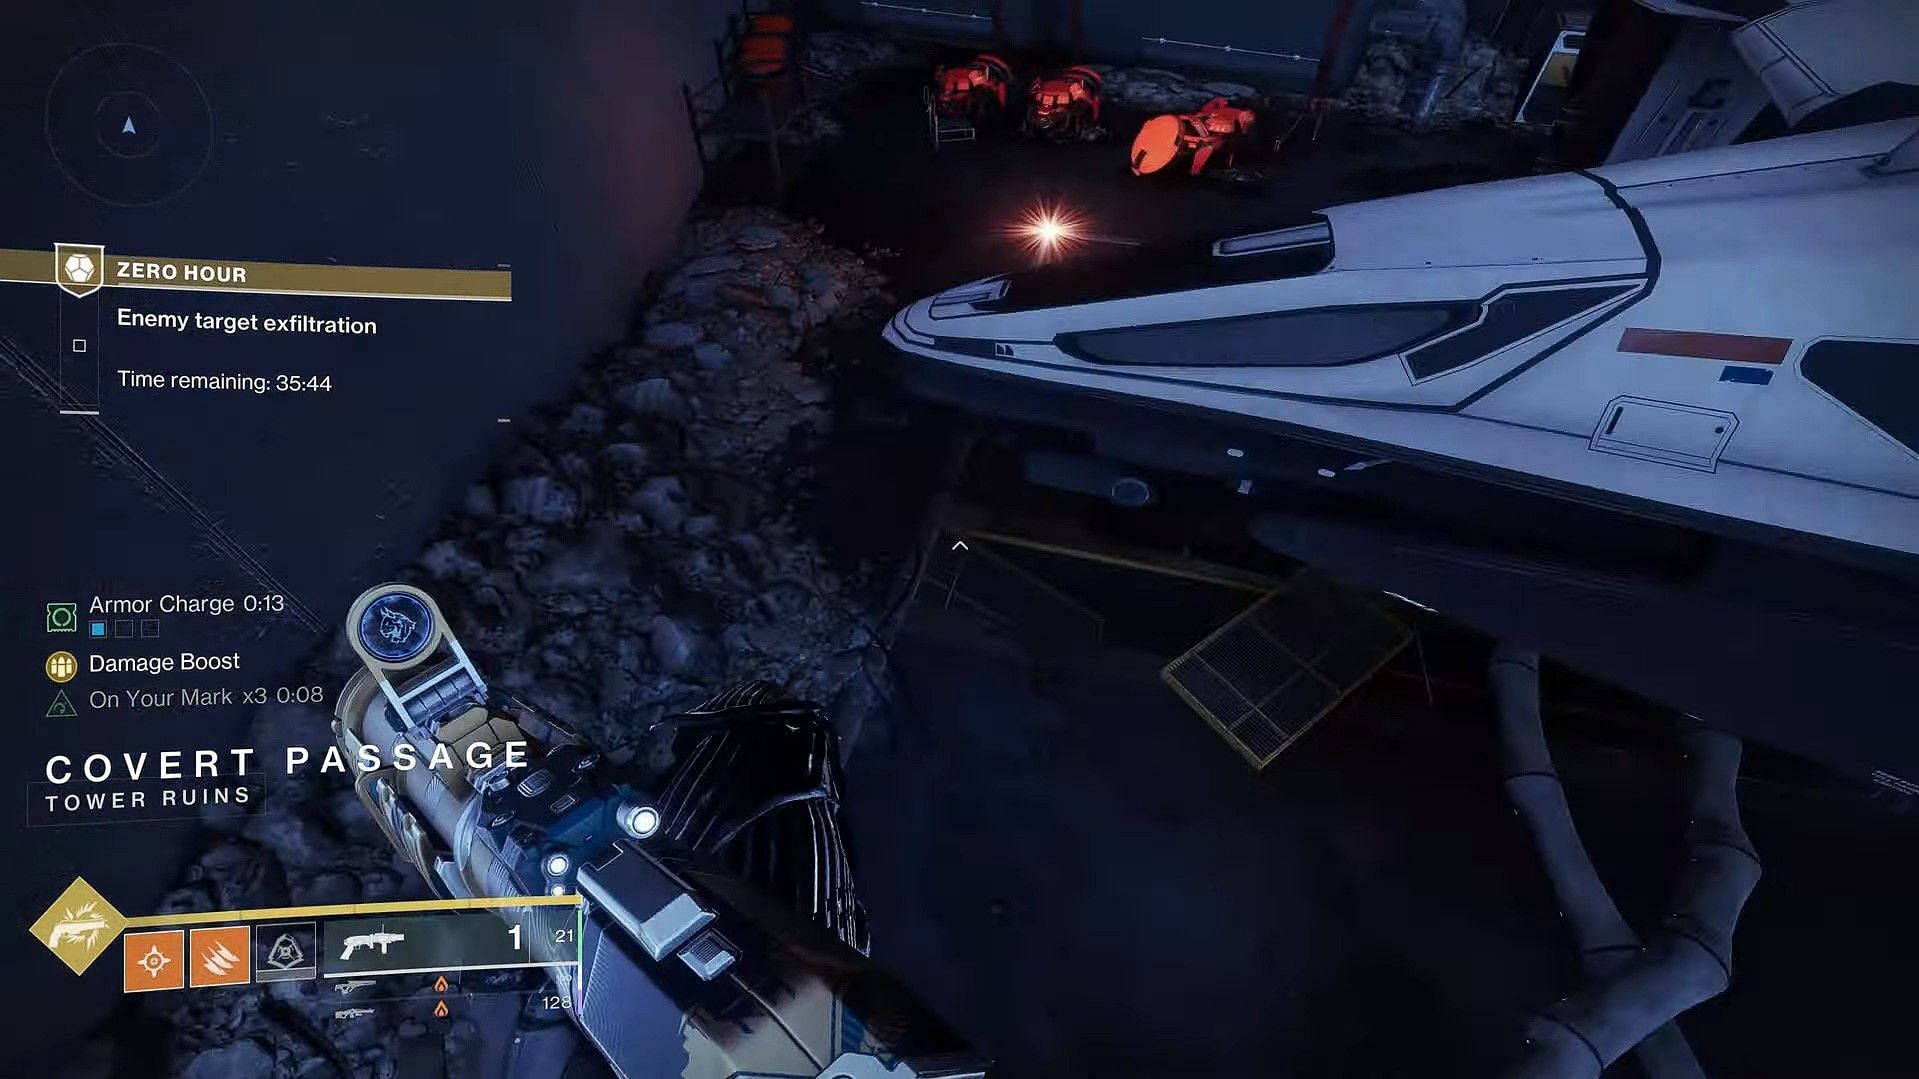
The jumping puzzle in Zero Hour starts when you push down an empty elevator shaft, as shown in the image below.
Here, your first objective is to go through the vent located under the White Ship in the open area, followed by additional vents on the wall with yellow covers. For the correct path, look for a yellow vent behind a shelf, shown in the second image below.
Next, you will find six different vents with ledges. To identify the correct one, place yourself on one of the vent entrances, and look down for a steel vent grate at the bottom. The image below should provide a clearer idea.
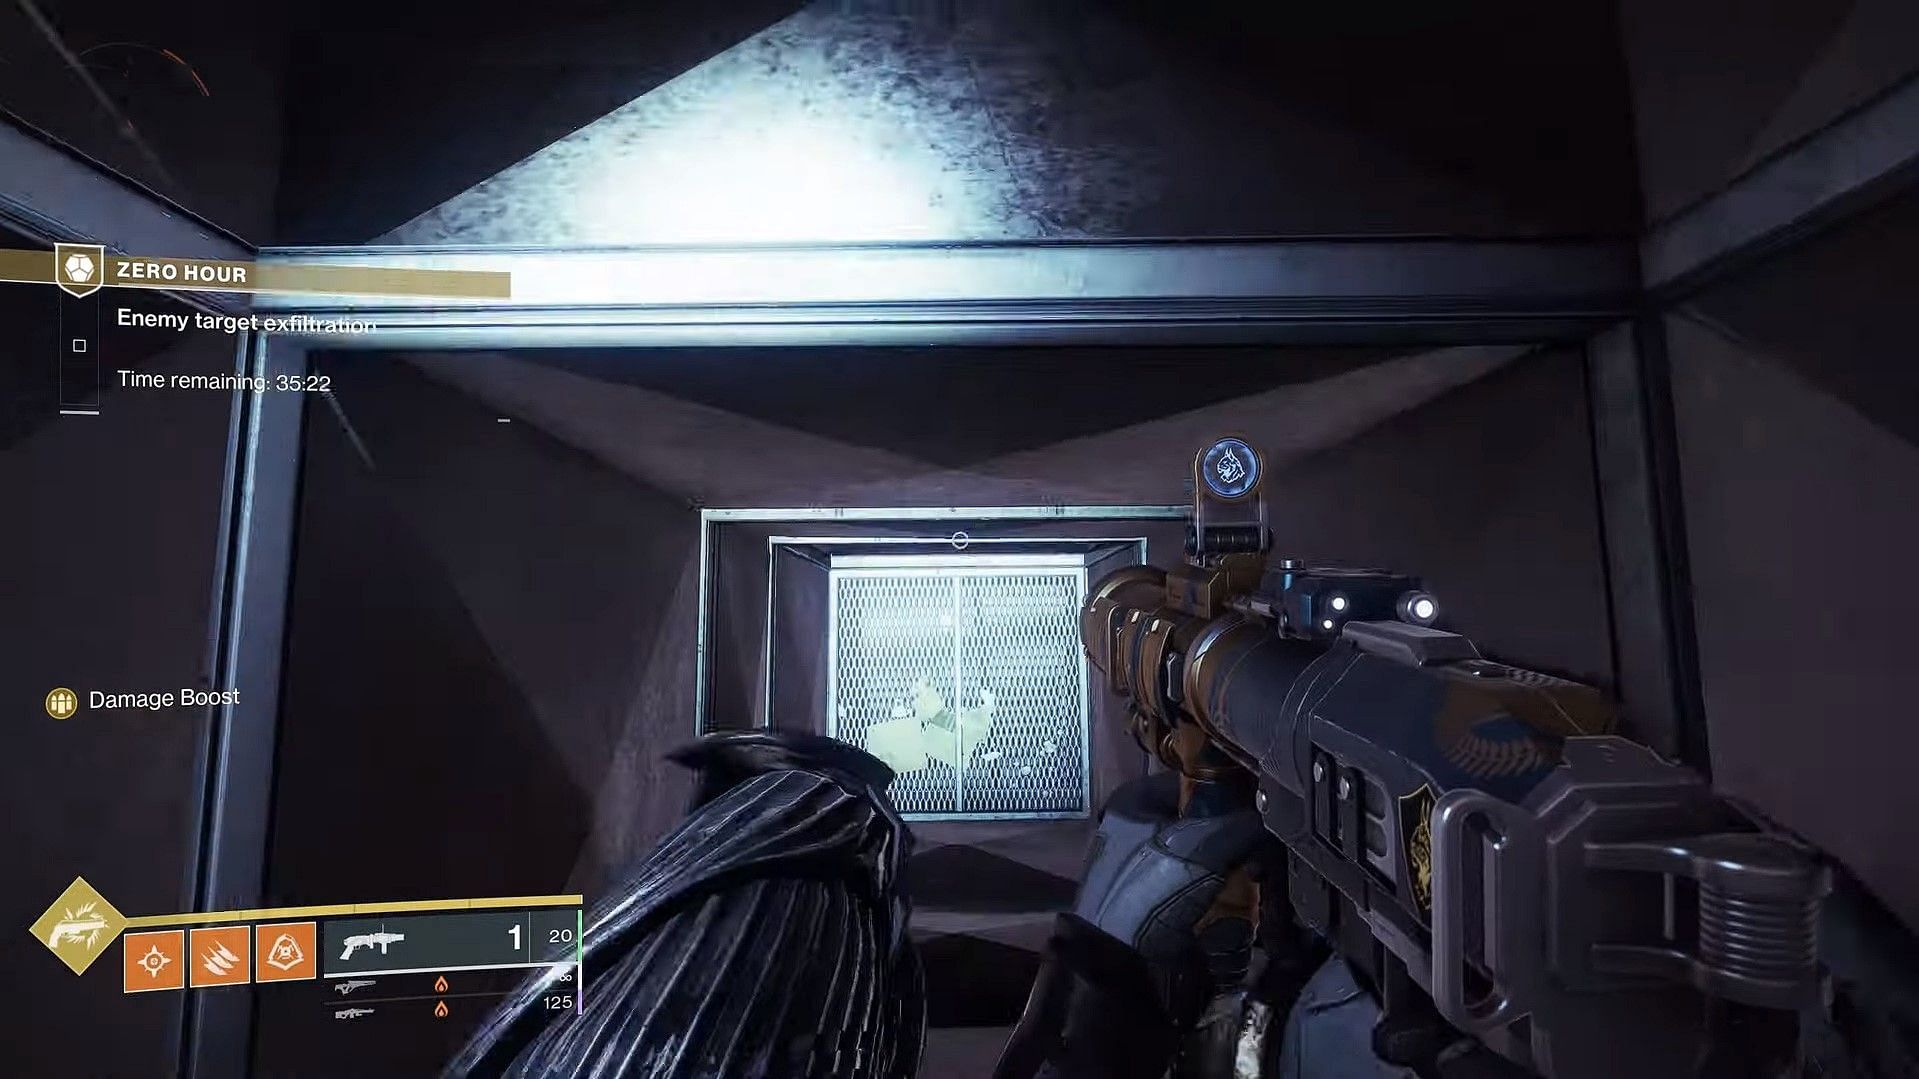
The one without these grates will kill you instantly.
The next bit of the jumping puzzle is linear; you must follow yellow cranes and a platform with exploding shanks. From this platform, look down to your left, and you will see a small piece of antenna peeking through the walls. Jump onto this antenna to progress.

After jumping through the small platforms on the wall, you will come across a room with huge vent fans that can block your path. Your task here is to stand on the middle platform above each of these fans, and look for a dent on the wall to pass through. The clues are the red-lighted walls that have an opening.
The image below should provide you with a clearer idea of what to do.
That is the end of everything you need to know about the jumping puzzles. The rest of the path is linear enough to lead you to the next big puzzle, TR3-VR.
3) TR3-VR
Since there is no easy way to bypass this encounter, here's the overall gist of this room. Your objective is to evade the mechanical monster that roams freely within the maze, all while trying to activate four switches throughout the arena. To evade TR3-VR, look for dents on the wall to hide, or let it pass.
Occasionally, there will be an electrical barrier keeping you from passing through certain parts of the maze. In these cases, make sure to go around while evading TR3-VR, or wait for the blockage to disappear after a while. Once all four switches get activated, look for the Exit signs on the wall to get out of the maze.
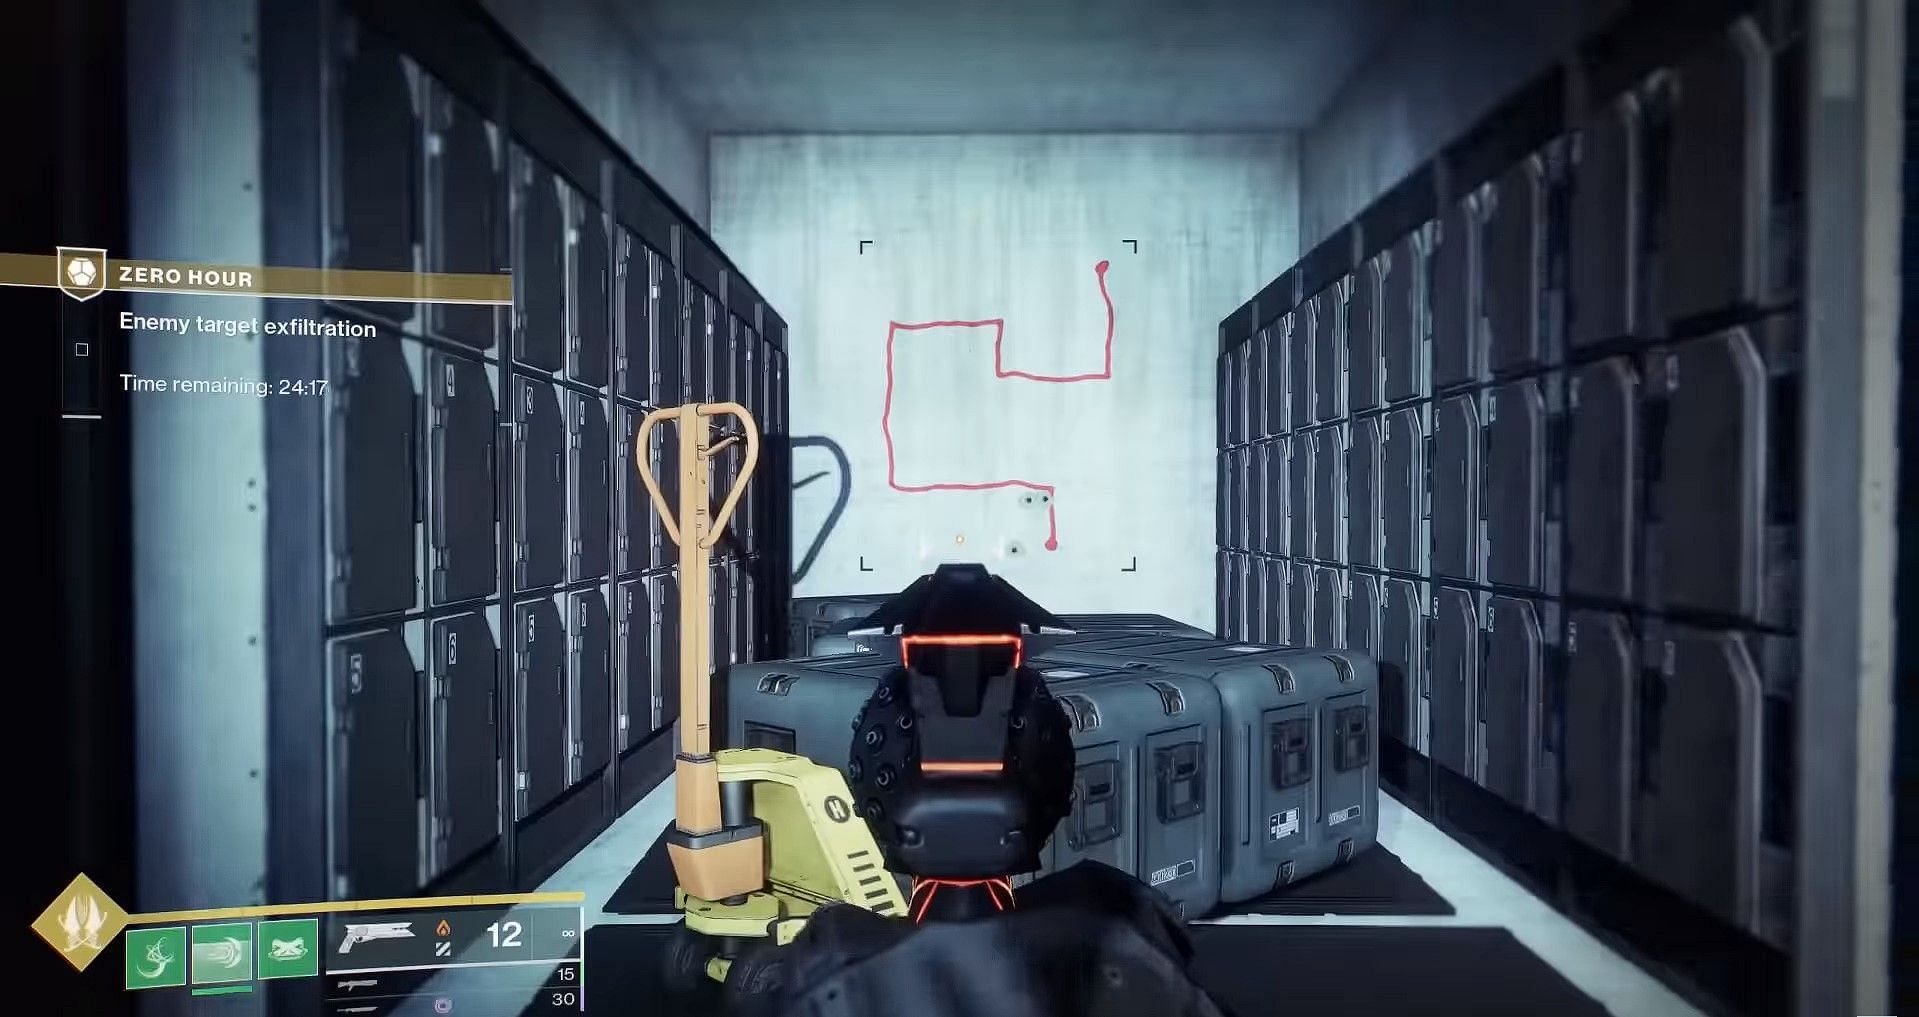
4) Tiles room
To bypass the tiles room, simply look for a diagram just before the room. This diagram will give you an idea of the path you must take.
For example, if your diagram looks something like the one in the image below, follow the path in the room to avoid getting incinerated.
5) Boss room
The boss room contains one Fallen Captain boss, one Servitor boss, and several Fallen mobs. The ideal weapon to use here would be a Sniper or a Linear Fusion Rifle, as the main boss teleports around the arena. Reduce the boss' health to 25% to summon Fallen Spider tanks.
Defeating these Spider tanks will spawn another boss, a huge Fallen Brig with full health. Defeat the Fallen Brig to end the mission.
Check out other Destiny 2 guides from Sportskeeda:
5 best Rocket Launchers for PvE || Destiny 2 weekly reset || Destiny 2 this week at Xur || Destiny 2 Grandmaster Nightfall calendar || Destiny 2 server status || Destiny 2 PvP build tier list || Destiny 2 PvE build tier list || Everything to expect from Destiny 2 in 2024 || All Destiny 2 Into the Light weapons and perks || All free emblem codes
